Category: Create.
-
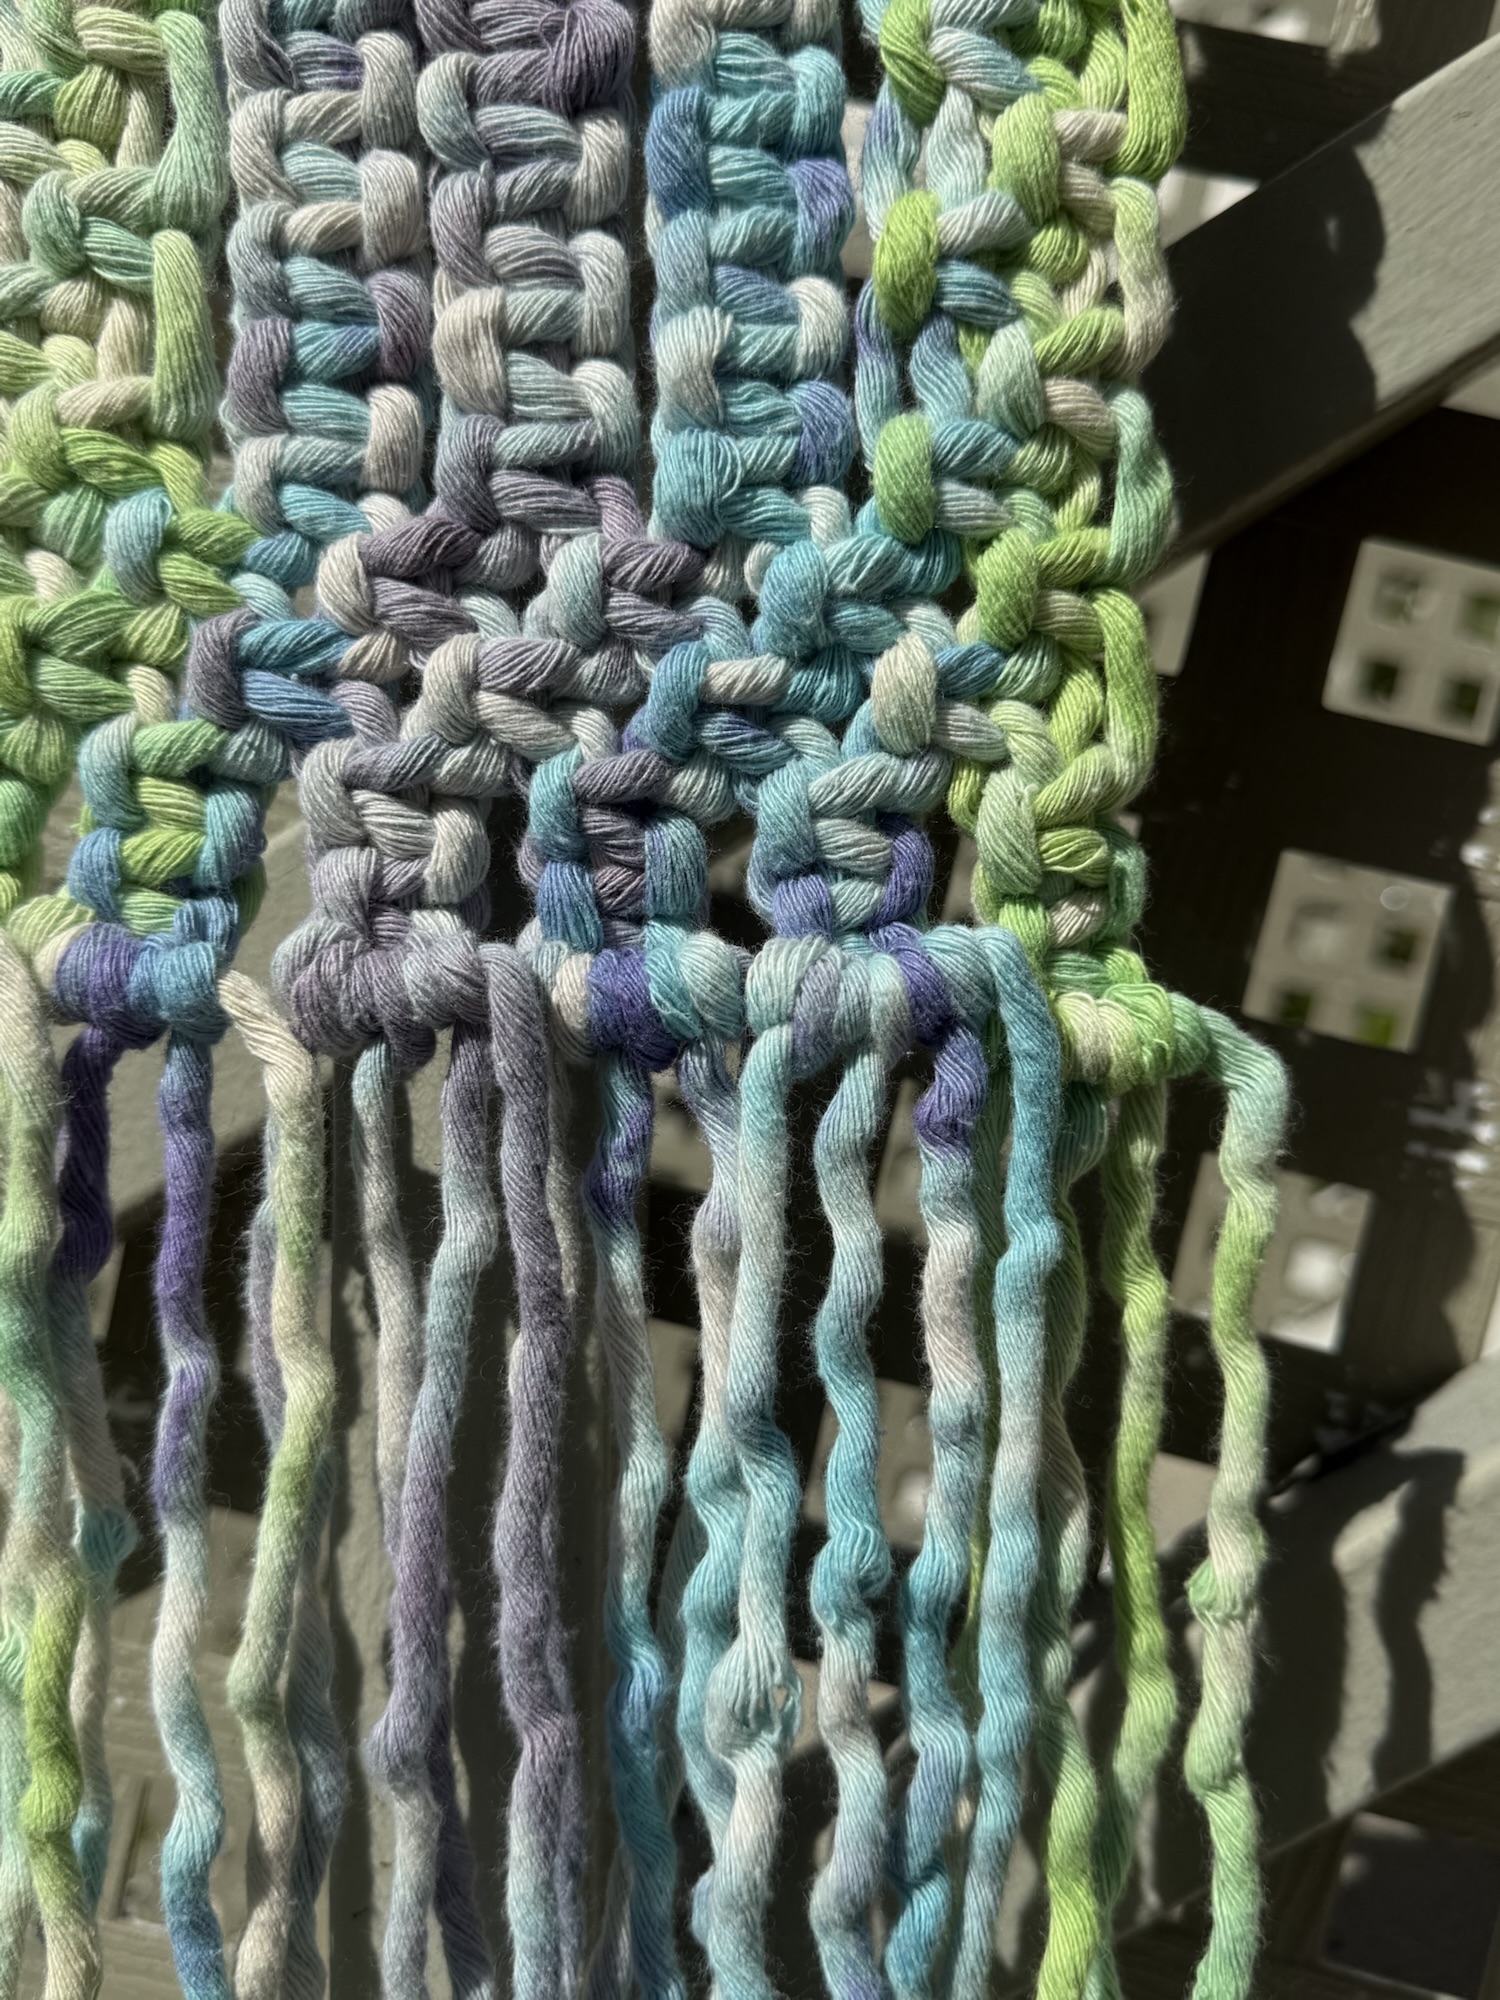
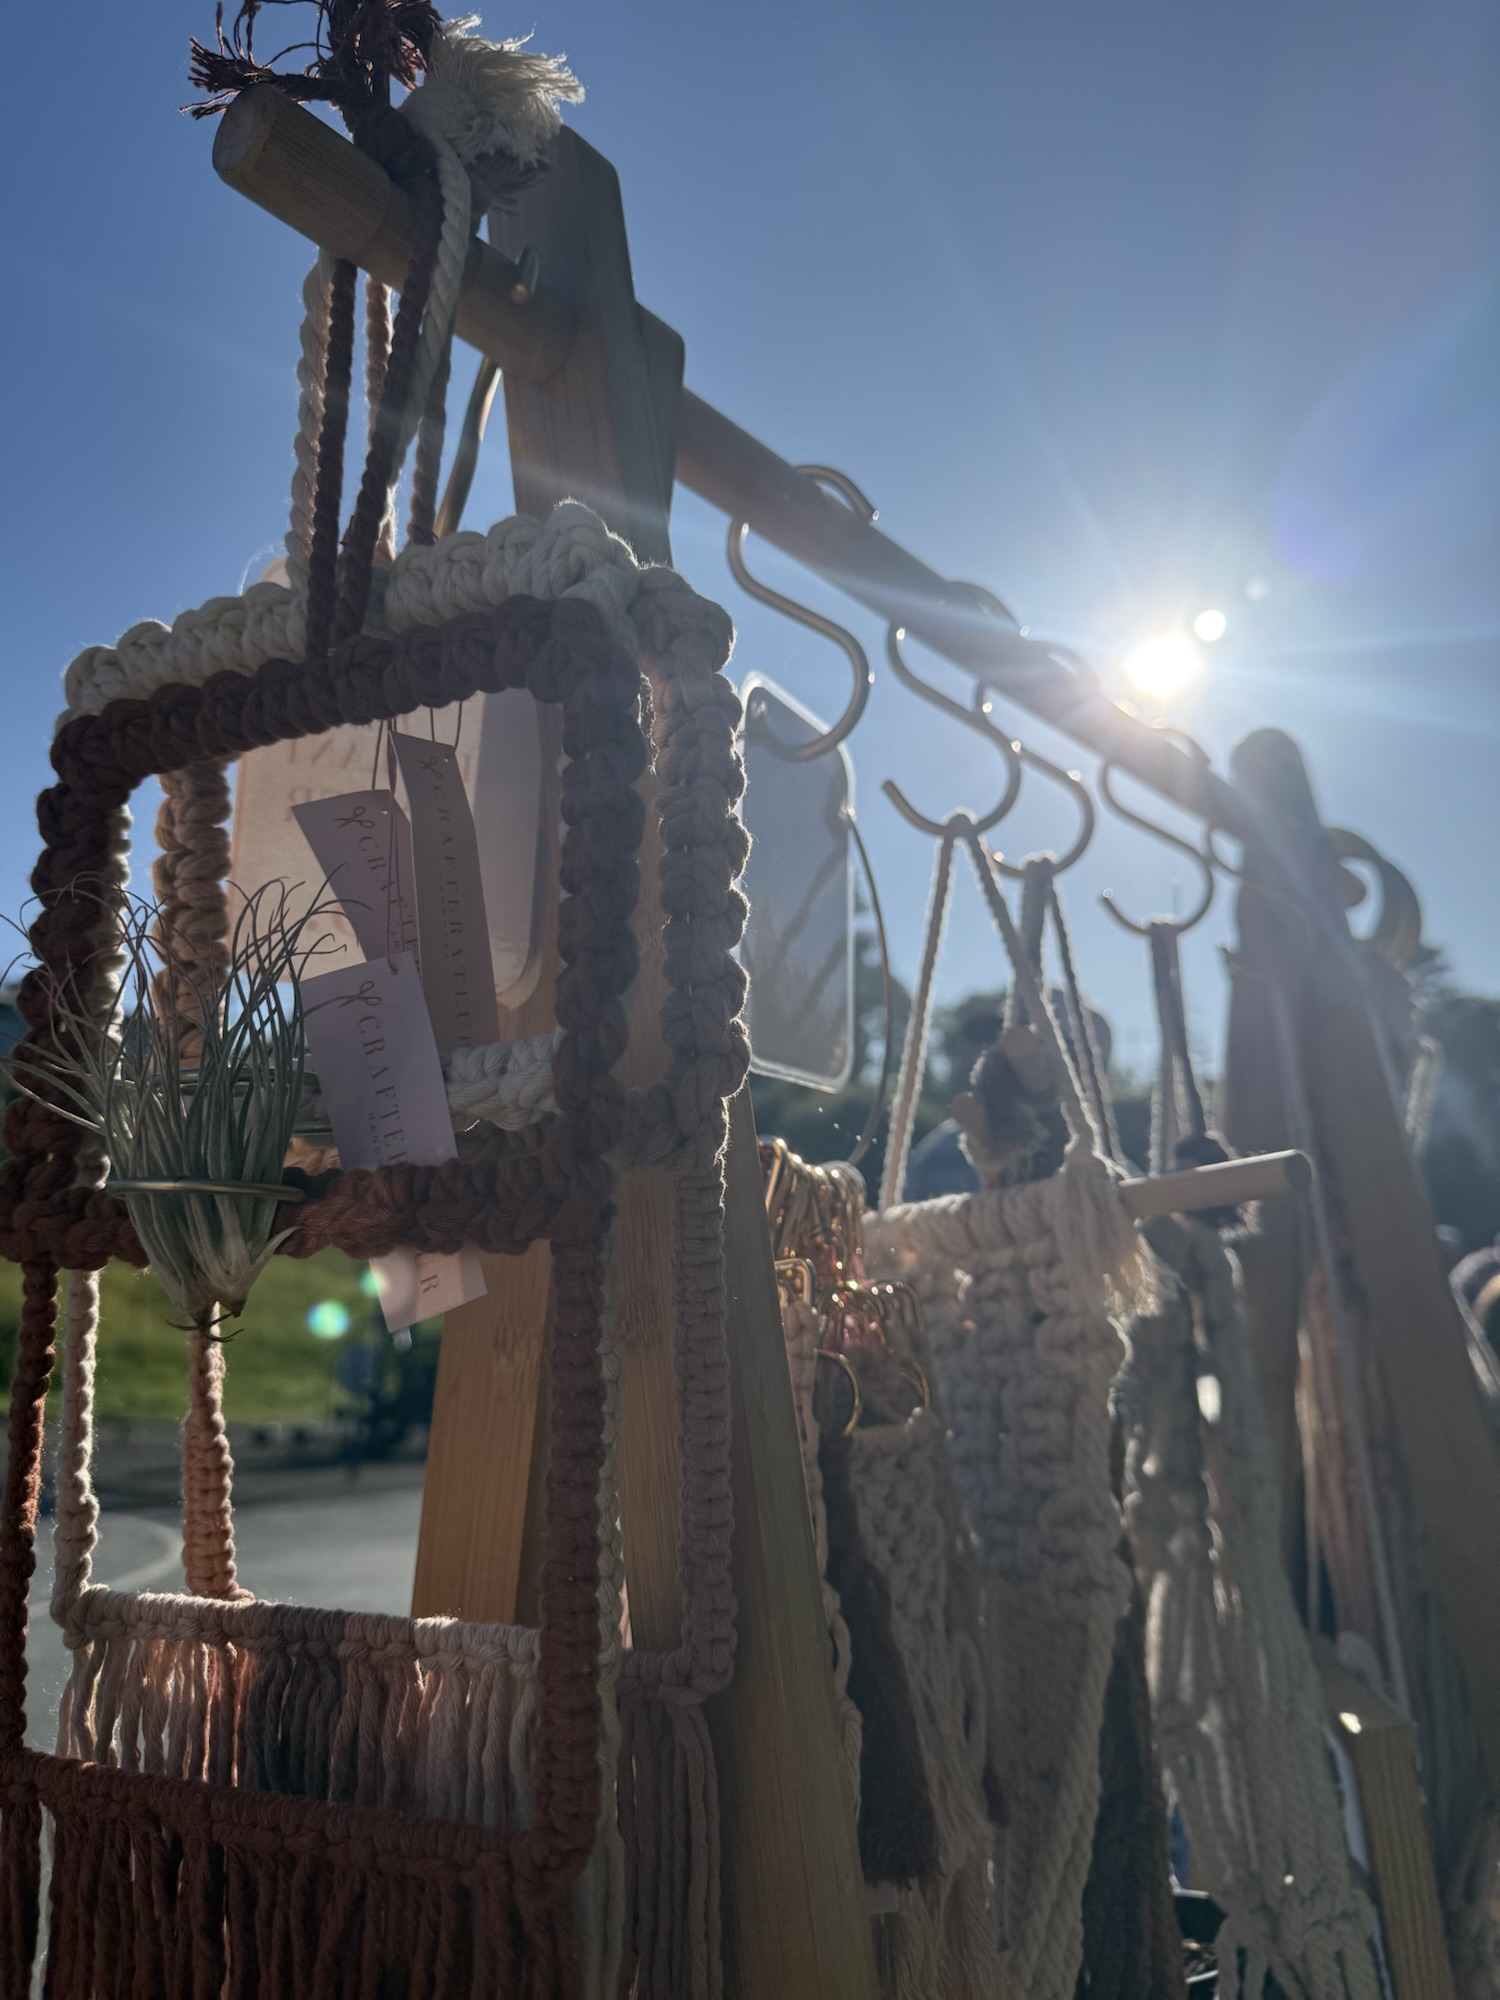
memory makers.
My kid’s school hosts an annual art festival (Messy Art Day!), and this year they had a tie dye booth. I snuck in at the end and sopped up leftover dye to get some colorful cord for end of year teacher thank you gifts. I loved how these all turned…
-

summer af.
Happy Summer! I started a summer supper club in 2023 because I wanted another reason to get outside, see my friends more, and try new recipes! I called it Summer AF, but the AF stands for al fresco. 🙂 This year will mark the fourth annual Summer AF series so…
-

craft scouts.
I celebrated my birthday this year with my dream theme: Craft Scouts! I set up craft stations outdoors, and after everyone tried each project they earned a Craft Scouts badge. 🙂 Said badge by Monsoon Wildflowers. Here’s what went down! Sprinkle Embroidery I planned for three birthday themed crafts. The…
-
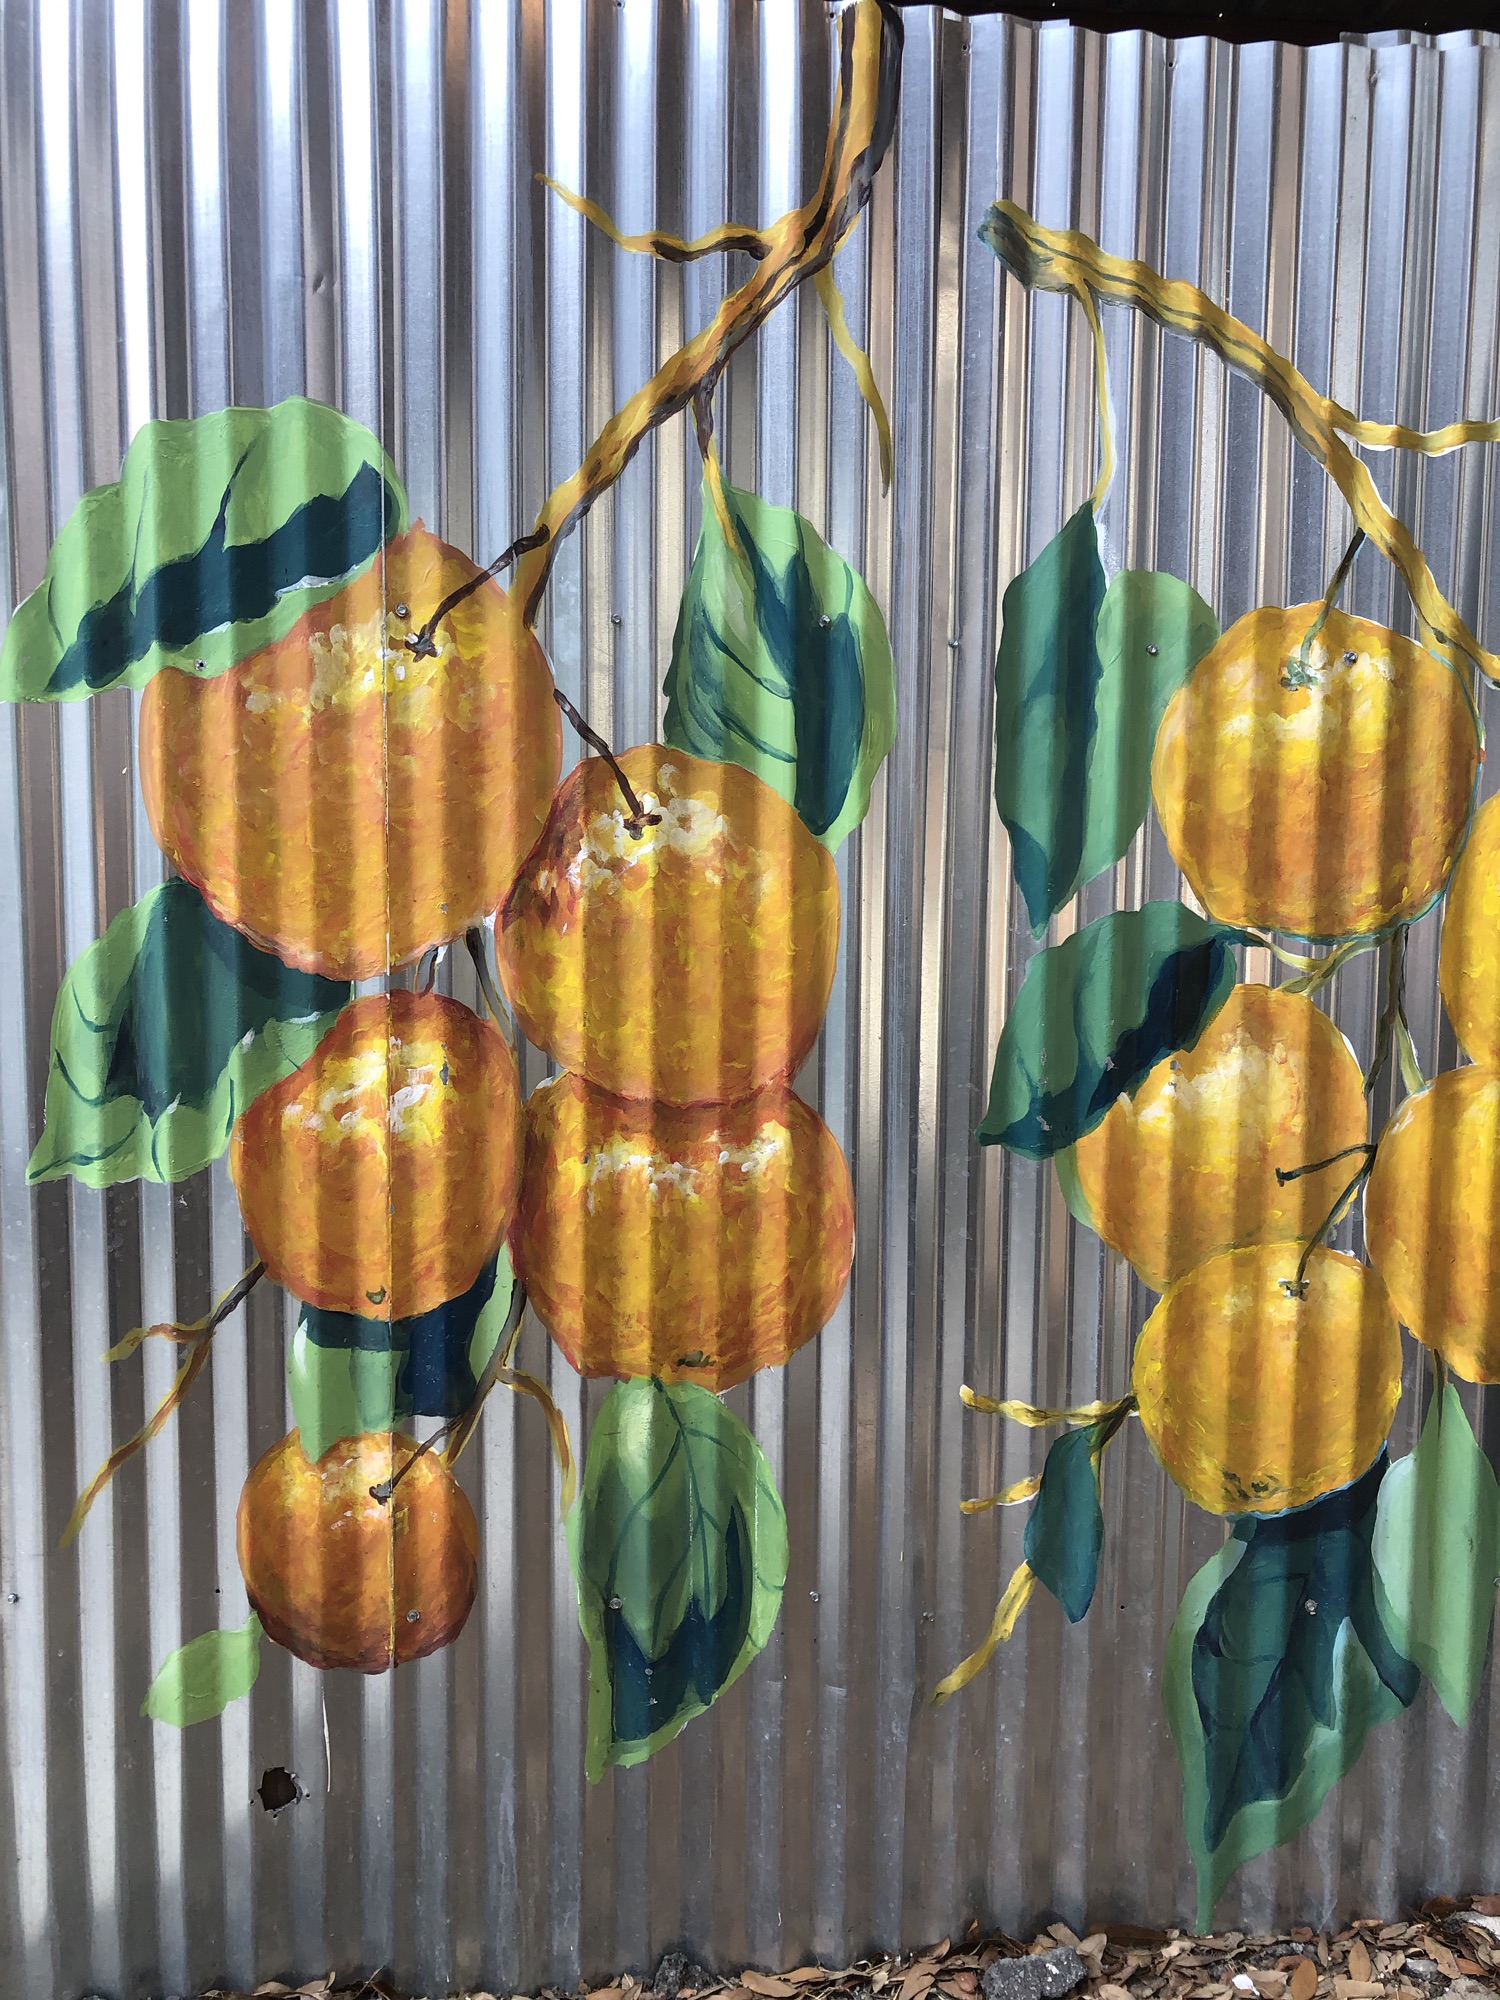
more-lando.
And to wrap up this week-long throwback (see Magic Kingdom and Animal Kingdom), I give you More-lando: all the other fun experiences we had on our Florida trip! The Showcase of Citrus Monster Truck Farm Tour I didn’t know about this place until we arrived at our hotel and I…
-
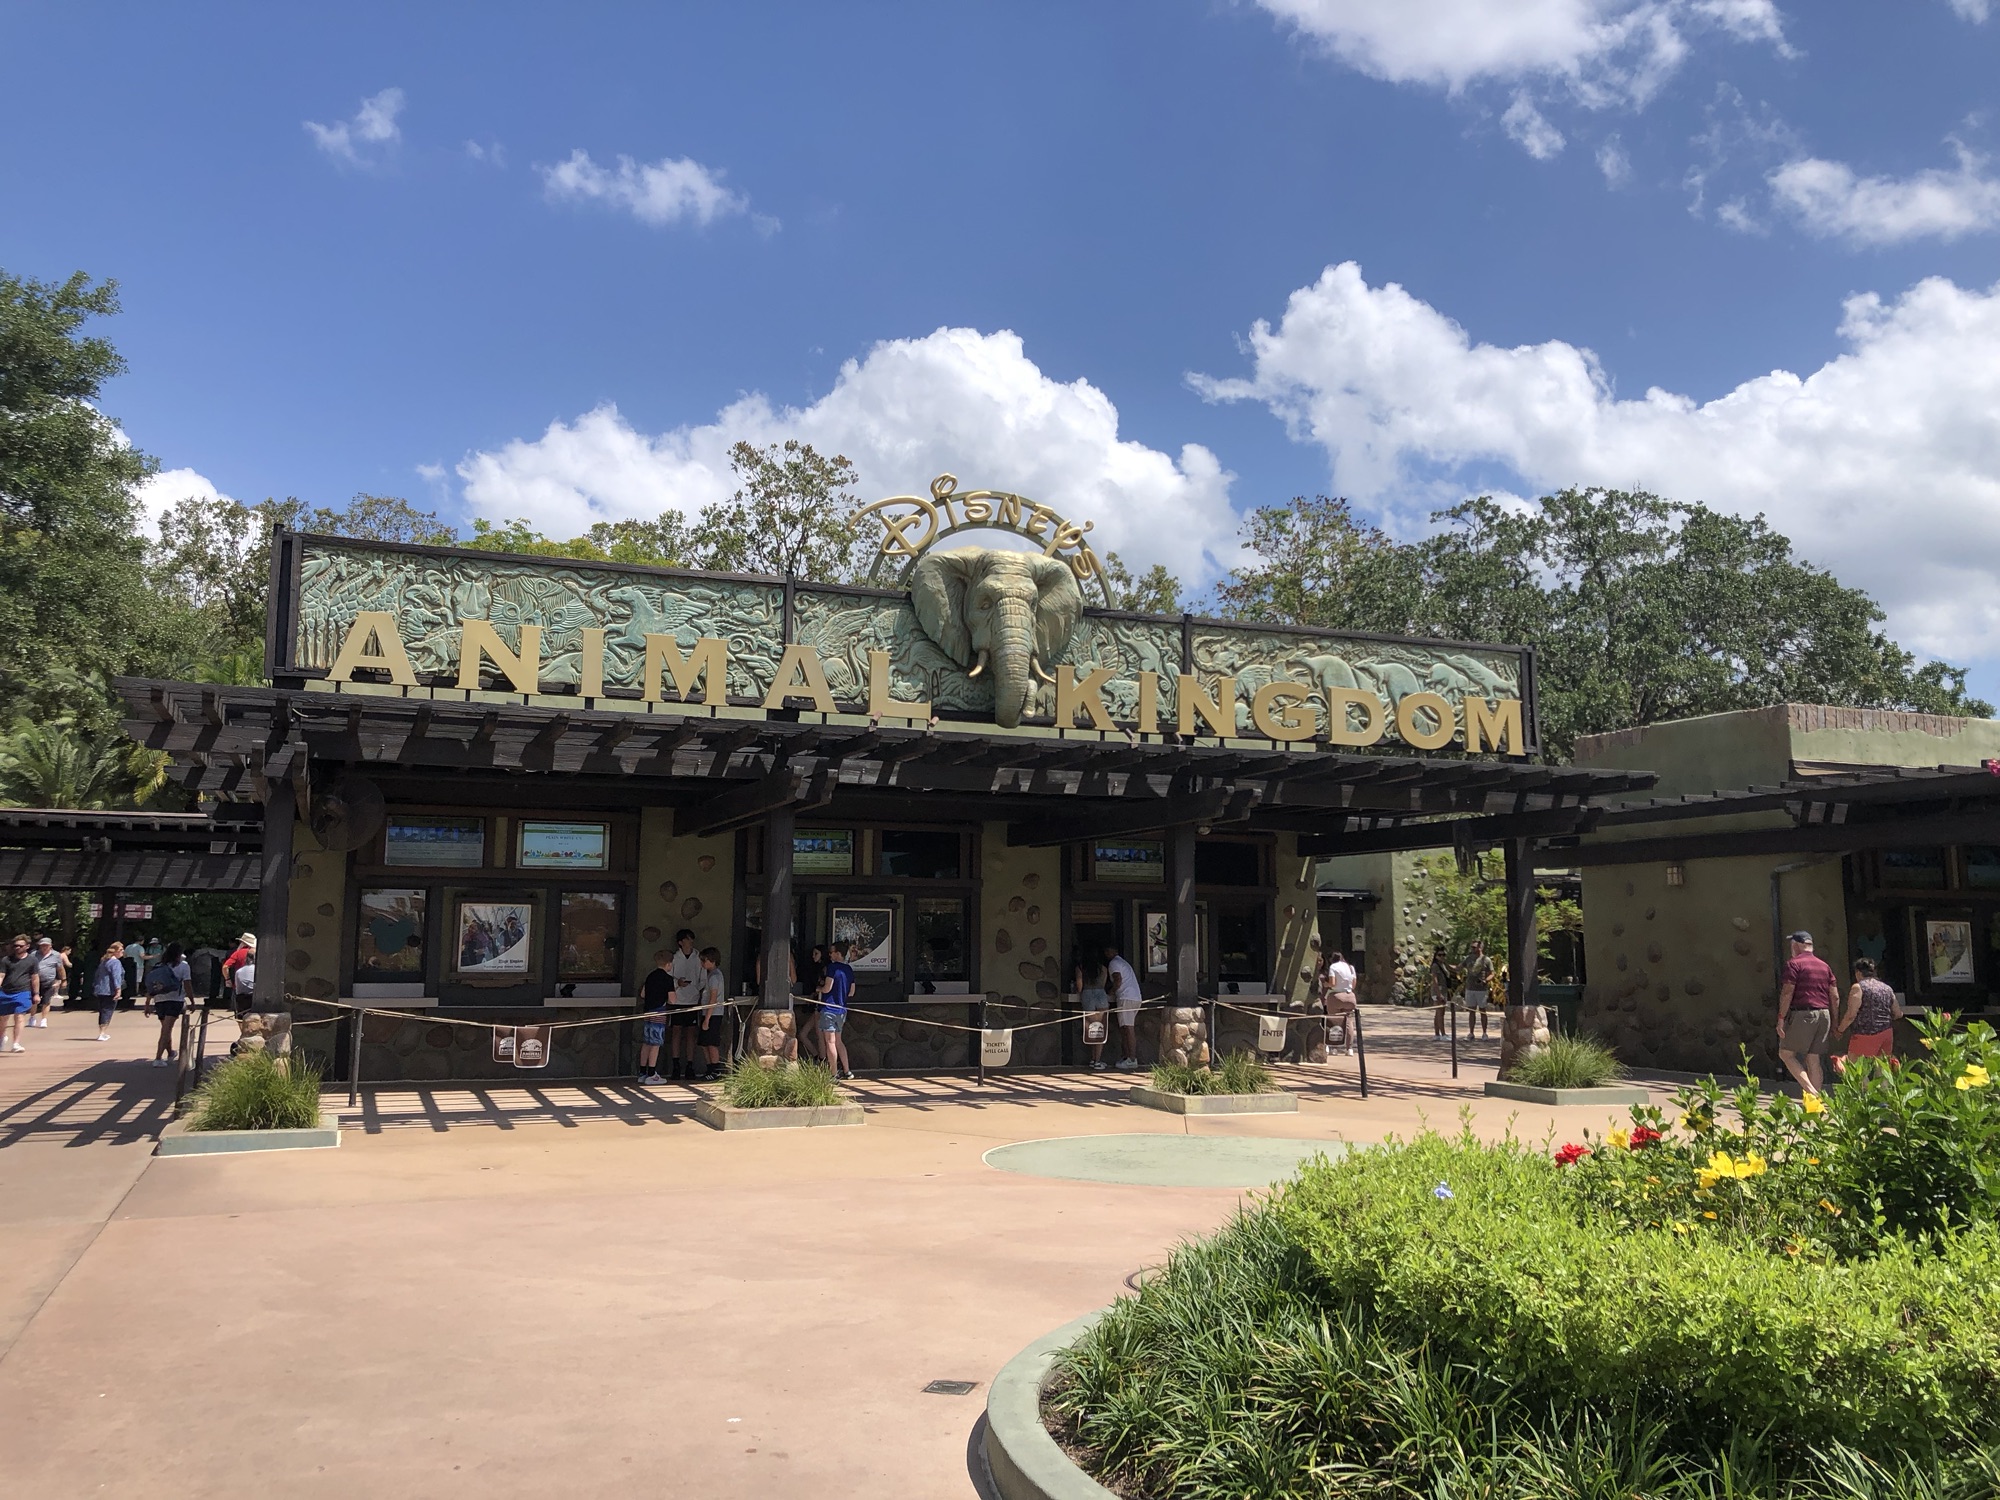
animal kingdom.
Another Florida post! Last time I shared all things Magic Kingdom. For our second park, we decided on Animal Kingdom because we figured it’s essentially a zoo and would be more leisure after a full day at Magic Kingdom. Also, Hubby wanted to experience the World of Avatar. The Plans…
-
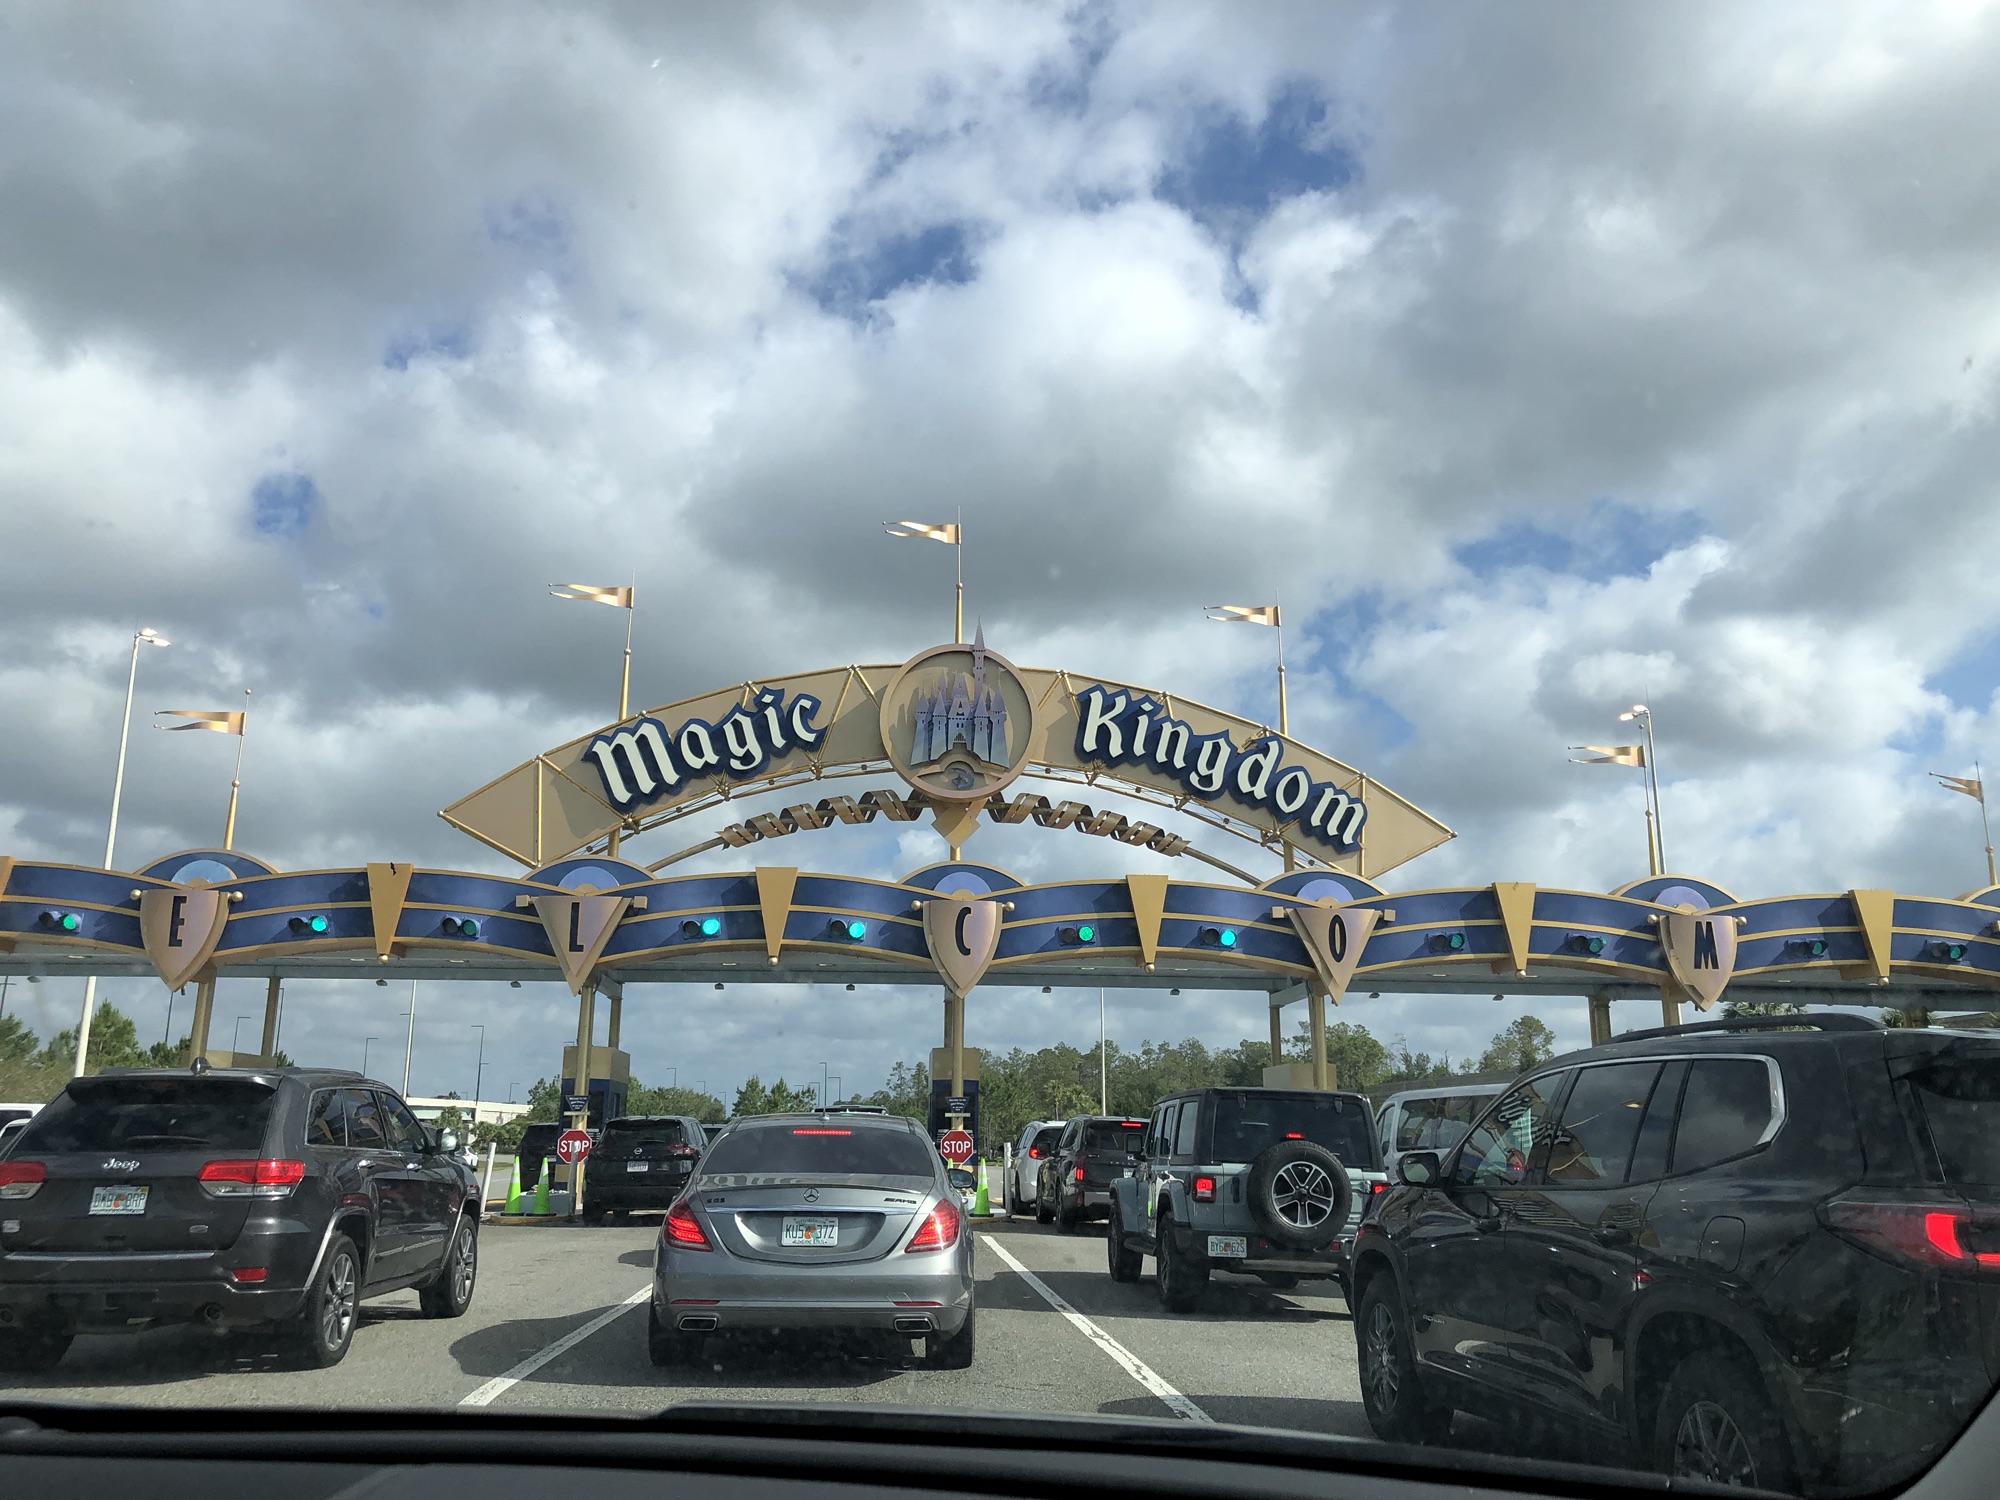
magic kingdom.
It’s Throwback Thursday all week because I’m finally sharing details about our big family trip to Florida! By now you should know that when I travel for work I’ll find a way to make it a fun trip. So when I had the opportunity to go to a conference in…
-

you’re my little lucky charm.
My co-workers and I threw a little lucky charm themed party for a St. Patrick’s Day baby shower. It was my excuse to create a rainbow paper chain! My co-workers were in charge of games and decor. We played baby trivia, baby word scramble, and baby emoji pictionary. We adorned…
-

disco slime.
My kid and my friend’s kid have the same birthday, and that friend just so happens to own Sticky Art Lab, so of course we had to throw a joint celebration at the best place to throw a sparkly, sticky, and colorful birthday! We set up activity stations, had loads…
-
pancakes and pop ups.
For my next trick I will pop up at a local elementary school pancake breakfast! The line up included some of my creative friends from the local maker faire: Kristen Kong, Left Field Flower Co., and Libby’s Crocheted Critters. It was a quick set up and tear down, I got…
-
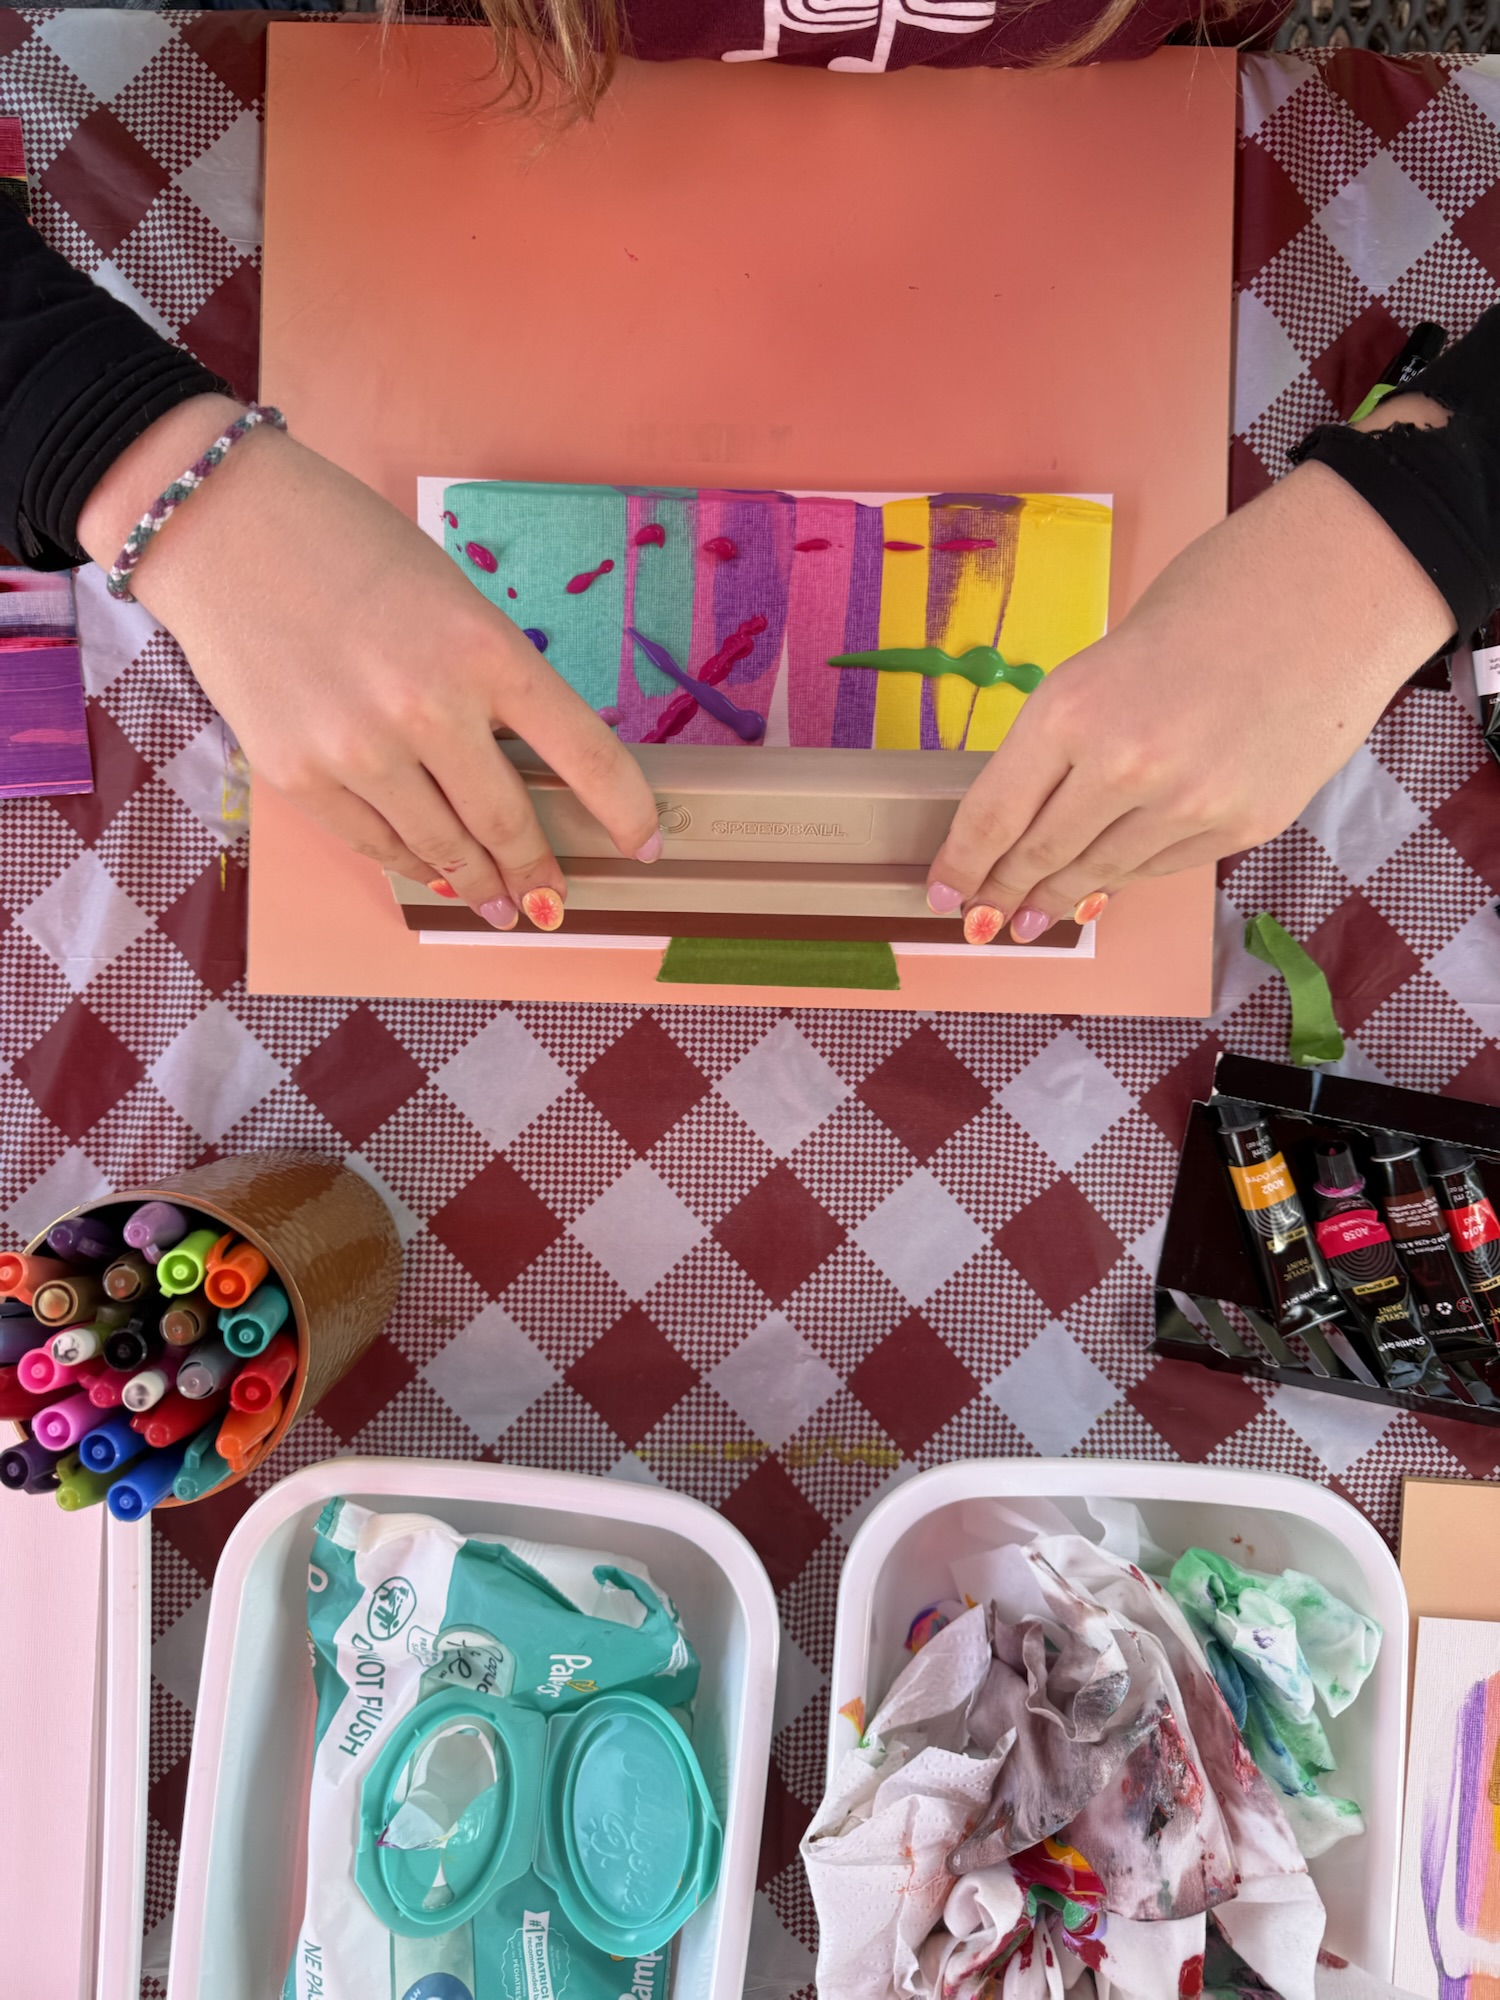
paint/picnic.
My preschool mama friend invited me to host a painting station for her older kid’s park birthday. I love a good outdoor crafting session so when it comes to creating a special creative project for a park celebration, I am totes in! After some idea sharing, we decided to set…