Category: Celebrate.
-

you’re my little lucky charm.
My co-workers and I threw a little lucky charm themed party for a St. Patrick’s Day baby shower. It was my excuse to create a rainbow paper chain! My co-workers were in charge of games and decor. We played baby trivia, baby word scramble, and baby emoji pictionary. We adorned…
-

disco slime.
My kid and my friend’s kid have the same birthday, and that friend just so happens to own Sticky Art Lab, so of course we had to throw a joint celebration at the best place to throw a sparkly, sticky, and colorful birthday! We set up activity stations, had loads…
-
spring break.
Looking for a Spring break filled with local events and yummy snacks and crafts? Perhaps one of these Bay Area spots will suit your fancy — in alphabetical order: Berkeley Art Museum and Pacific Film Archive (BAMPFA) Go on a walk on the Cal campus and then head over to…
-

costume ideas: local hero edition.
How do you celebrate Halloween month? I love a good themed celebration, but I also love wearing costumes while doing totally normal things like going to a puppet show or the farmers market. Last year, we did just that so I thought it would be great fun to dress up…
-

spooky garden.
I’ve swooned over them before, and I’ll swoon over them again – The Nurtured Seedling crew are masters at turning a garden into something so magical for the littles and their grown ups. Remember Earth Day? Ya, pretty epic. And for their Littlest Gardeners Fall Class, owners Flavia and Darina…
-

the nurtured seedling.
Happy Earth Day! This year I participated in the Nurtured Seedling‘s Earth Day celebrations and it was so special! This is my second time joining them in their home garden for garden themed activities, storytime, and light bites. The space is so inviting and I leave with new gardening knowledge…
-

party favors.
The space cat celebration recap continues at my little’s preschool! His preschool celebrates birthdays with sharing songs and art, and a traditional chair lift. We had enough leftover cat stickers, star stickers, and cat-toos from our maneki neko in space party to put together mini treat bags to share with…
-
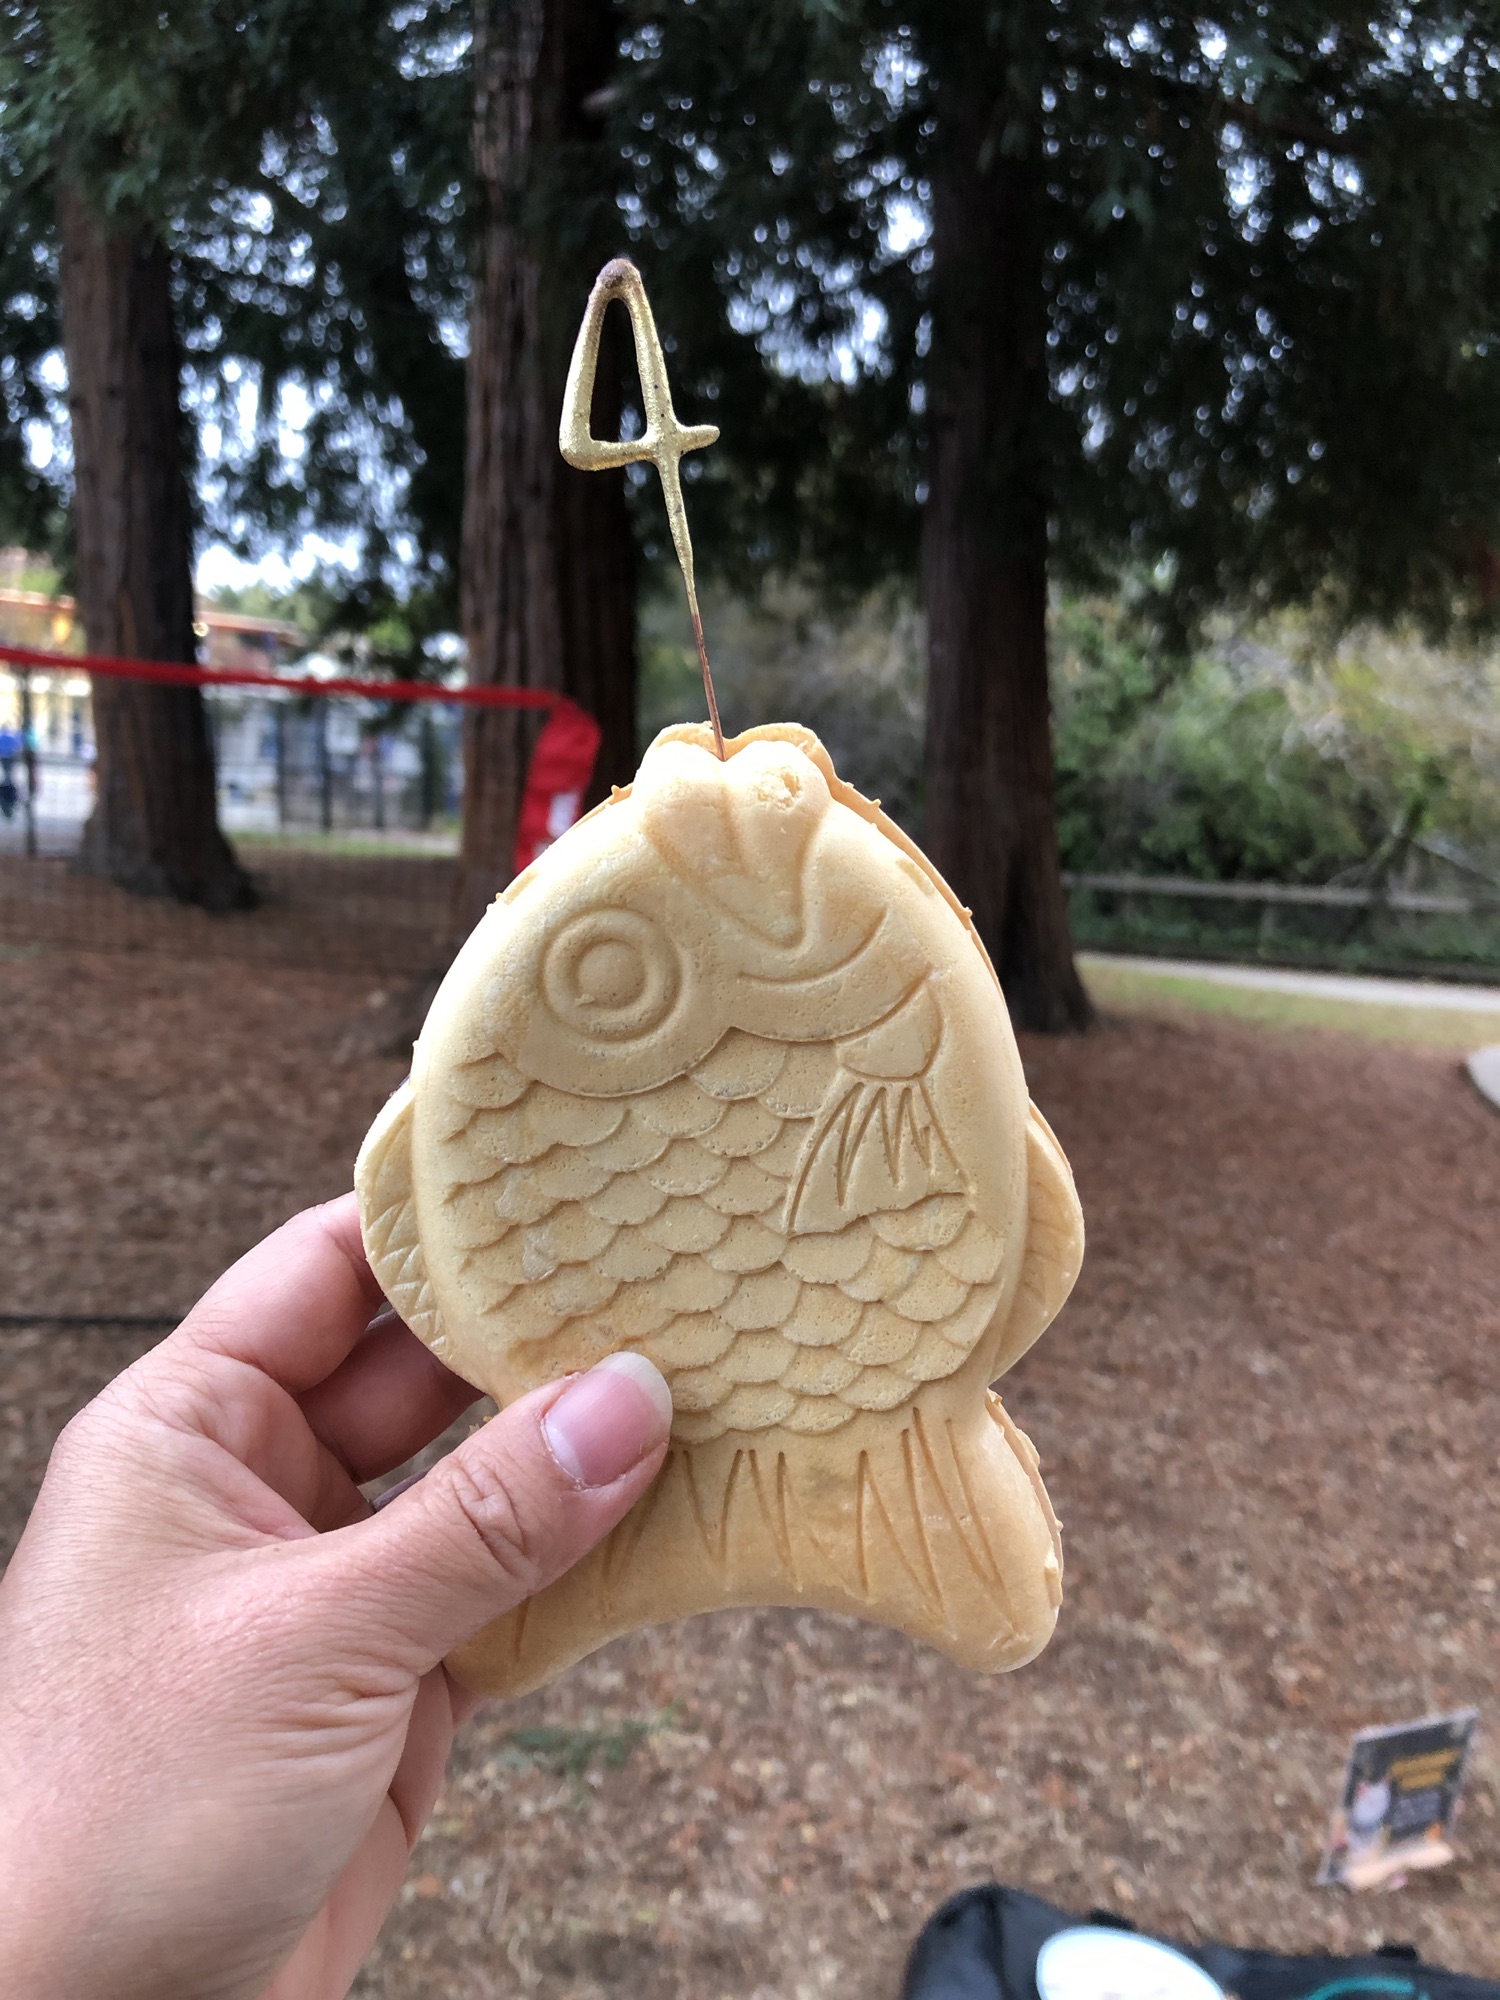
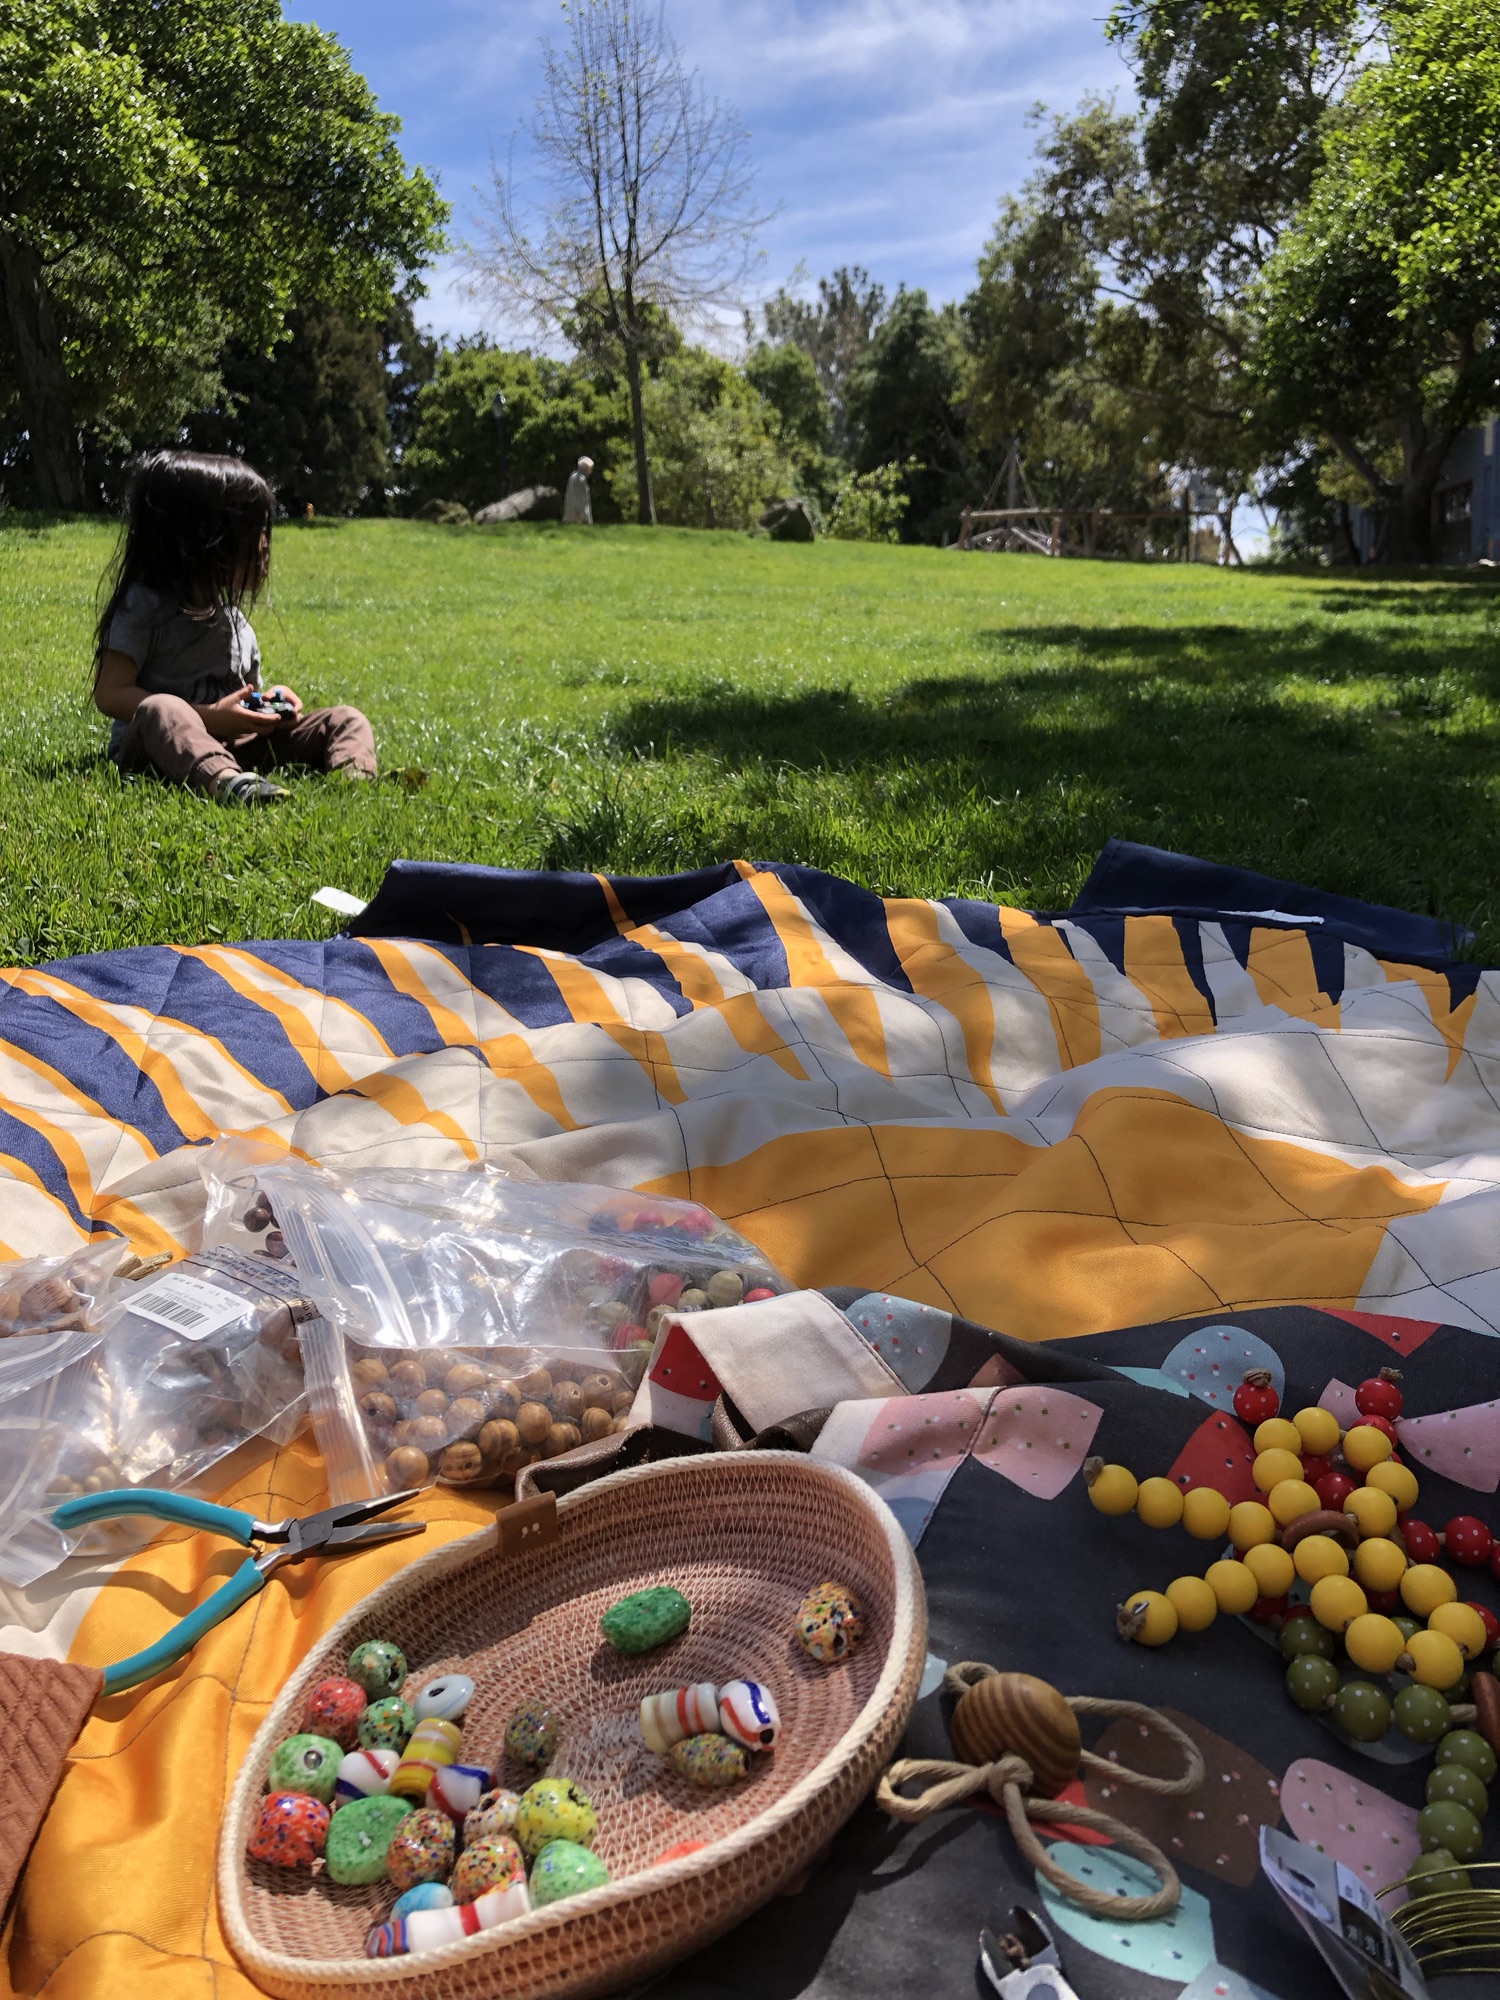
reach four the stars.
Coming at ya with a maneki neko in space theme party! For the little’s fourth birthday I asked if he wanted a space/astronaut themed birthday and for a while the answer was yes until it was monster trucks (for a second year in a row), and then finally we settled…
-

winter wonderlands.
It’s the most lit up time of the year! I’m not one for large Christmas celebrations focused around presents, but I am a huge fan of the lights and decor and seeing creativity bring joy to loved ones. So here’s a season of light round up for Bay Area gallivanting…
-
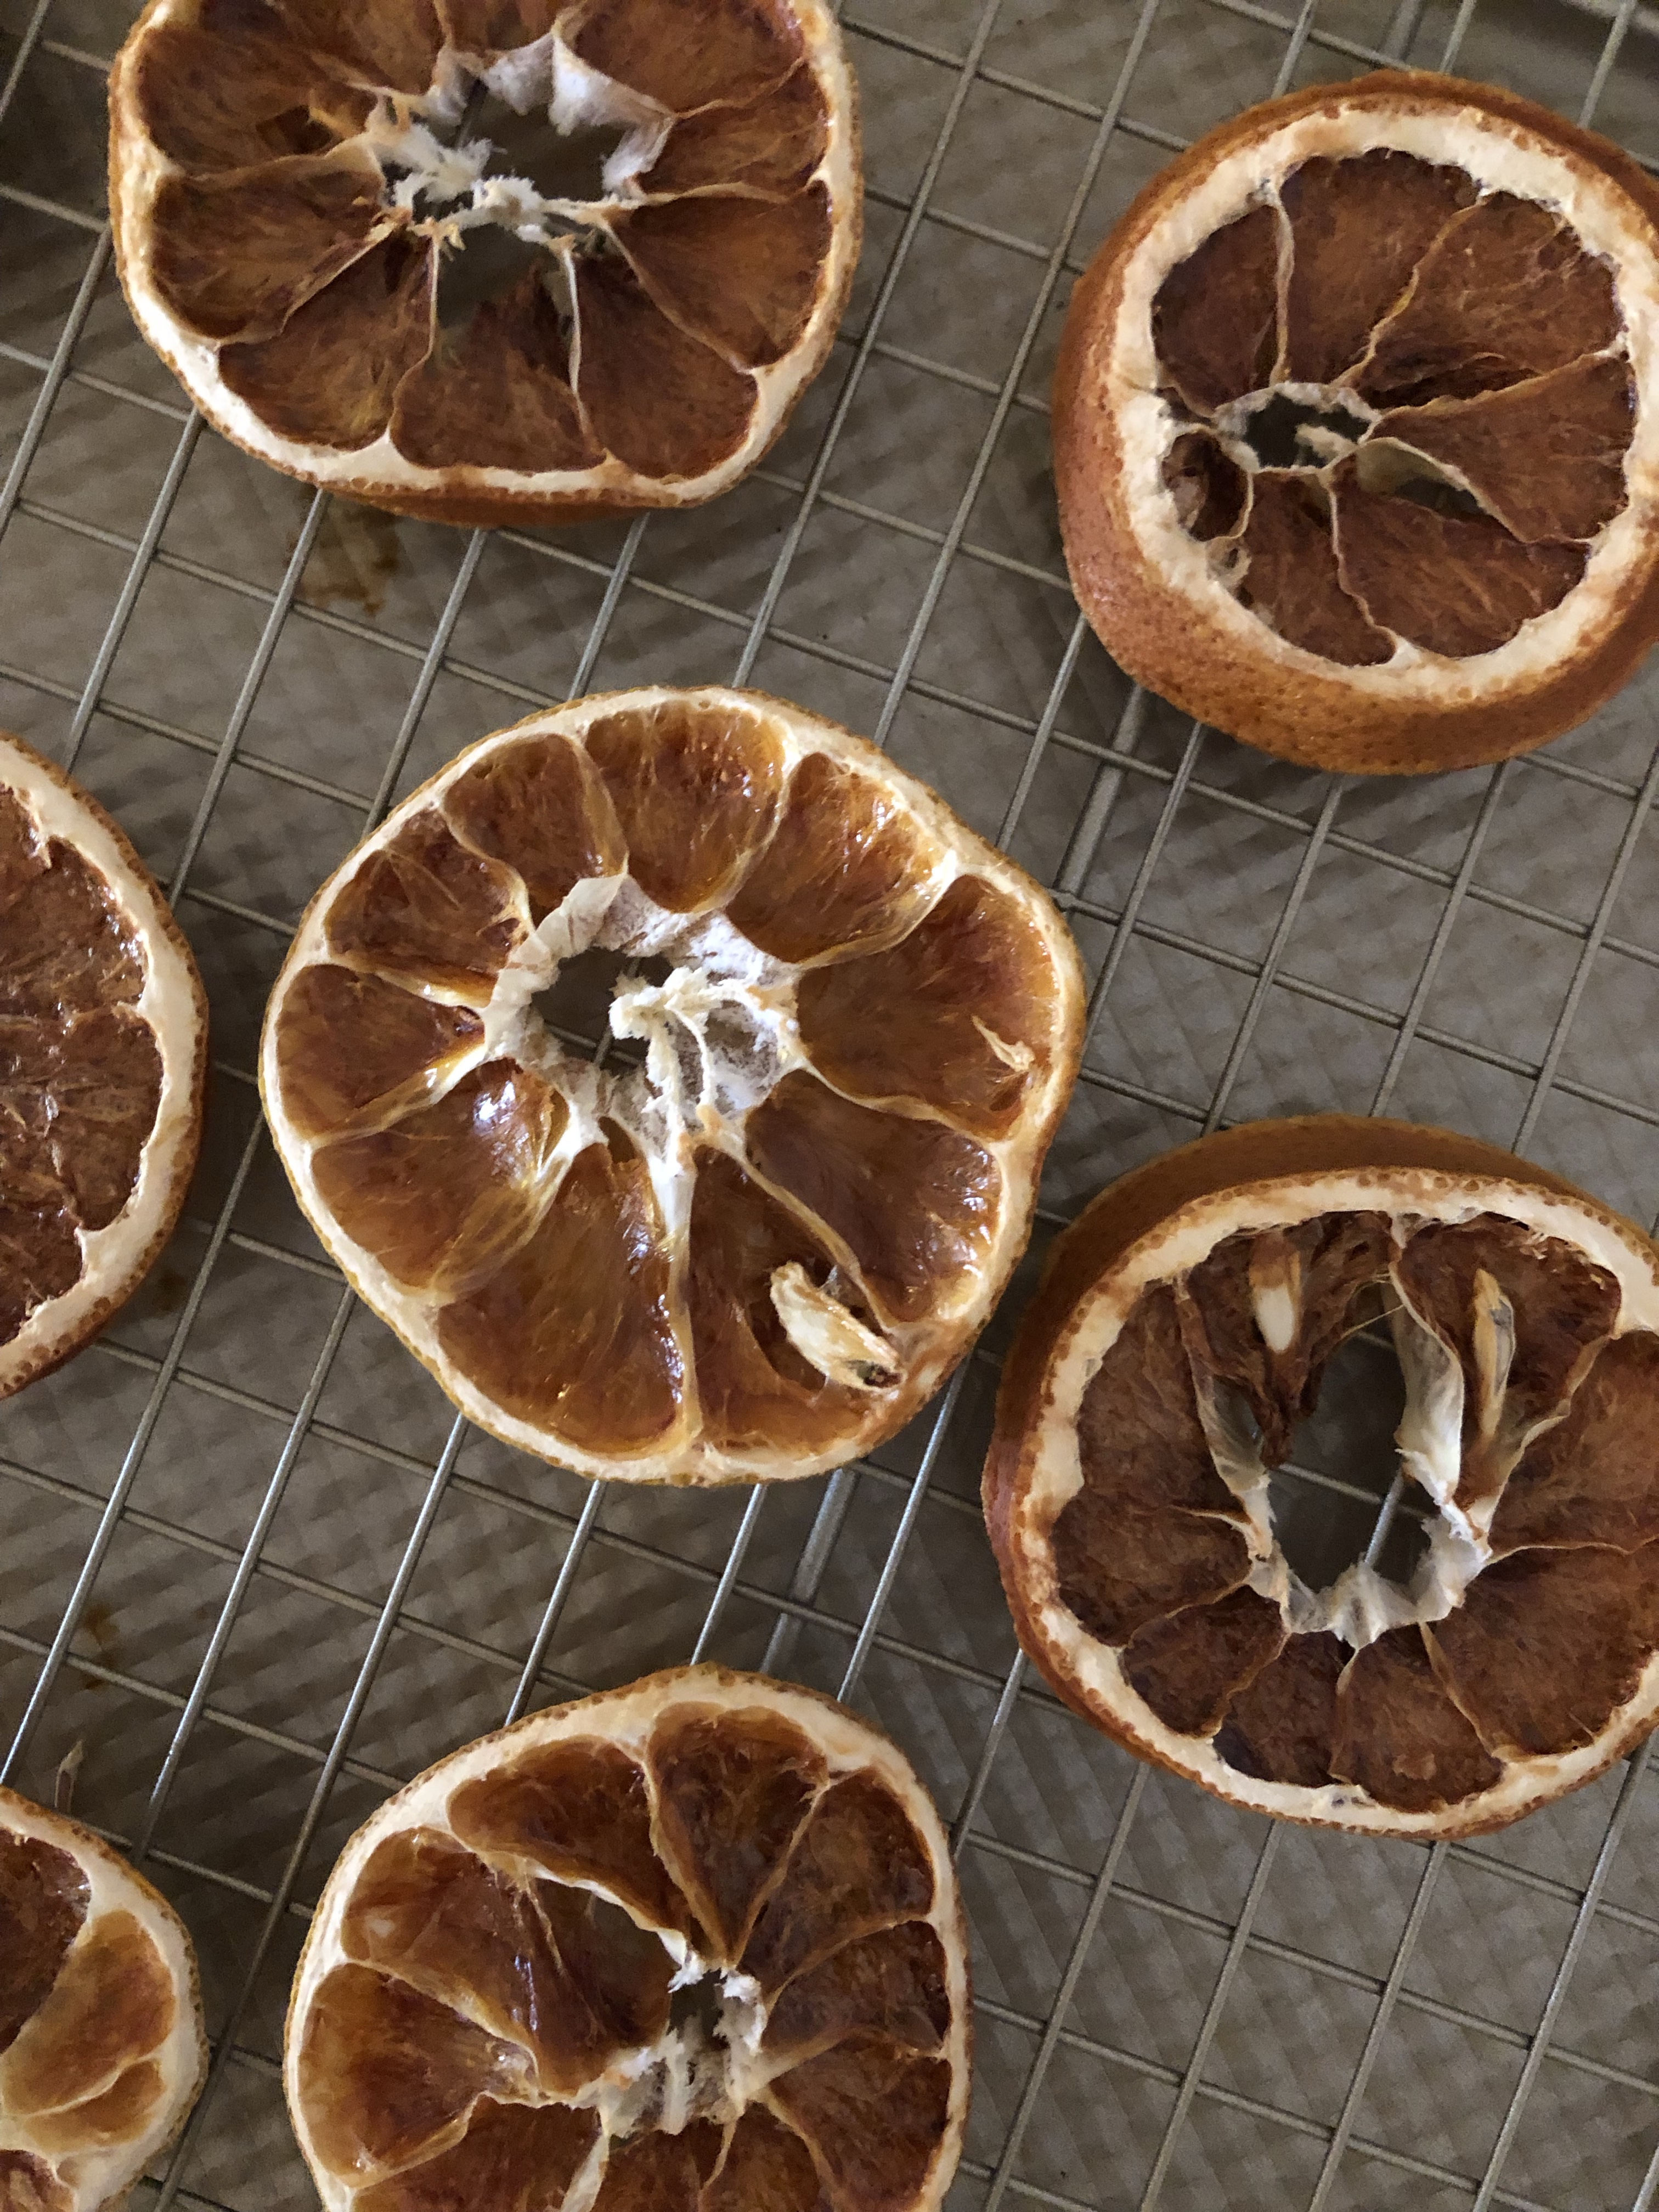
dried citrus.
Time to deck the halls! The first time I tried drying citrus it was a major fail. I’m happy to report that I tried again and figured it out! And, I can share that these dried citrus pieces have survived 2 Christmas seasons so far and are safely stored for…