Category: Create.
-

yoshi’s island.
So you want to know how to make a Super Mario themed sensory bin. 🙂 For my kid’s 5th birthday we went full out with Super Mario themed snacks and activities. Sensory bins are still in with this age group so we created one around one of our favorite Super…
-

thank you bag charms.
Remember when we made thank you paintings for our preschool’s ‘give me money’ fundraiser? We’re back for another year of preschool and for this year’s fundraiser we decided to make thank you bag charms! I raided my bead and charm stash. The little picked out the hardware and decided on…
-

my 2025 bingo card.
I never told anyone but I made a list at the beginning of this year to manifest some creative goals. Here’s how I did! Host a Craft Swap Check! It had been a few years since my crafty BFF and I hosted a craft supply swap! We held our previous…
-

beaded bows.
Just in time for bow season! All you need for this wire bow craft is wire and beads, plus pliers and optional wire cutters. You want to use a wire that is sturdy enough to hold shape with the type of beads you’re using, but is also malleable enough to…
-
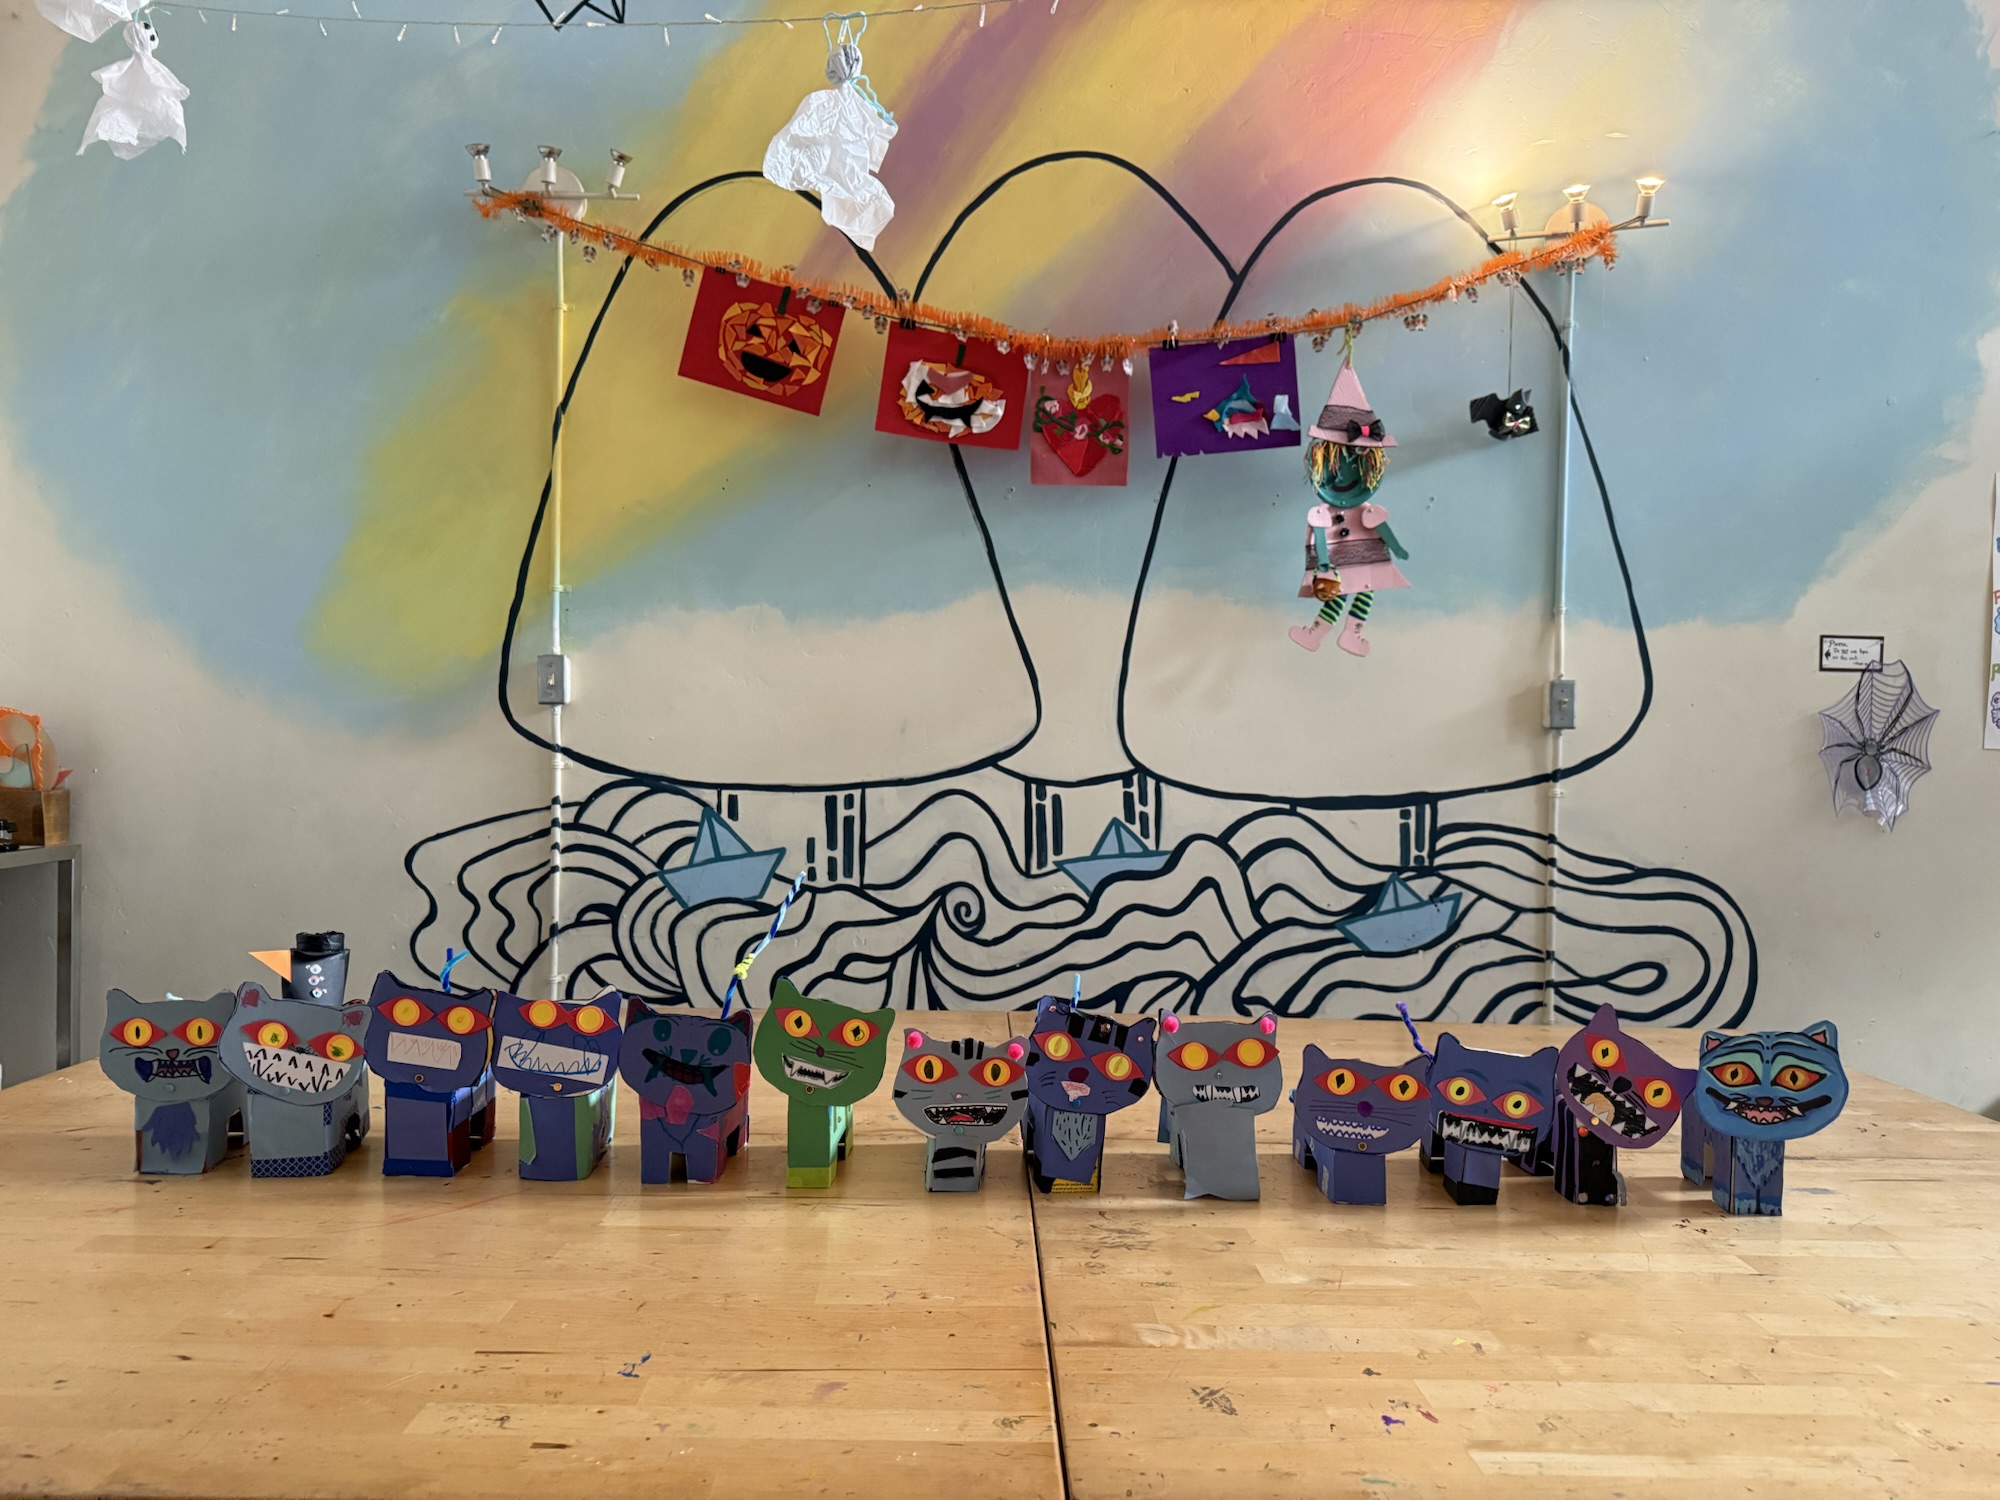
cracker box character.
The 6-7 year old K-Pop Demon Hunters constituency showed up to a Sticky Art Lab birthday and made cracker box Derpy tigers! At the time I had no idea who the character was but I thought it was so cute, and couldn’t wait to see how the kids would add…
-

costume ideas: local hero edition.
How do you celebrate Halloween month? I love a good themed celebration, but I also love wearing costumes while doing totally normal things like going to a puppet show or the farmers market. Last year, we did just that so I thought it would be great fun to dress up…
-

spooky garden.
I’ve swooned over them before, and I’ll swoon over them again – The Nurtured Seedling crew are masters at turning a garden into something so magical for the littles and their grown ups. Remember Earth Day? Ya, pretty epic. And for their Littlest Gardeners Fall Class, owners Flavia and Darina…
-

lemonade stand ready.
My kid’s school hosts a summer lemonade stand, operated by the kids. They get to squeeze and prep the lemons, dispense and serve the lemonade, and greet the community with their “free lemonade” chants and smiles. I found out about a week before the event which was juuuust enough time…
-
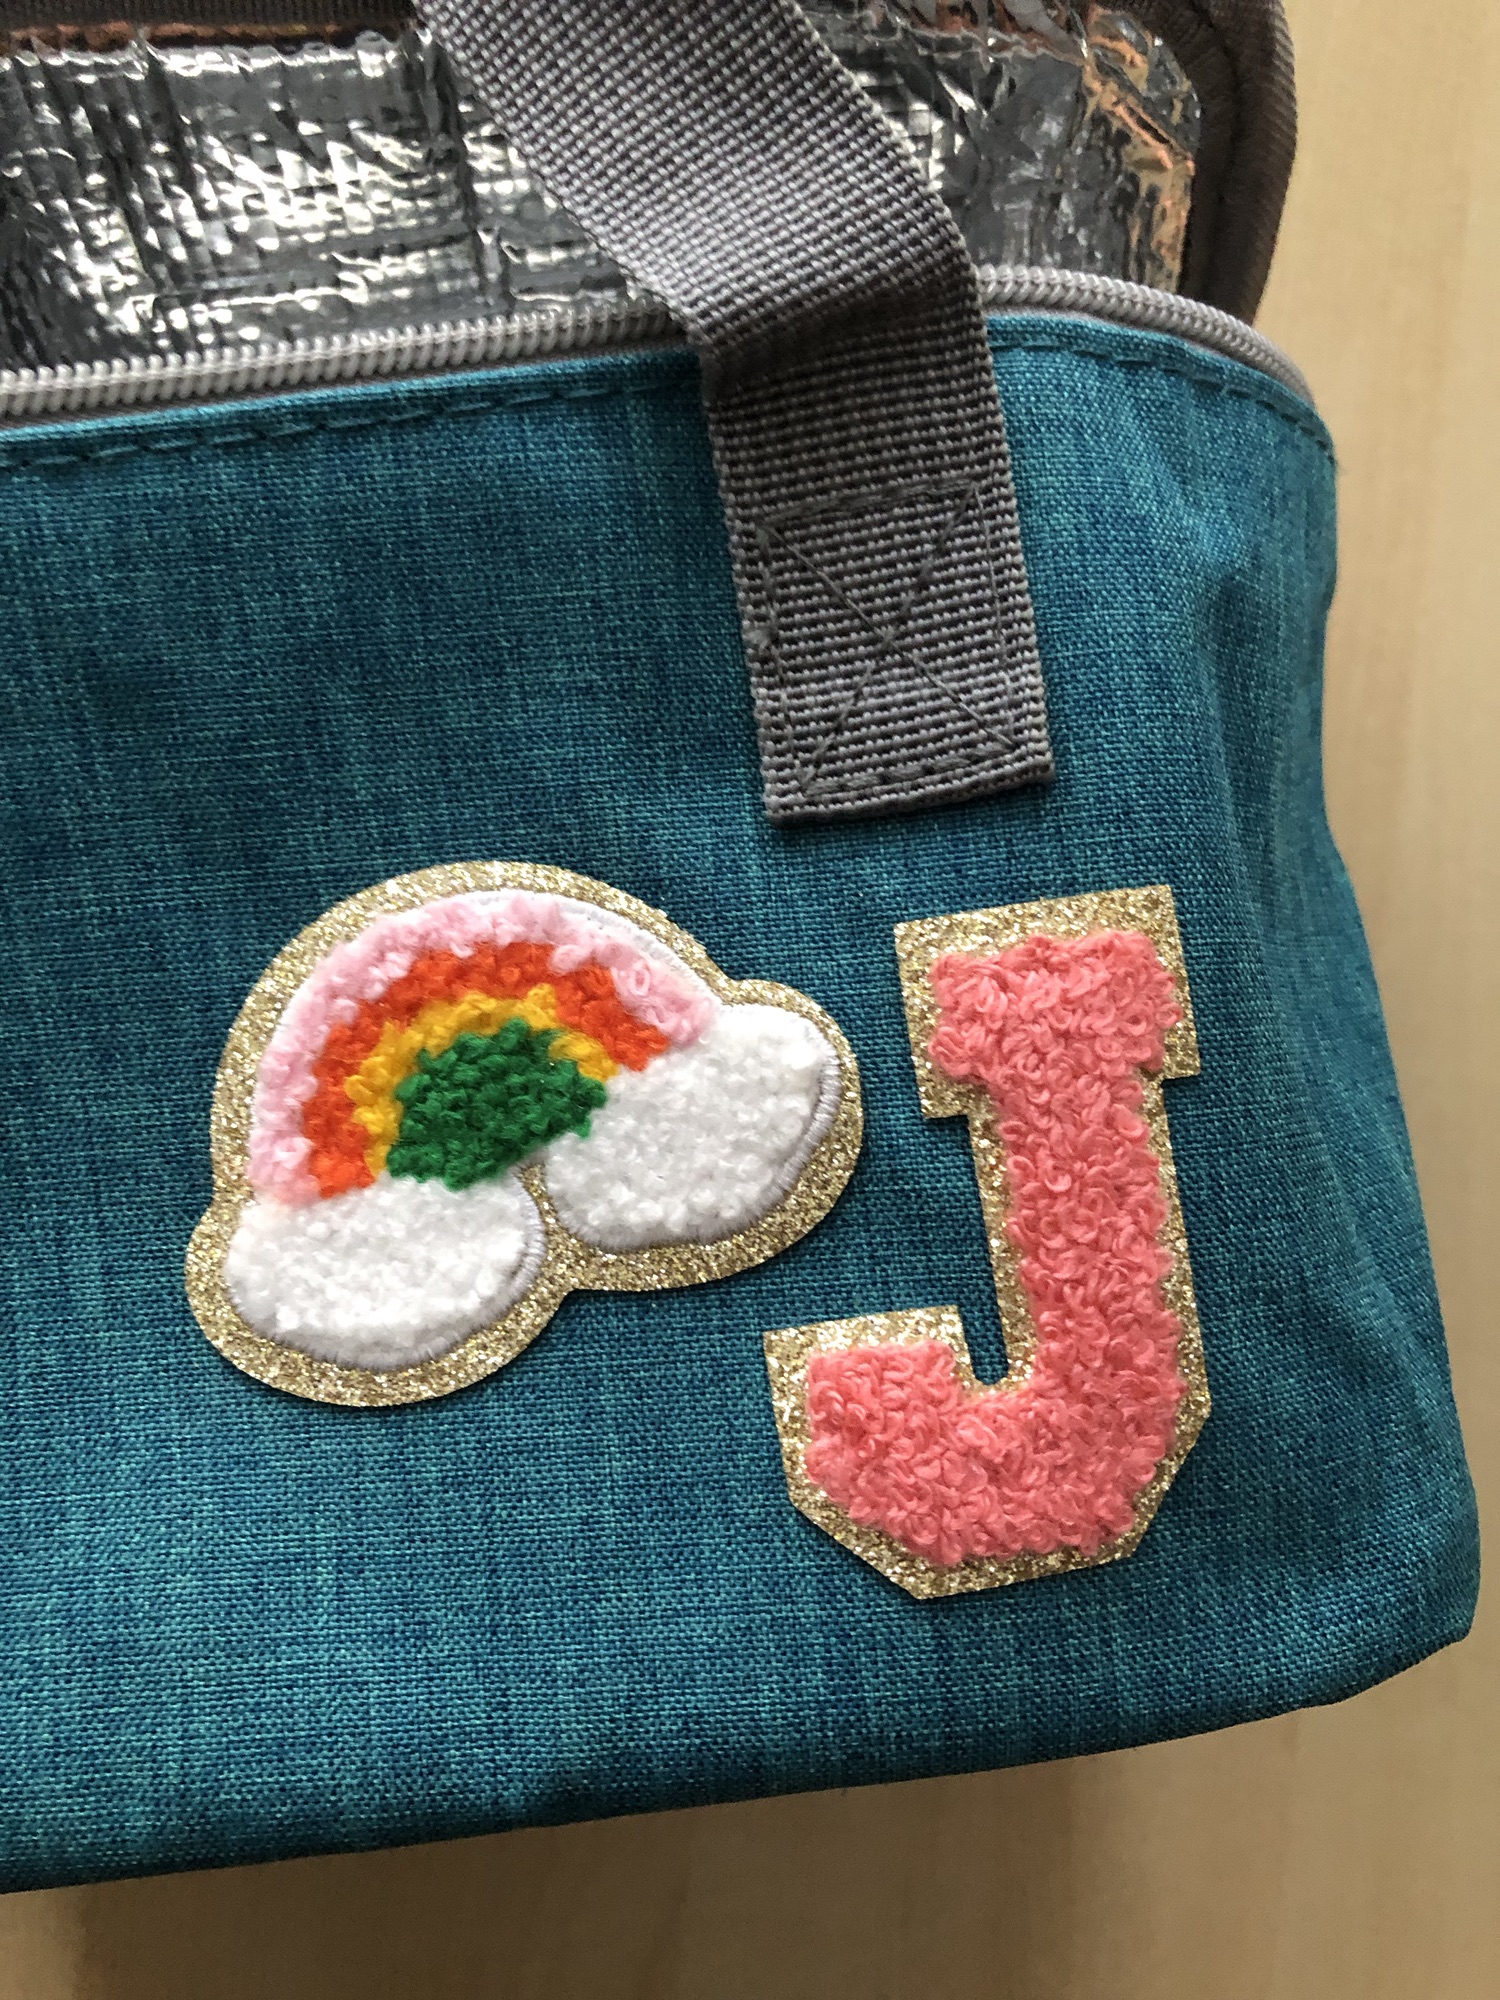
you’re the coolest.
Summer is here and you know I love a good pun. Here’s an idea to celebrate your summer besties: decorate a mini cooler bag and fill it will some fave drinks! Protip: This also makes a fun teacher gift for an end of the year / summer treat! You will…
-

casual tie dye.
For my kid’s preschool it’s tradition for families to gather before the biggest community event of the year and create tie dye shirts. This year we had a ton of leftover dye from the event so I got to use some of my dye stuffs collection to create a few…