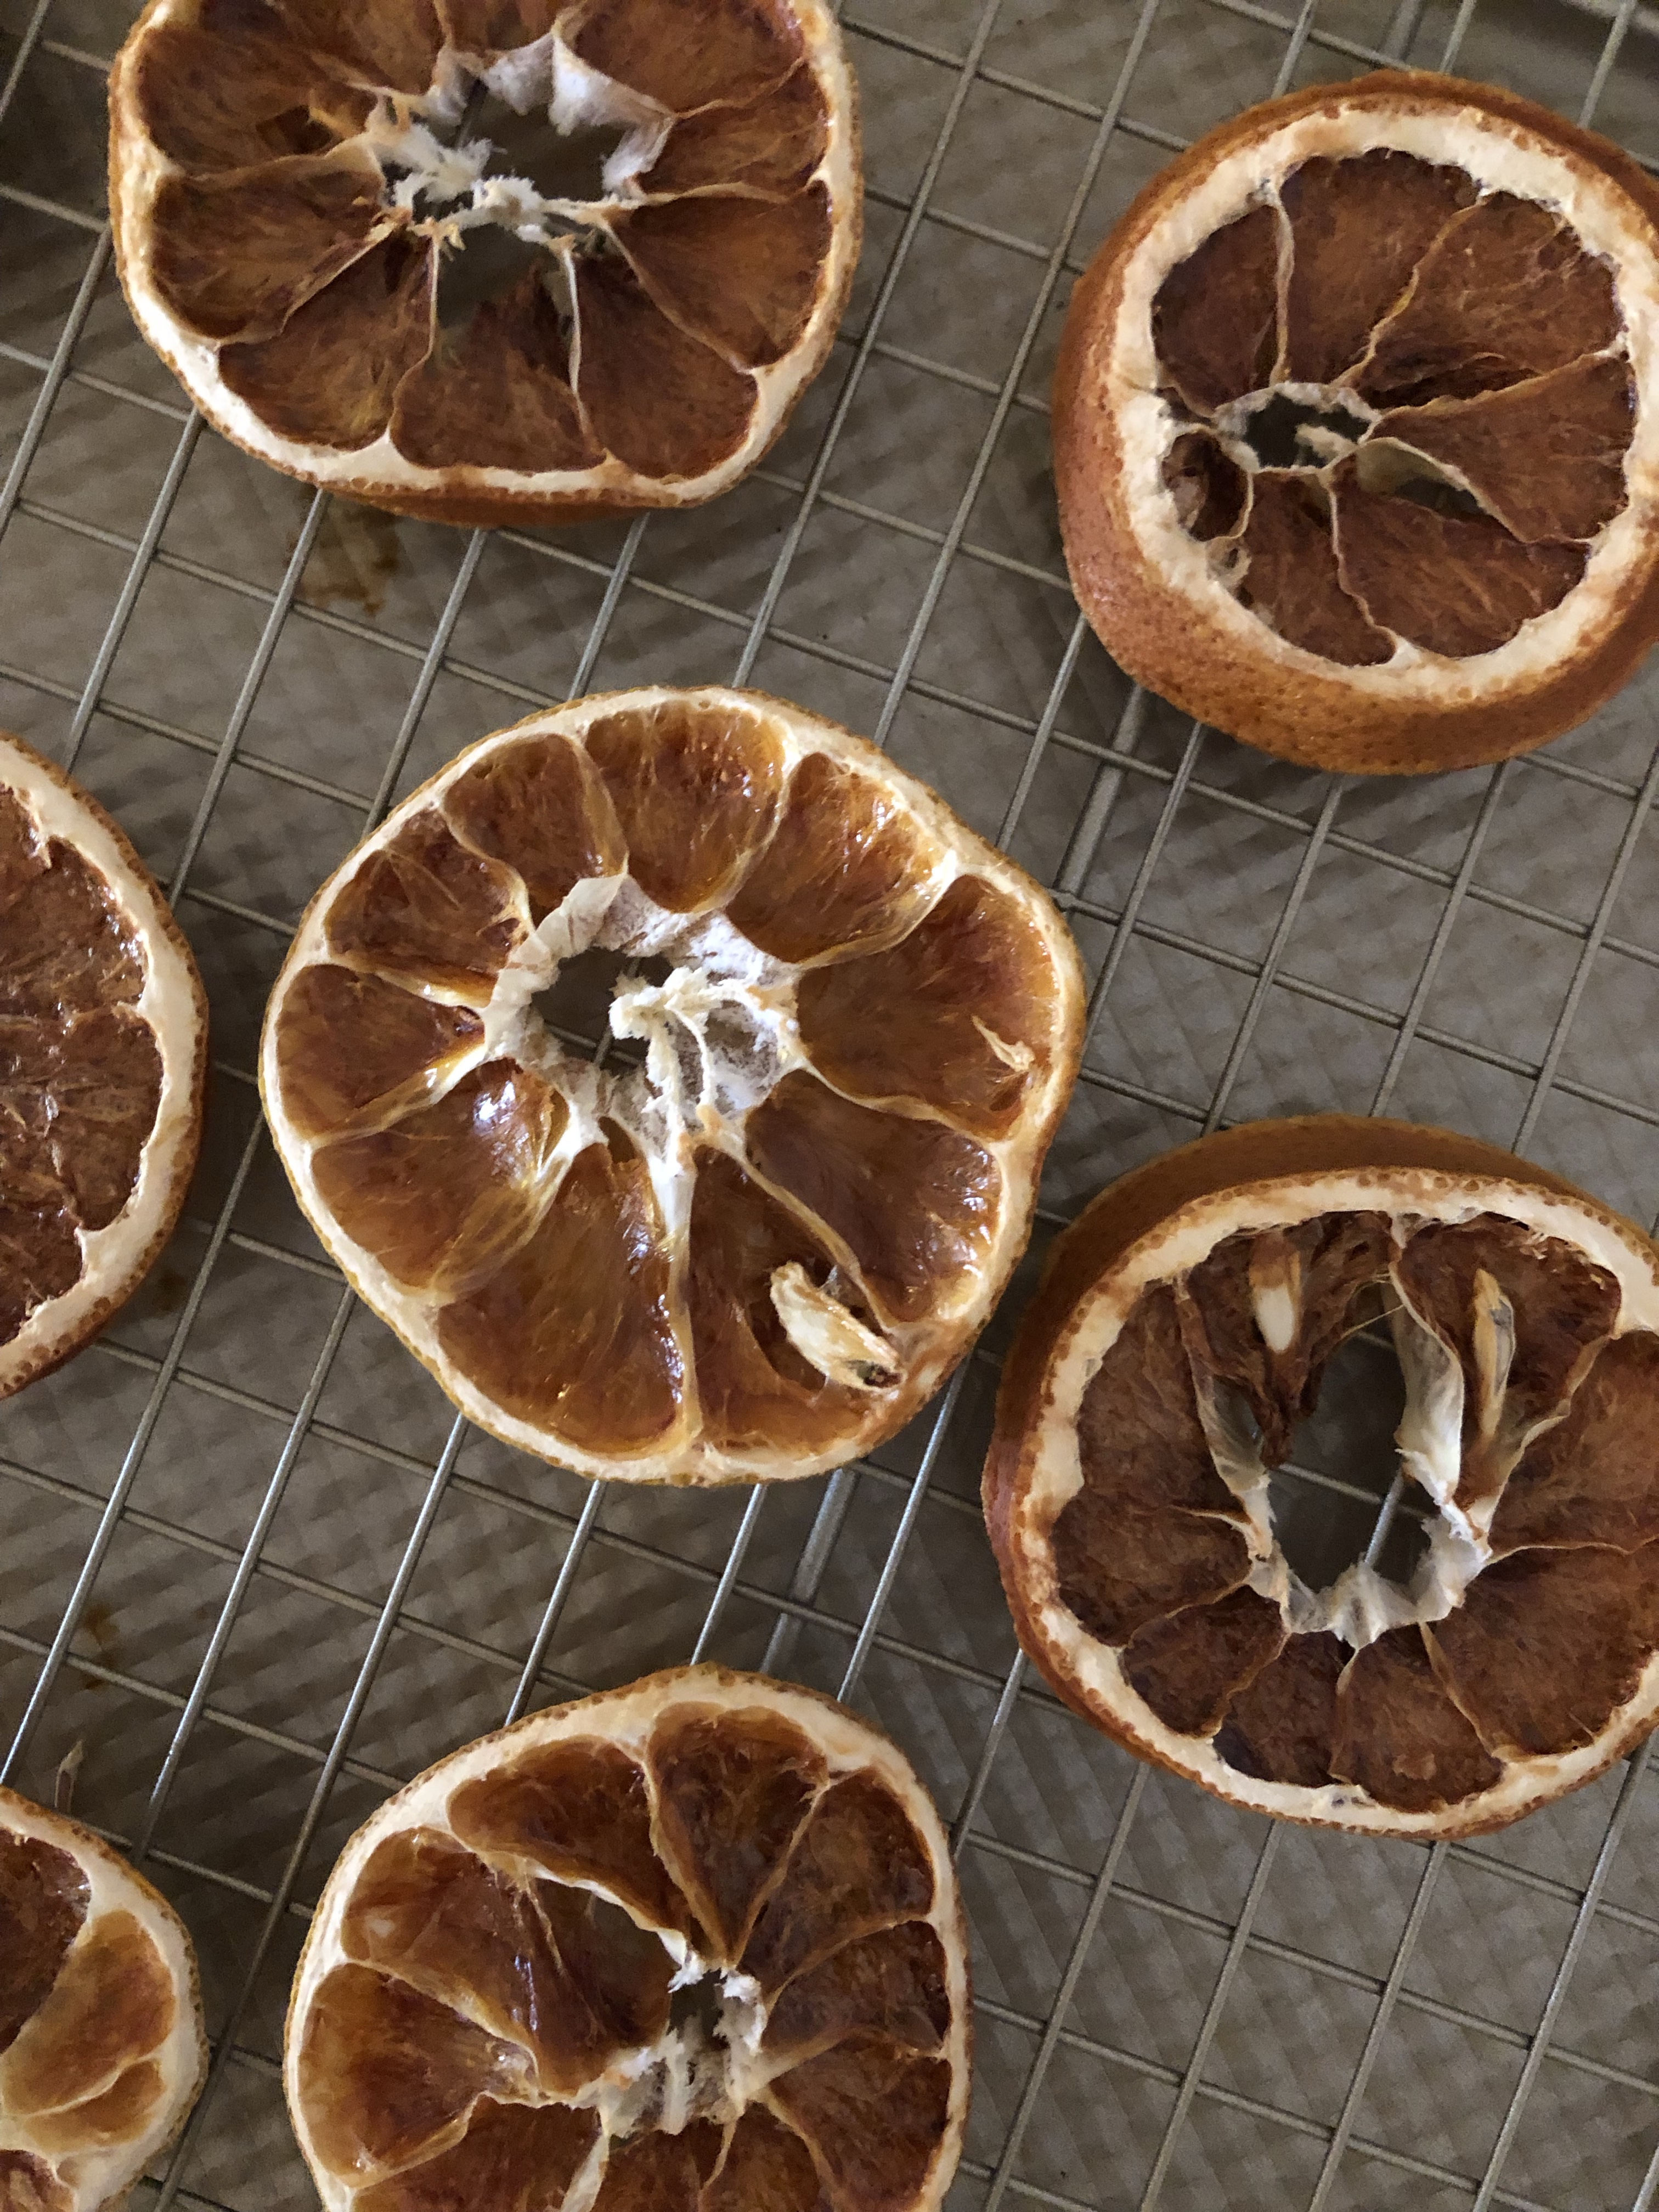
Time to deck the halls! The first time I tried drying citrus it was a major fail. I’m happy to report that I tried again and figured it out! And, I can share that these dried citrus pieces have survived 2 Christmas seasons so far and are safely stored for season 3.


Gather materials:
- Citrus
- Knife
- Cutting board
- Baking sheet
- Baking rack (essential!)
- Oven
- Scissors
- Twine or other cord
- Craft needle


How to:
- Set your oven to 200F.
- While the oven preheats, thinly slice your citrus of choice. This time I used oranges, but I’d like to try grapefruit, lemons, and limes for color variety.
- Place the citrus slices onto a baking rack on top of a baking sheet. The baking rack is what I believe led to my success. It allows for the heat to get to both sides of the citrus slices for more even drying.
- Bake! I baked for a total of ~6 hours. I started with 2 hours, flipped (you could probably skip the flip if you’re using a baking rack) and added another 2 hours, then checked every 40-60 minutes until the slices felt less sticky to touch but did not leave a sticky residue on my fingers. I let the oven cool down with the oranges inside.
- Once cool, cut a 12″ piece of twine and thread through the top of a slice using a craft needle. Repeat for the remaining slices.
- Knot the twine and hang. You could also tie a cute bow to each or string your citrus in garland format.


I’m loving these as ornaments for our tree! To store for the next season I’ve placed my citrus ornaments in a zip-top plastic bag with parchment paper between the slices, and kept indoors.


Let me know if you try this craft or if you’ve got some pro-tips to share!
Leave a Reply