Category: Celebrate.
-

journaling advent calendar.
Scrambling to get an advent calendar together? Look no further! This low-prep journaling advent calendar requires at bare minimum 24 pieces of paper and a pen! I don’t recall ever having an Advent calendar as a kid, but as an adult I’ve been intrigued by them and have wanted to…
-
13 (ish) lucky halloween costume ideas for bebe.
Tell me you’re a crafty mom without telling me you’re a crafty mom. ::Inserts all the baby Halloween costumes here.:: Sharing some fun and mostly simple DIY Halloween costumes you can try with your little. If you’ve been following along, you’ll know I’m a big fan of using clothes we…
-

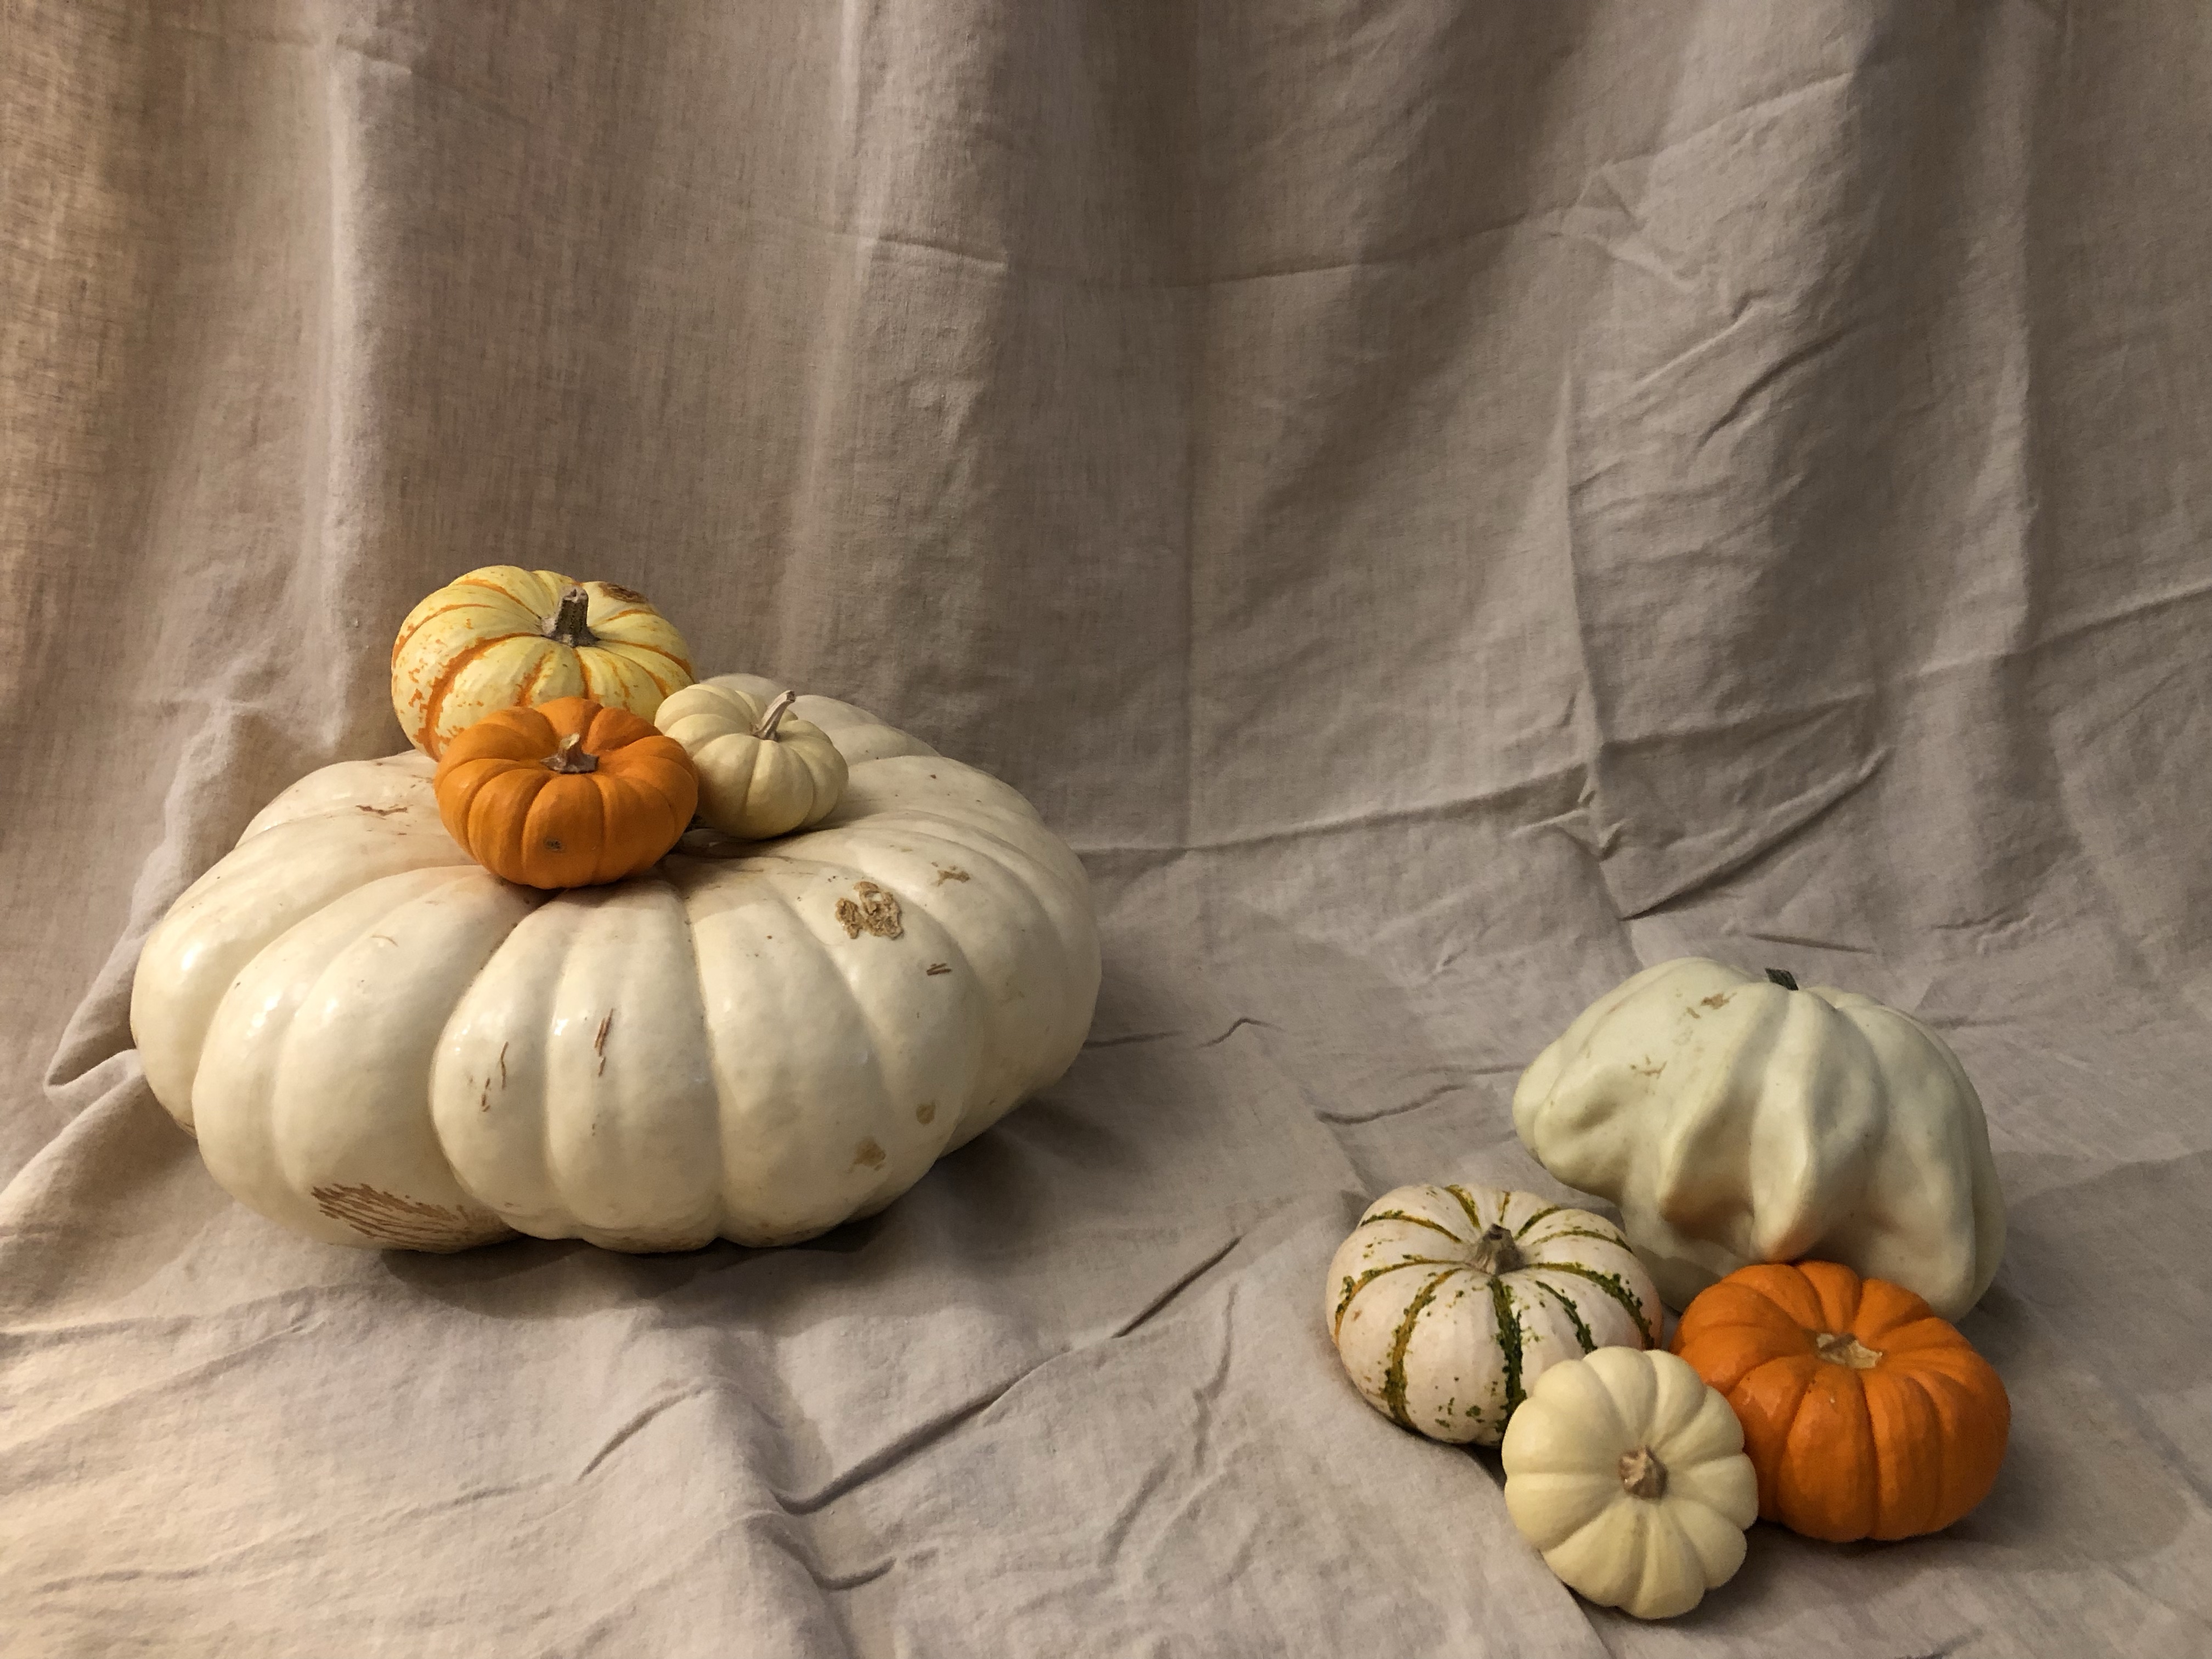
pumpkin pickin.
My favorite Fall tradition is searching for fun-shaped pumpkins at local nurseries, patches, and even markets to adorn our home for the season. The hardest part is limiting myself to purchasing only a few pumpkins at each location. Here are some of my favorite spots for finding the perfect pumpkins.…
-

hat trick.
Another day, another celebration at work. This time: a tea party for a bride-to-be. My coworker came up with games, we all prepared a snack to share, and I put together a craft activity – floral sun hats! Materials: This craft couldn’t be any easier! Here’s the how to: This…
-
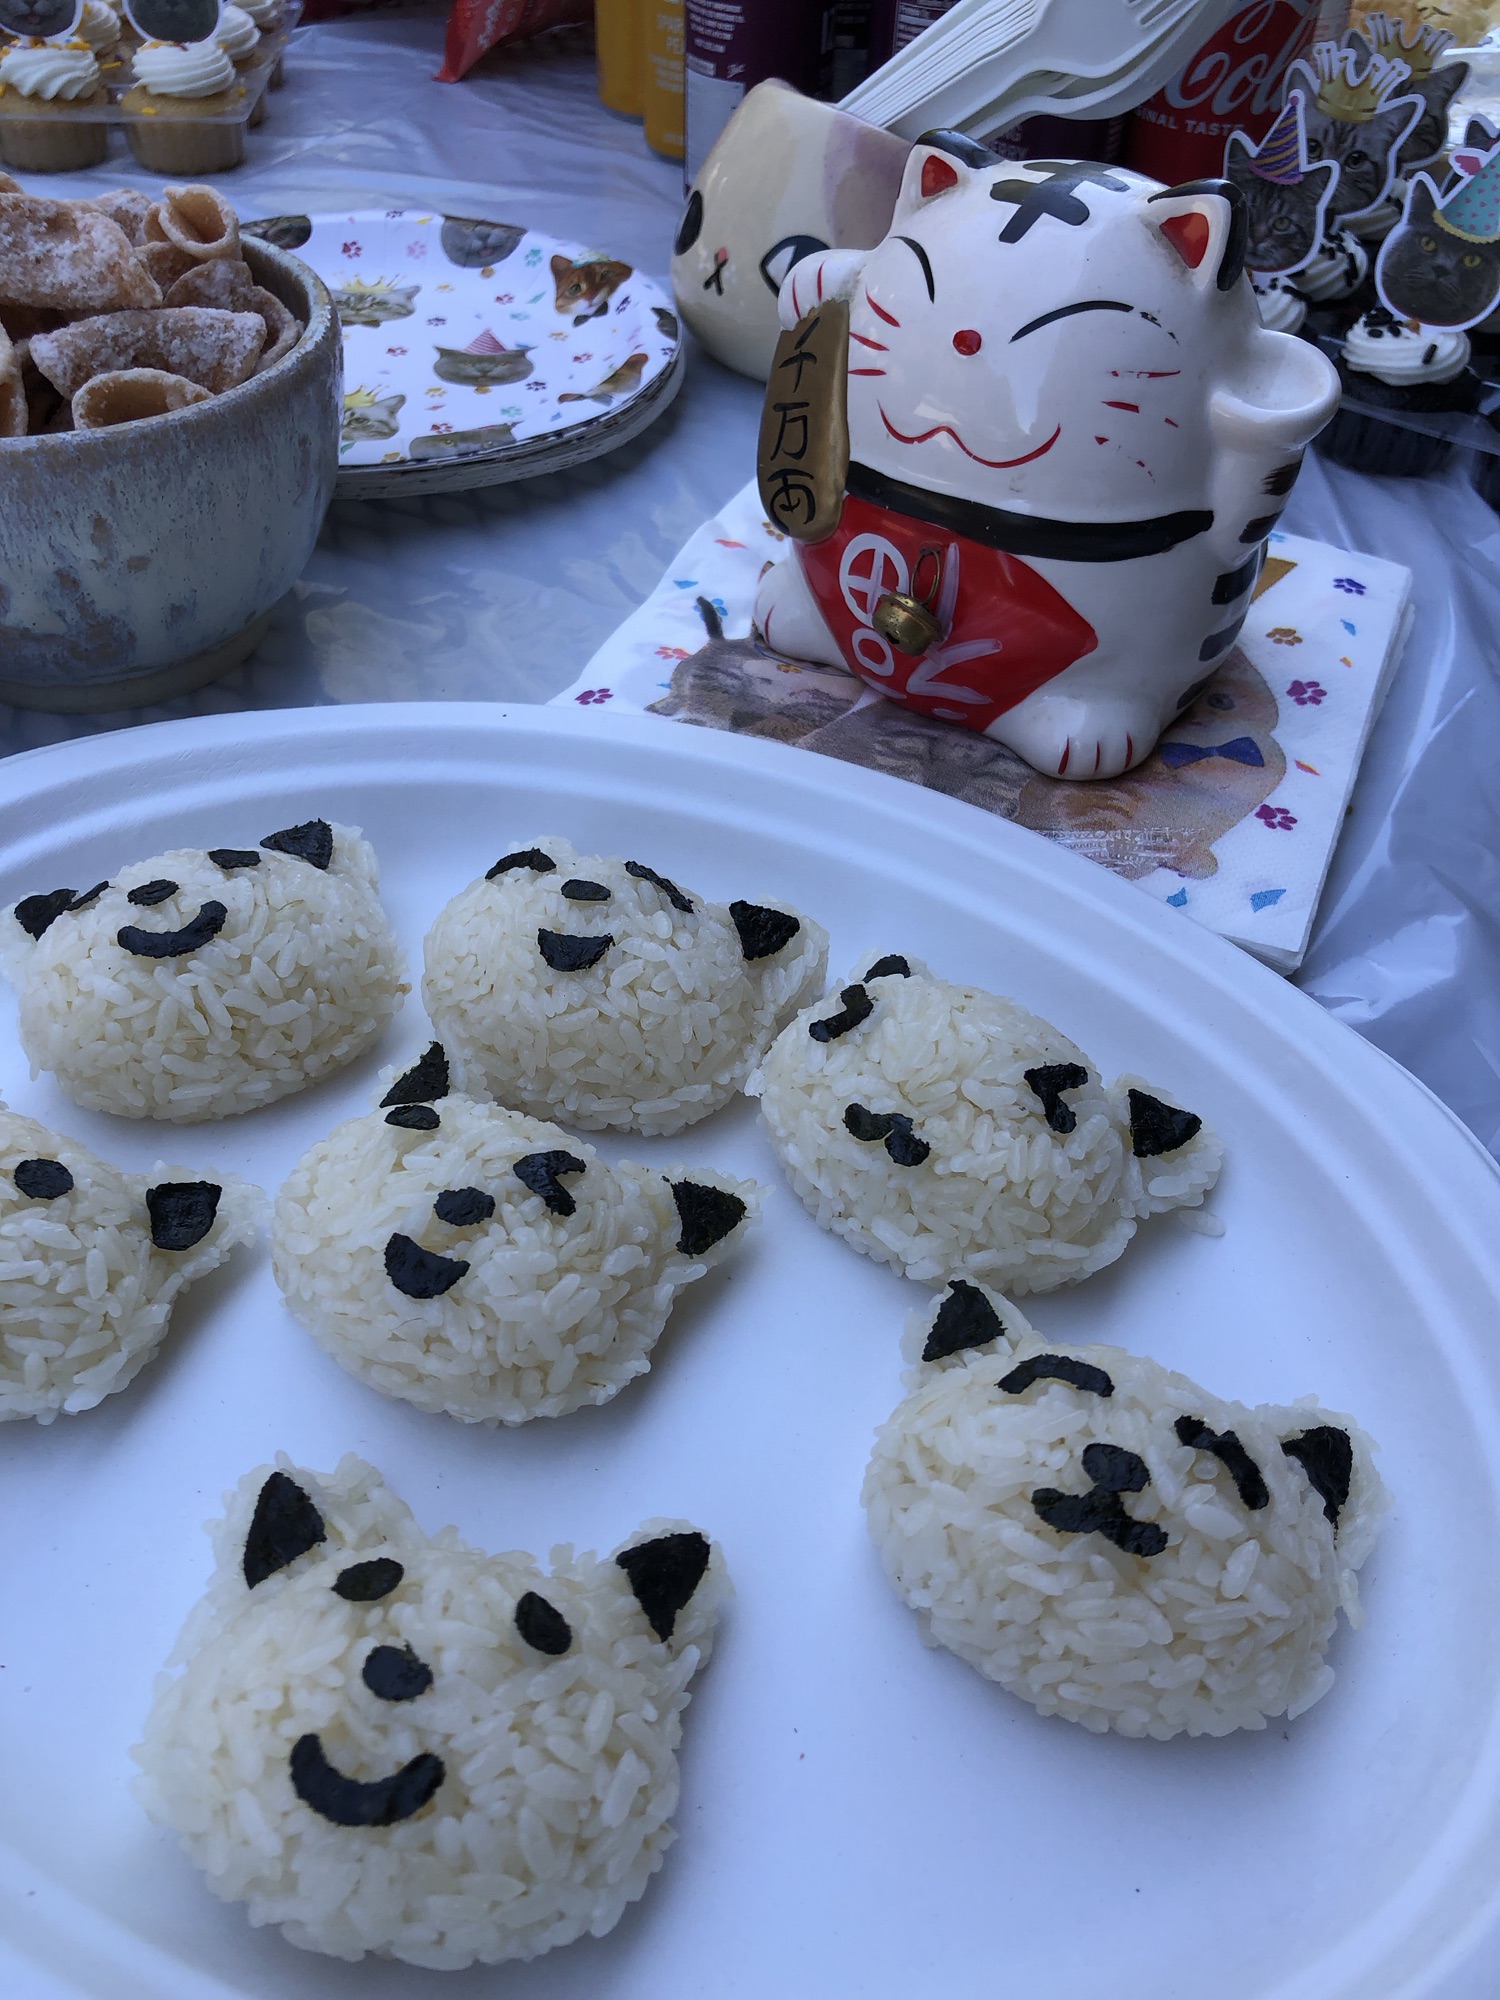
mew crew.
Another day in the office, another party! Or should I say “purr-ty”? Ayy. To celebrate one our fellows completing their fellowship, my coworker wanted to host a cat-themed event. She put together an a-meow-zing snack and decor spread, and I promised her a cat-themed craft! On the menu: cat-shaped rice…
-
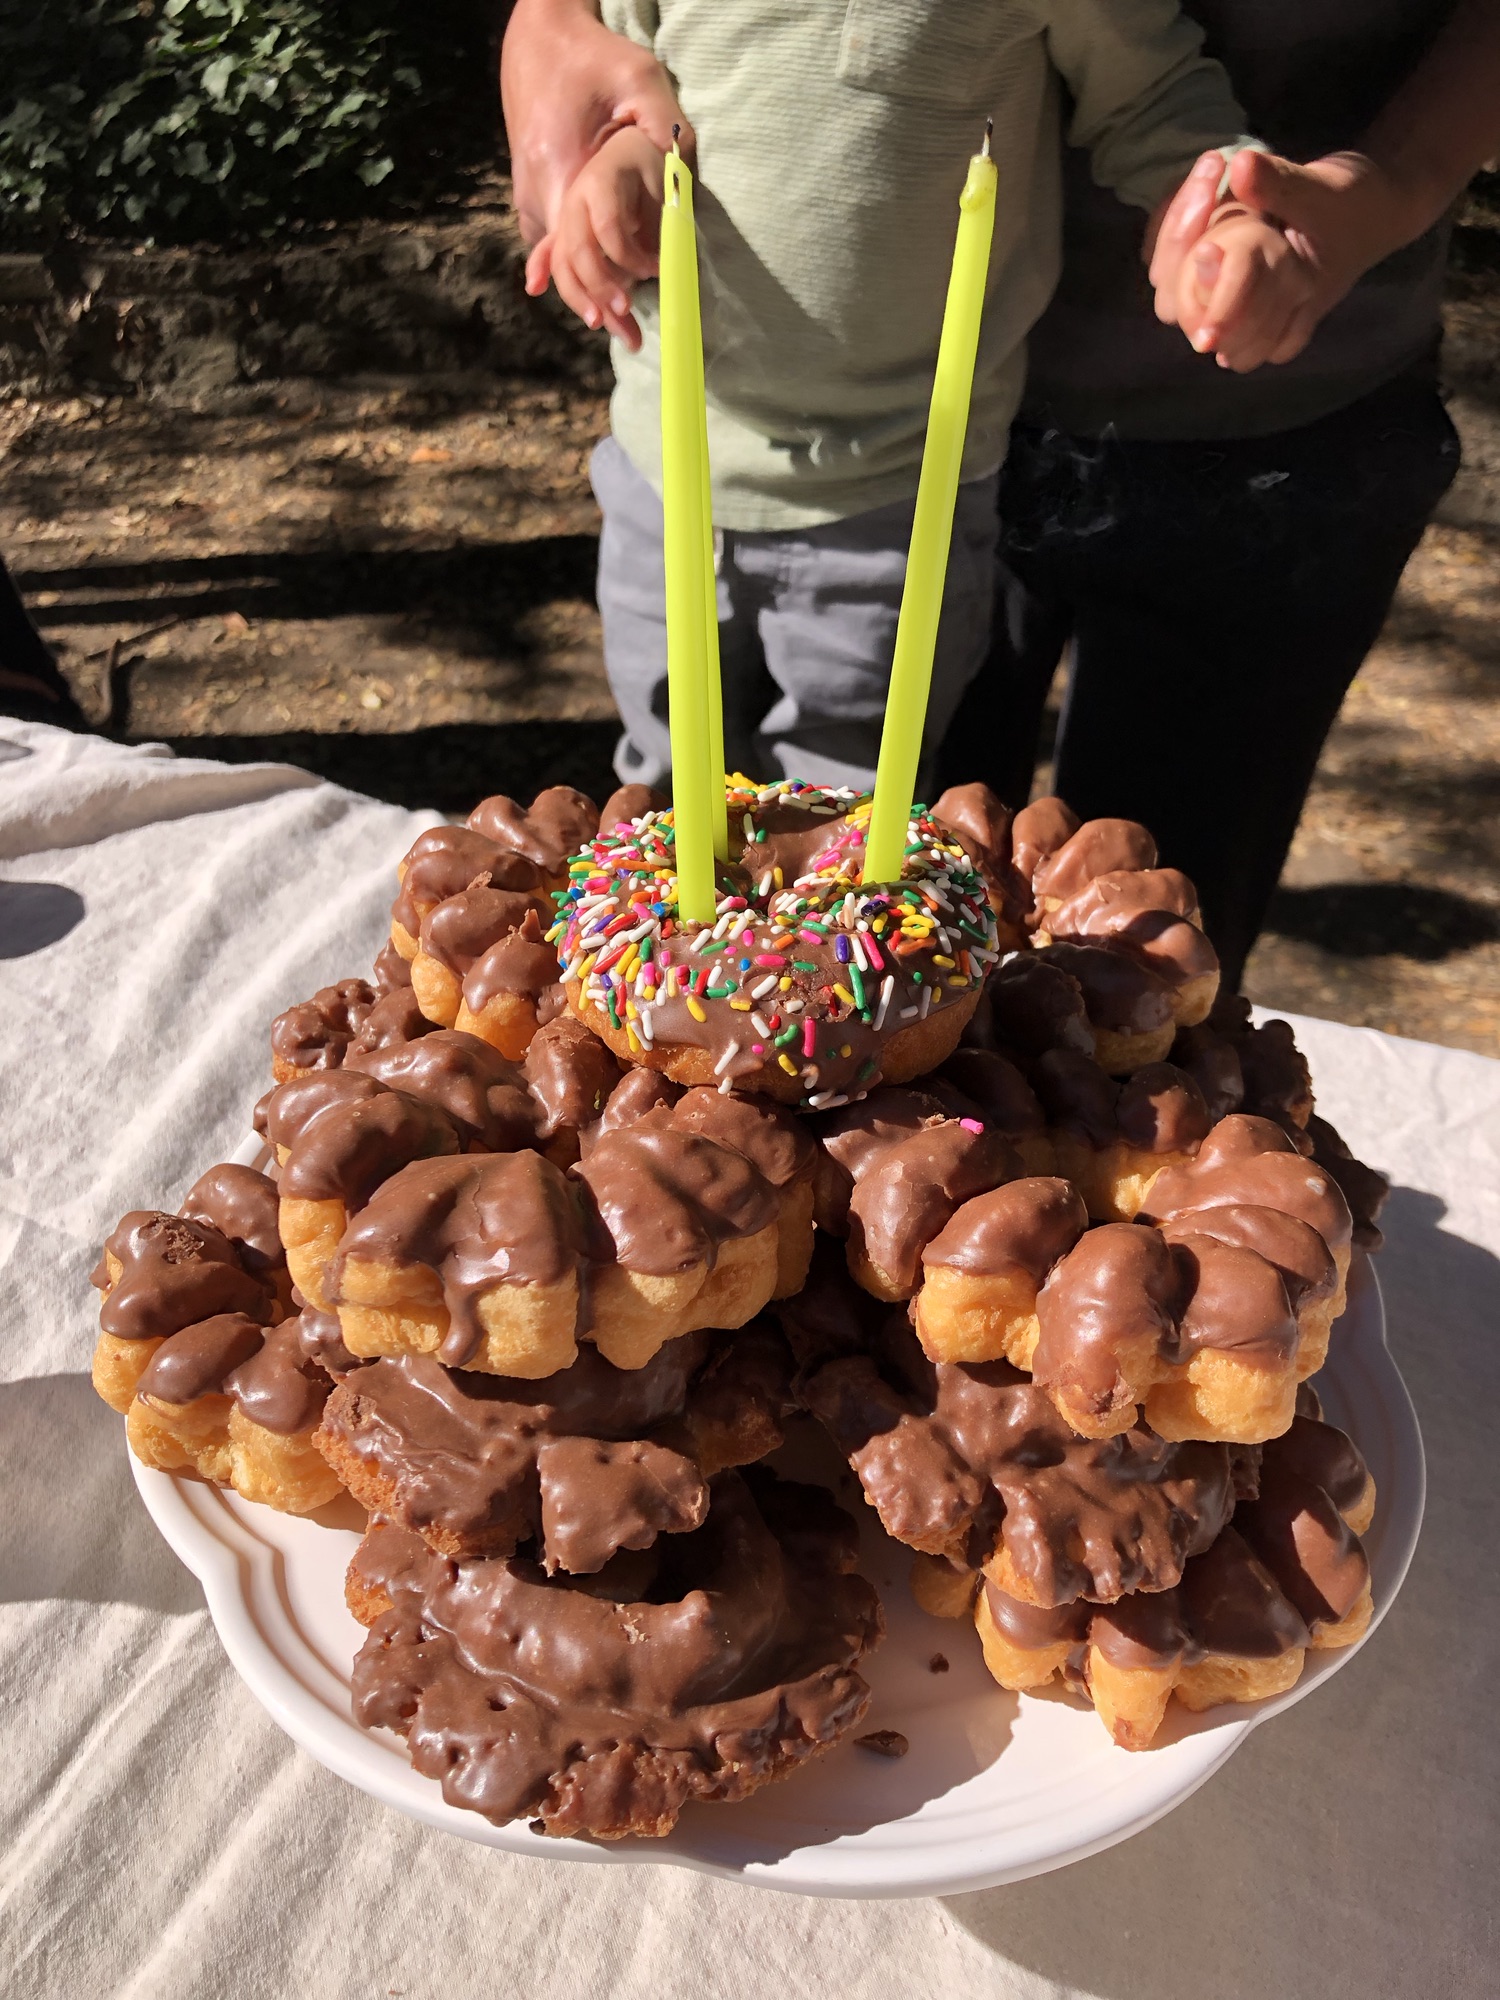
monster jam.
Monster Jam is coming to town and I keep getting targeted ads on Instagram. While I debate spending big bucks on prime seats and pit party passes I thought this was a good time to share some Monster Jam-themed party ideas! For his third birthday, I let my toddler pick…
-
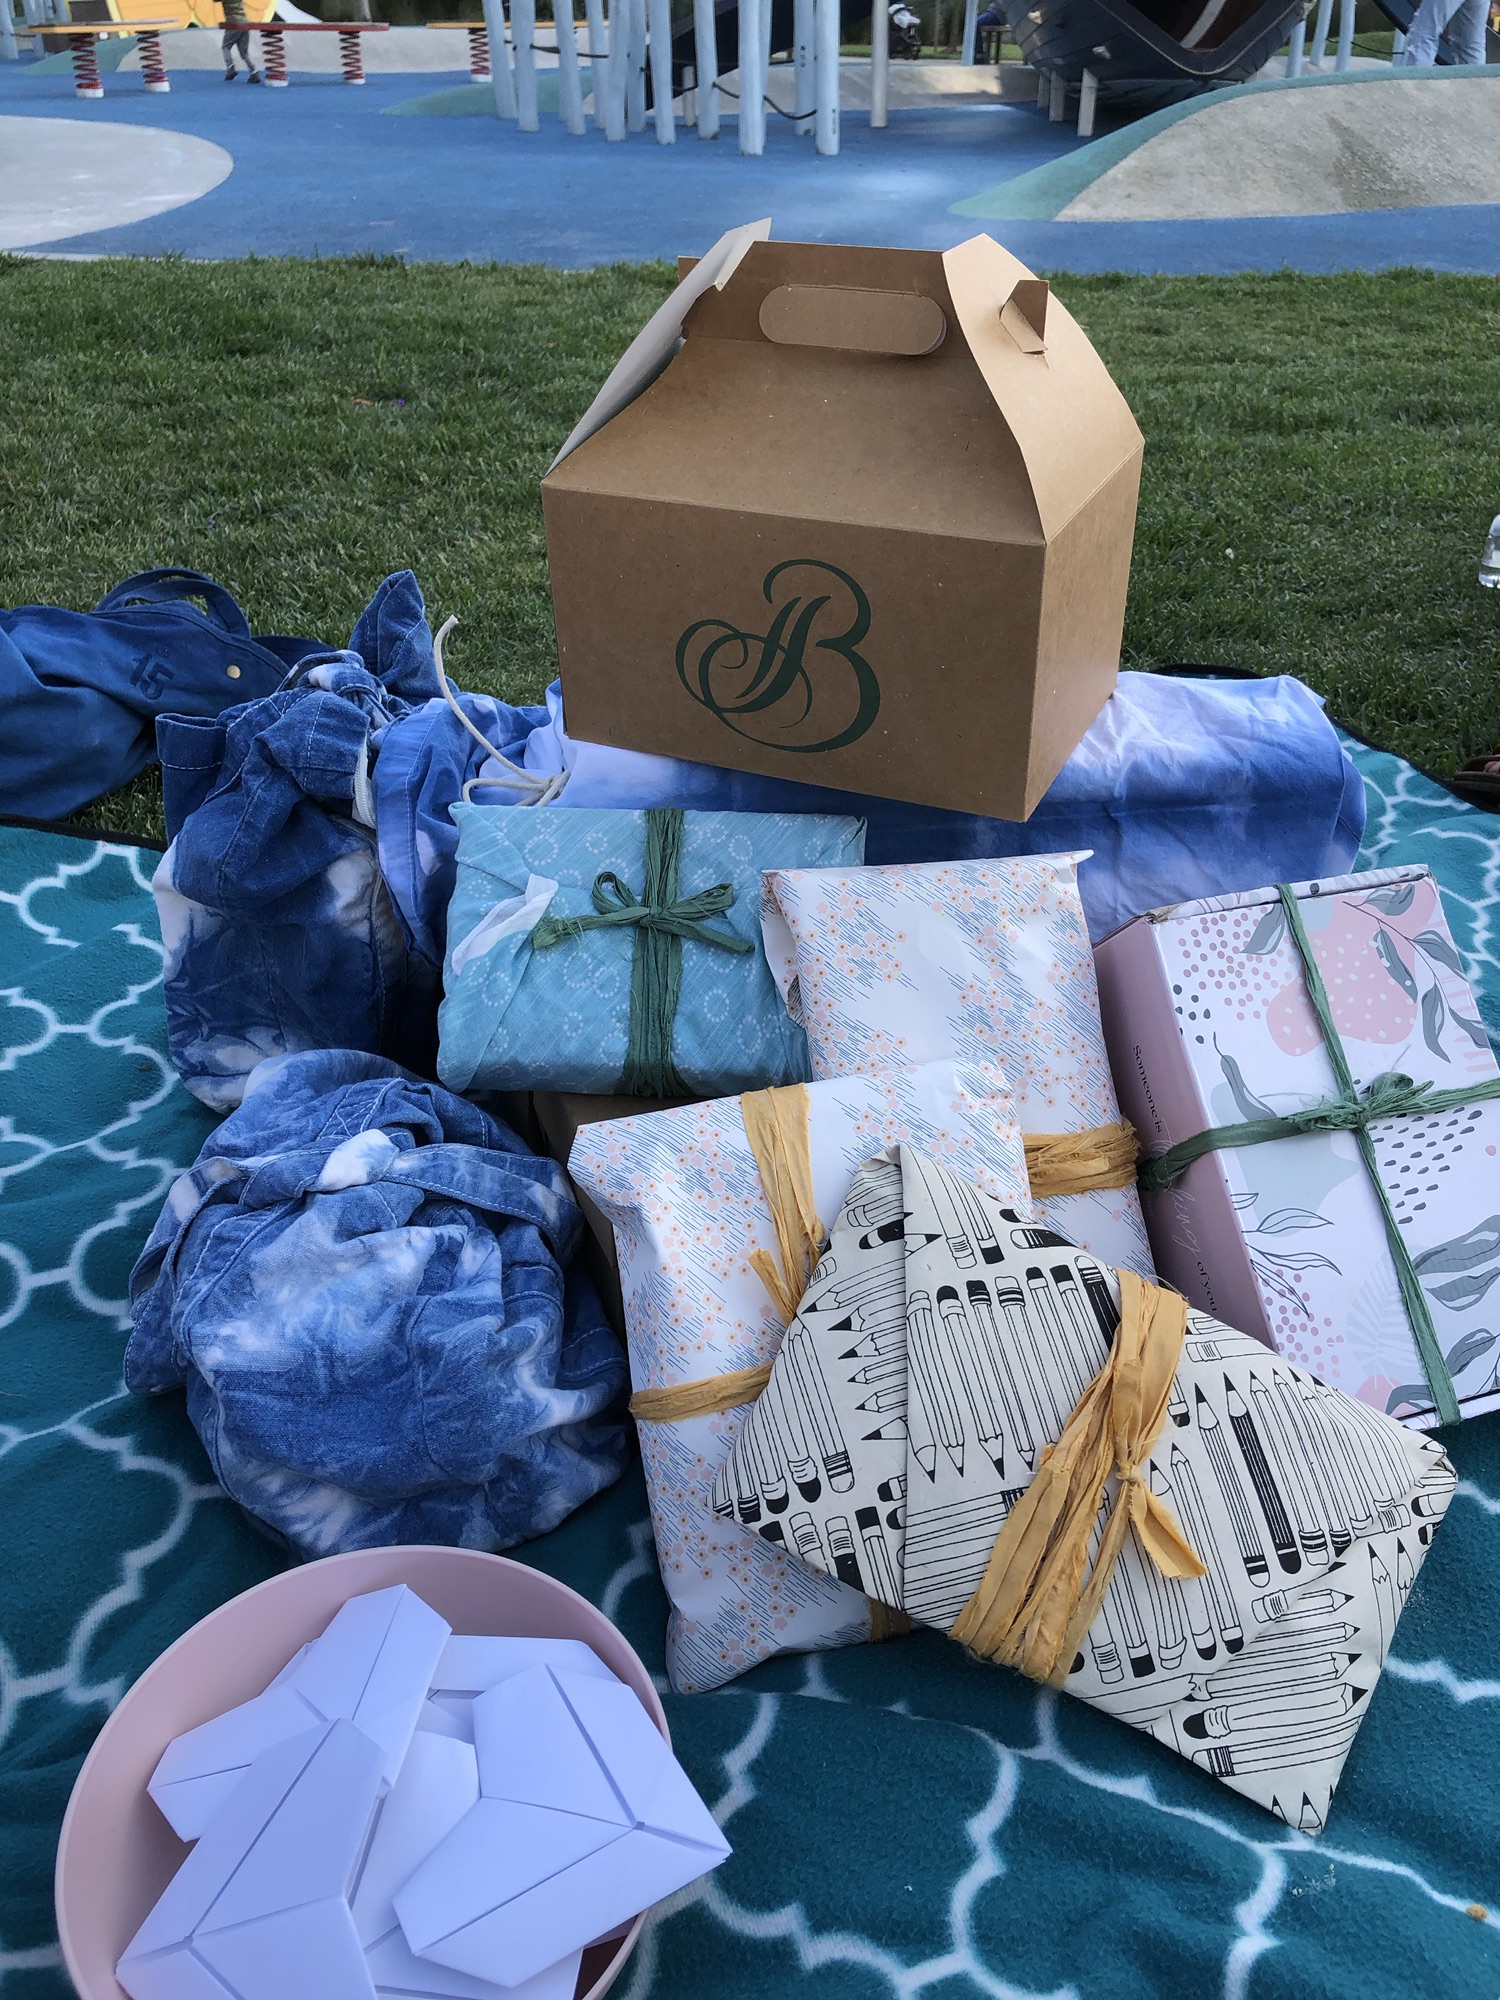
birthday white elephant.
It’s my birthmonth so I’m sharing an idea for your next birthday celebration: host a birthday white elephant gift exchange where you provide all the gifts. It’s a party idea that is sure to surprise and amuse all your guests, and everyone leaves with a surprise party favor. There was…
-

birthdays at sticky.
After a hiatus, I’ve managed to find my way back onto the Sticky Art Lab team! Way back when I first started my handmade business Feed the Fish co, I popped up at a winter market (in 2011!). Since then I’ve been on and off a part of Sticky –…
-
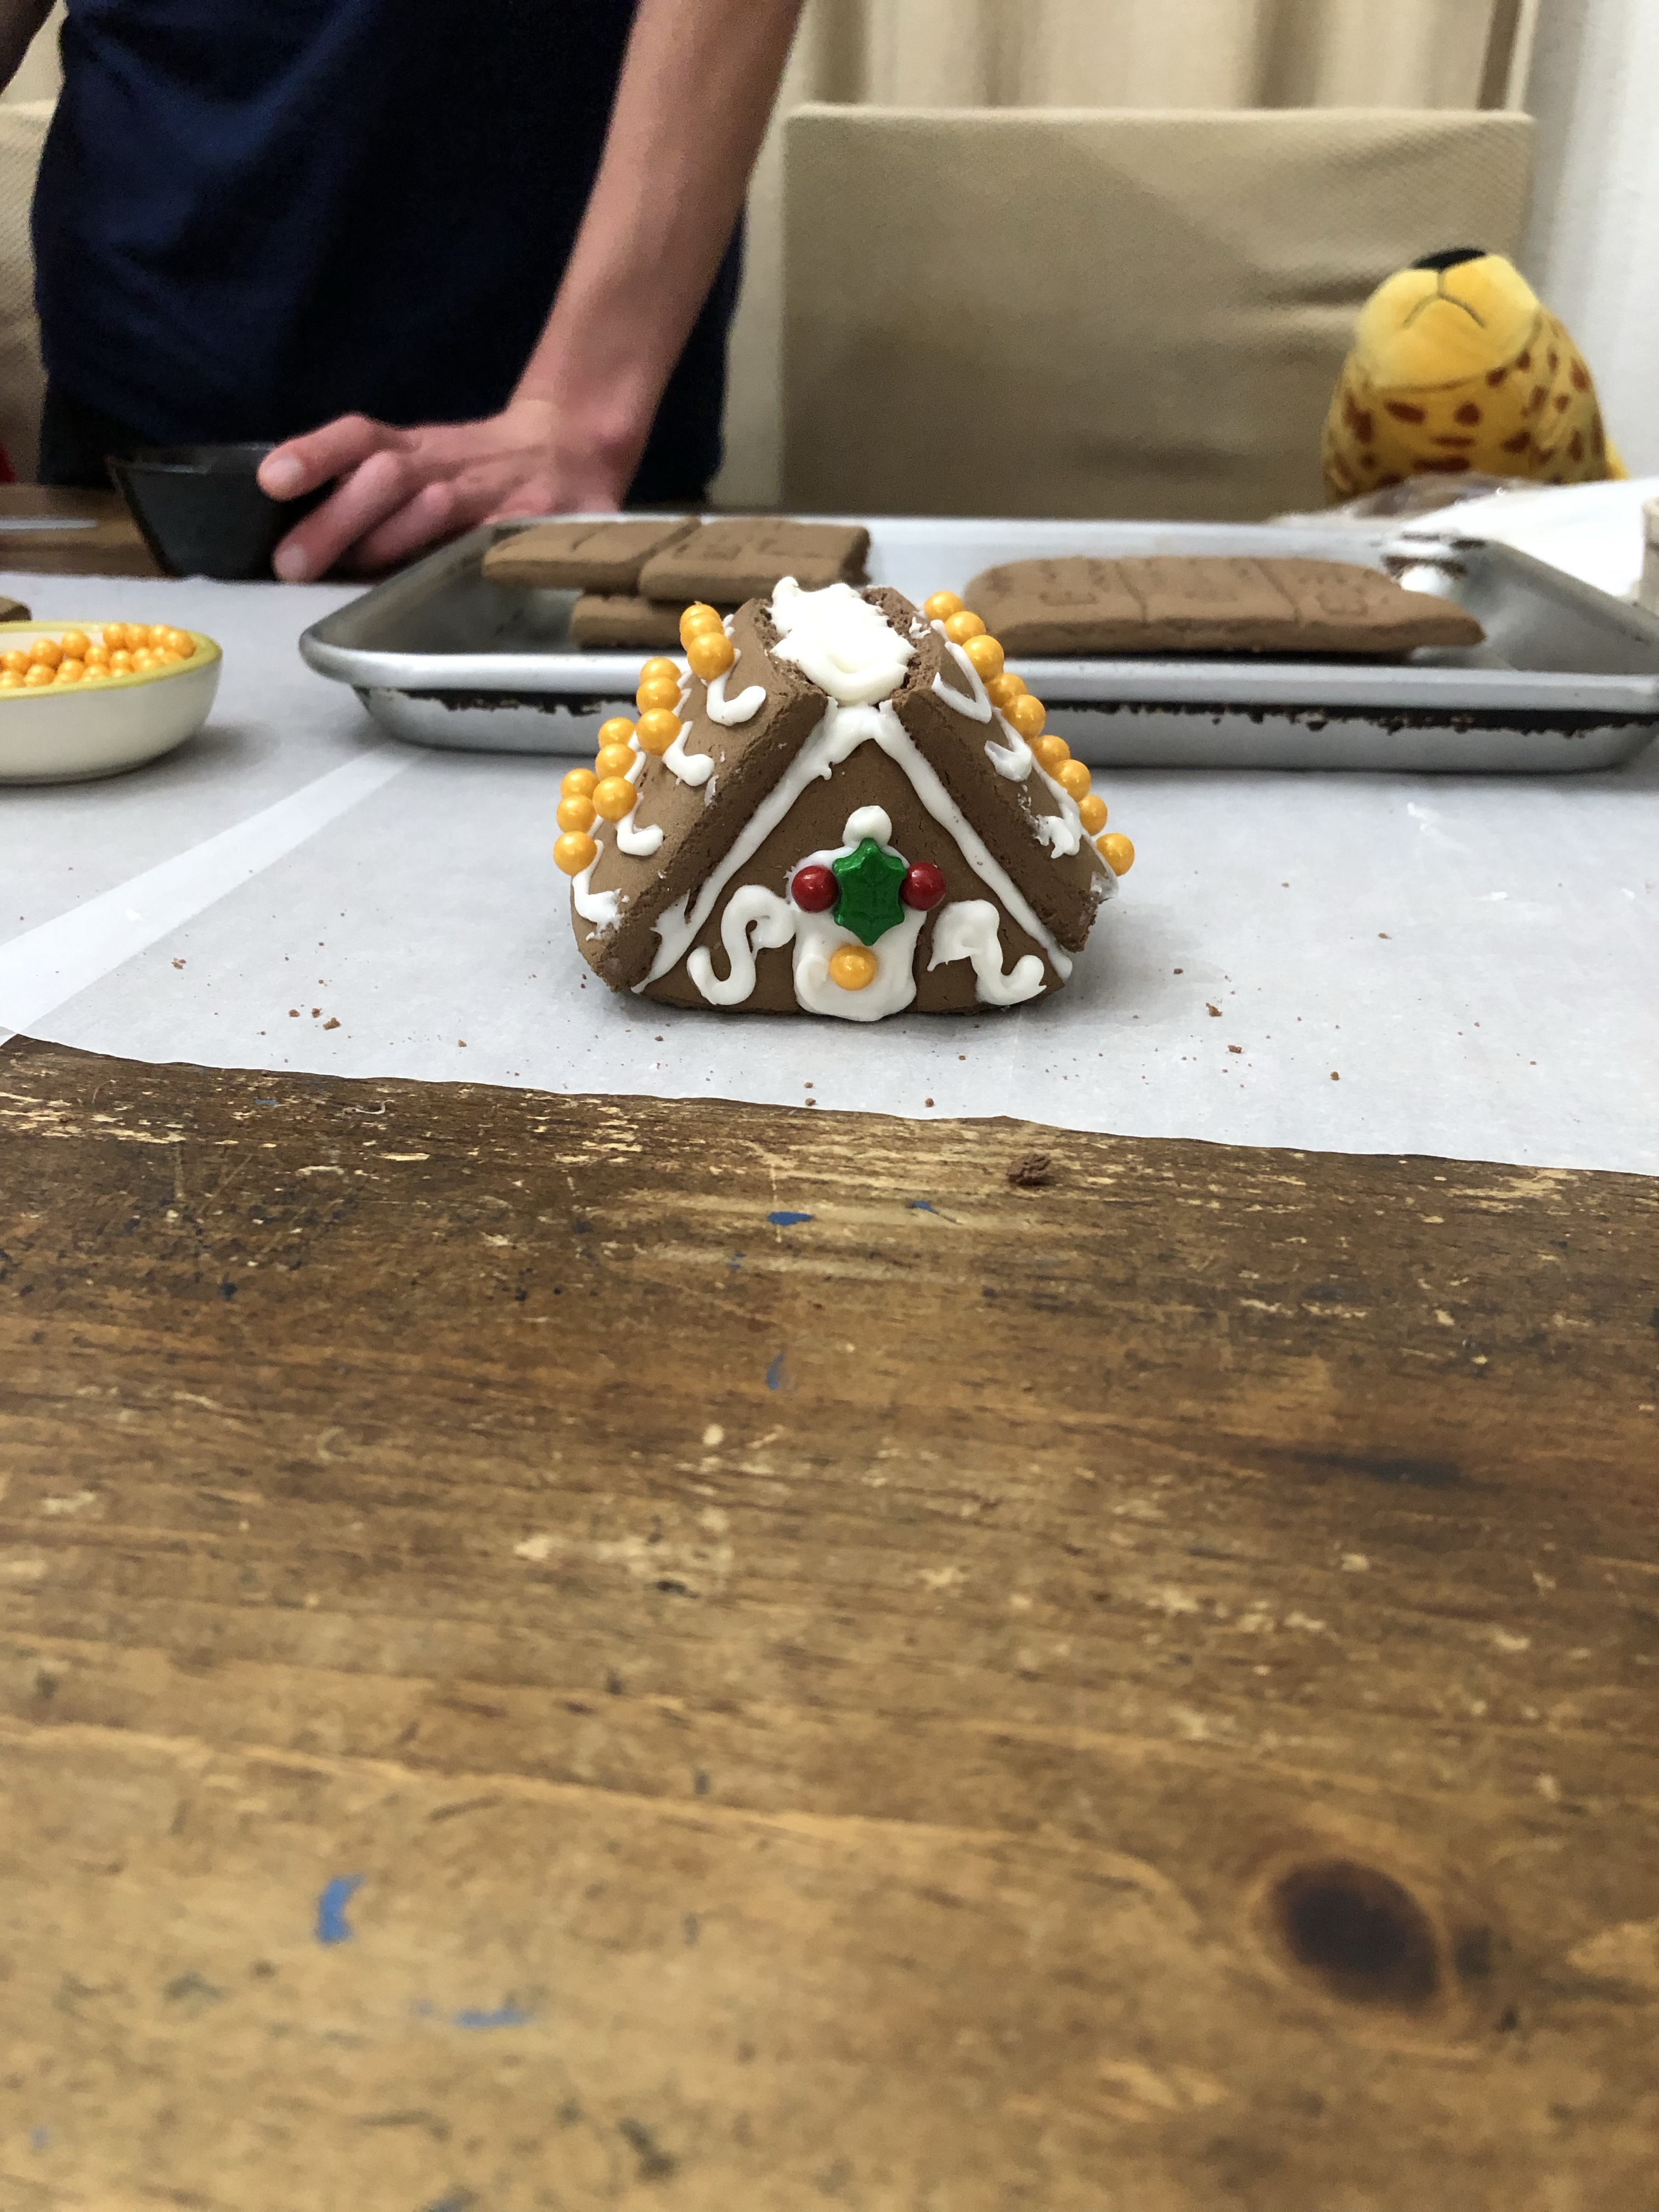
gingerbread house.
Many years ago I decided I wanted to make a gingerbread house from scratch, and it was way too much work. So now I’m now a huge fan of kits; there are so many variations! I’m kind of obsessed with the kits I’ve found at Michaels and Joann – a…
-
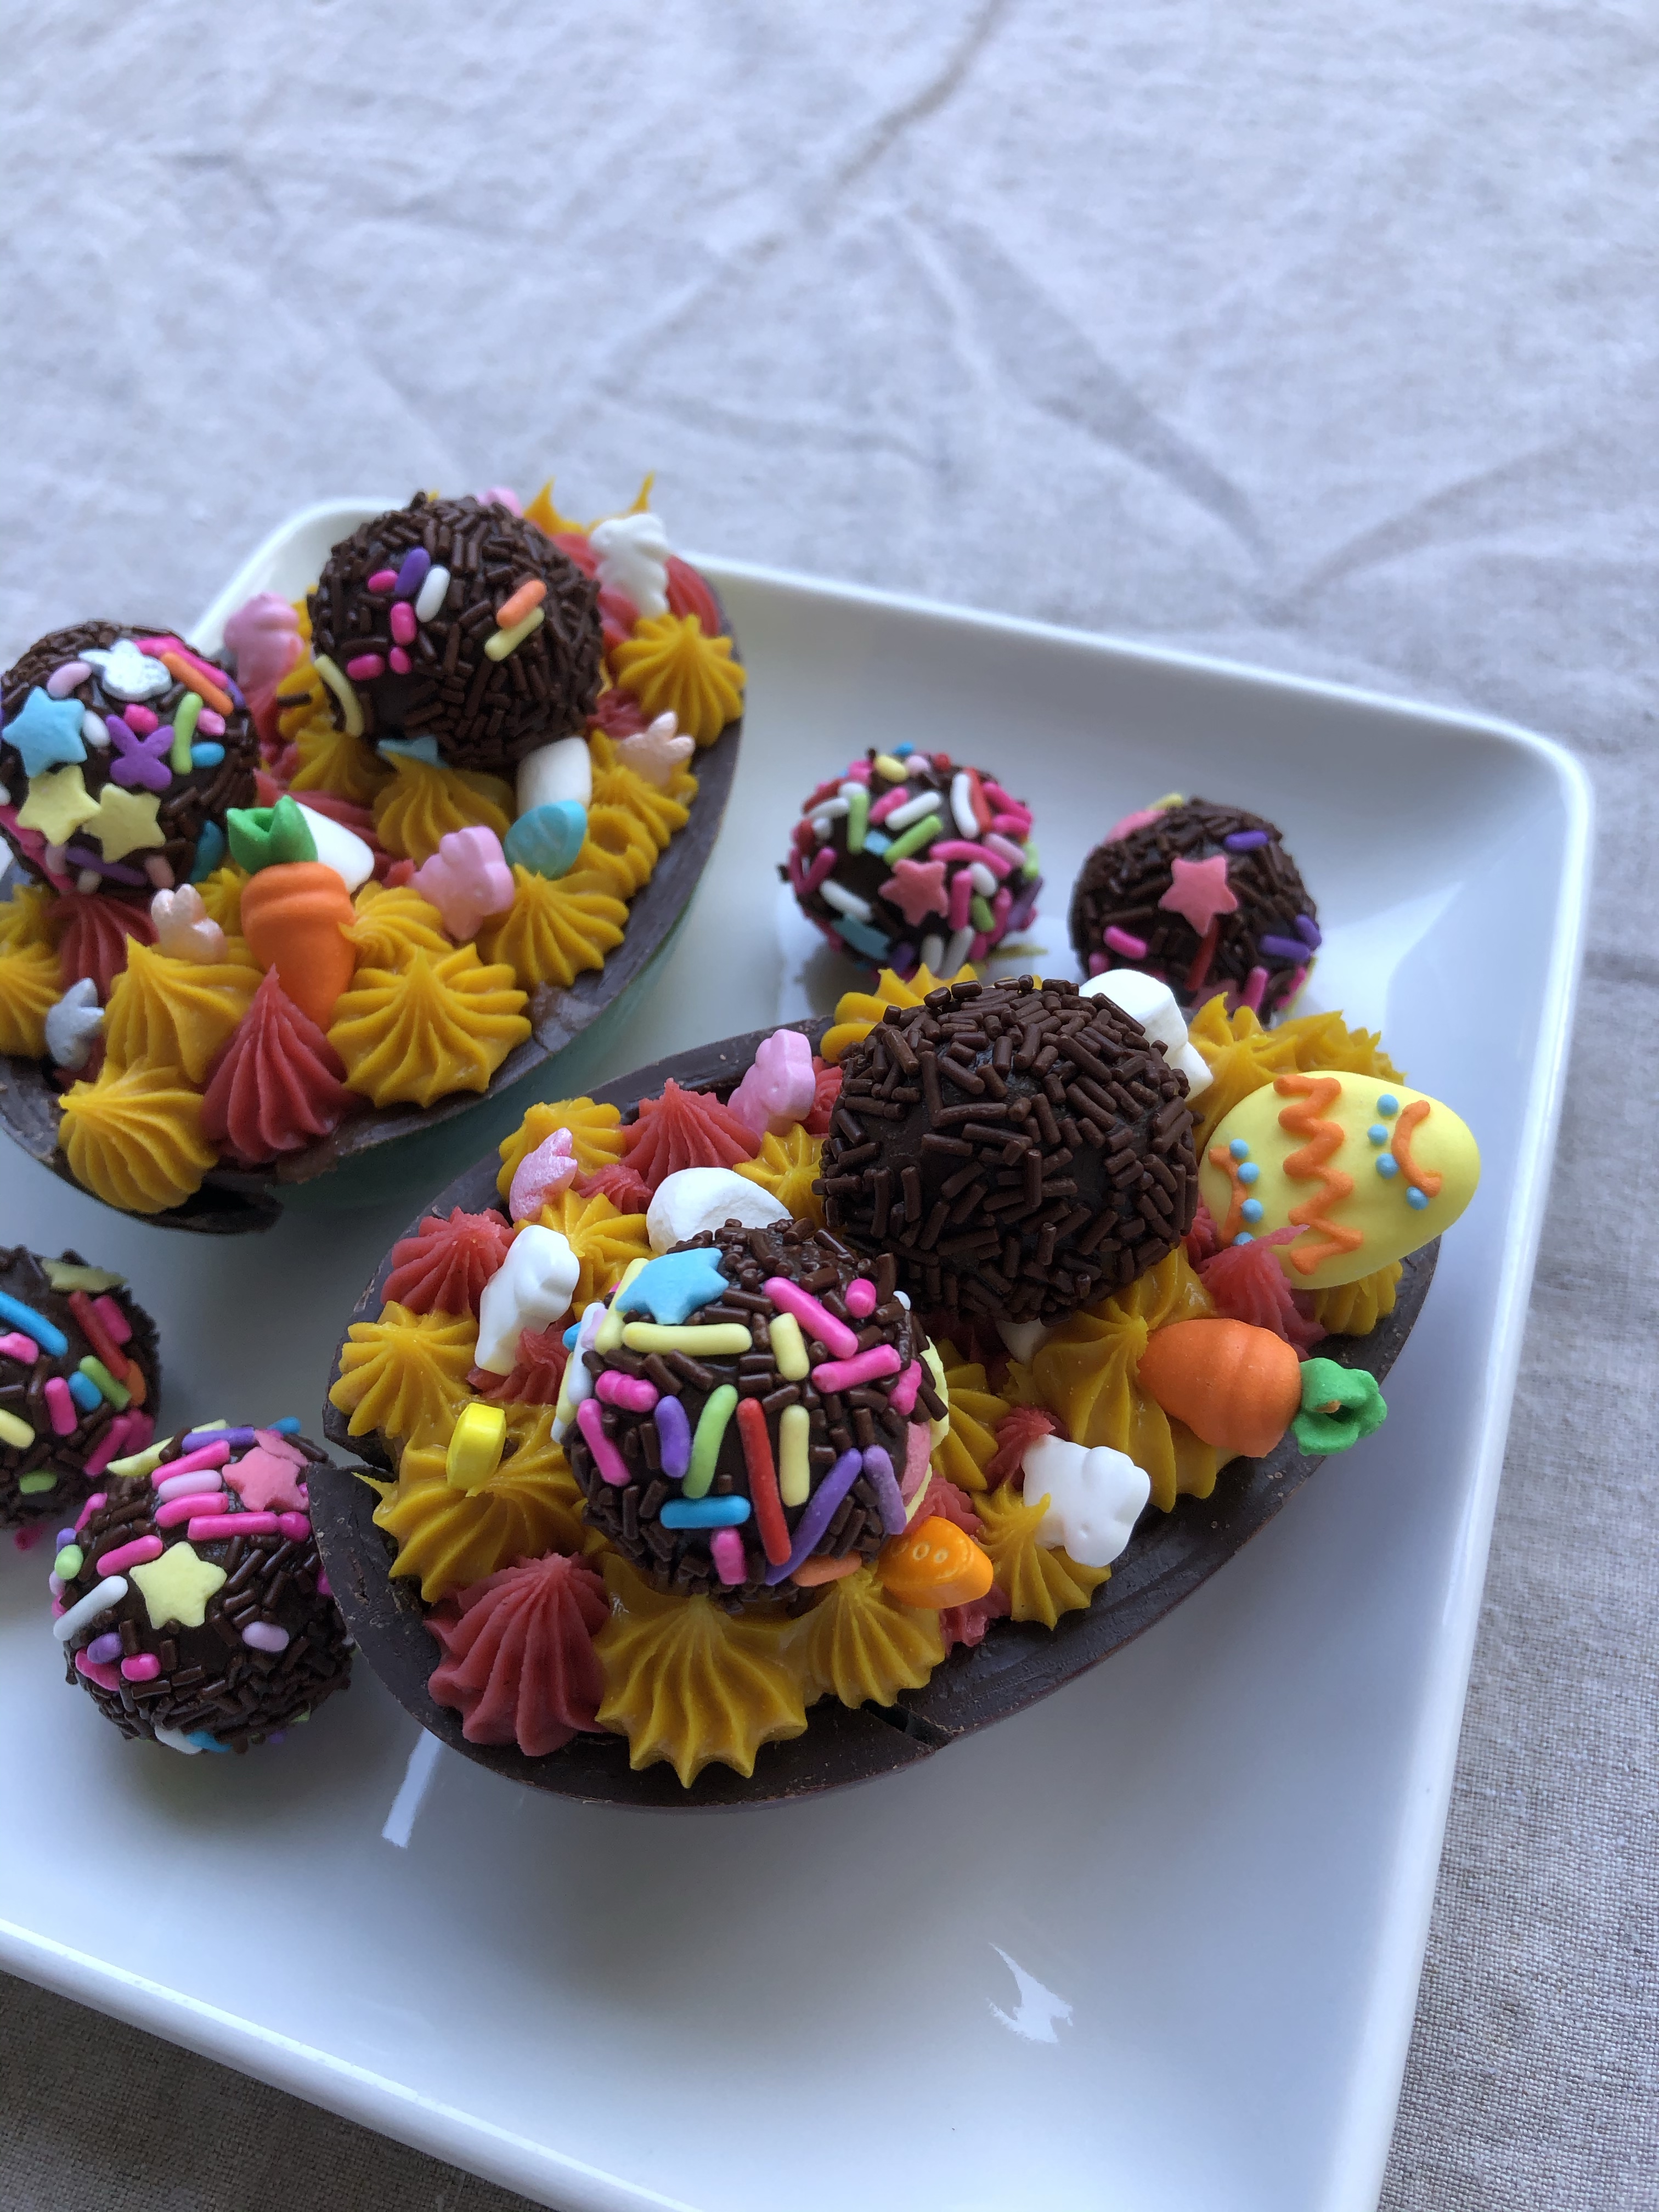
brigadeiro.
Chocolate dessert craft time! I purchased an Easter Egg decorating kit from Tiny B Chocolates in South San Francisco. The kit came with everything I needed to fill an Easter egg chocolate shell with brigadeiros! Popular in Brazil, brigadeiros are like fudge bonbons. They are bite-sized pieces of decadent, rich…