Tag: paper crafts
-
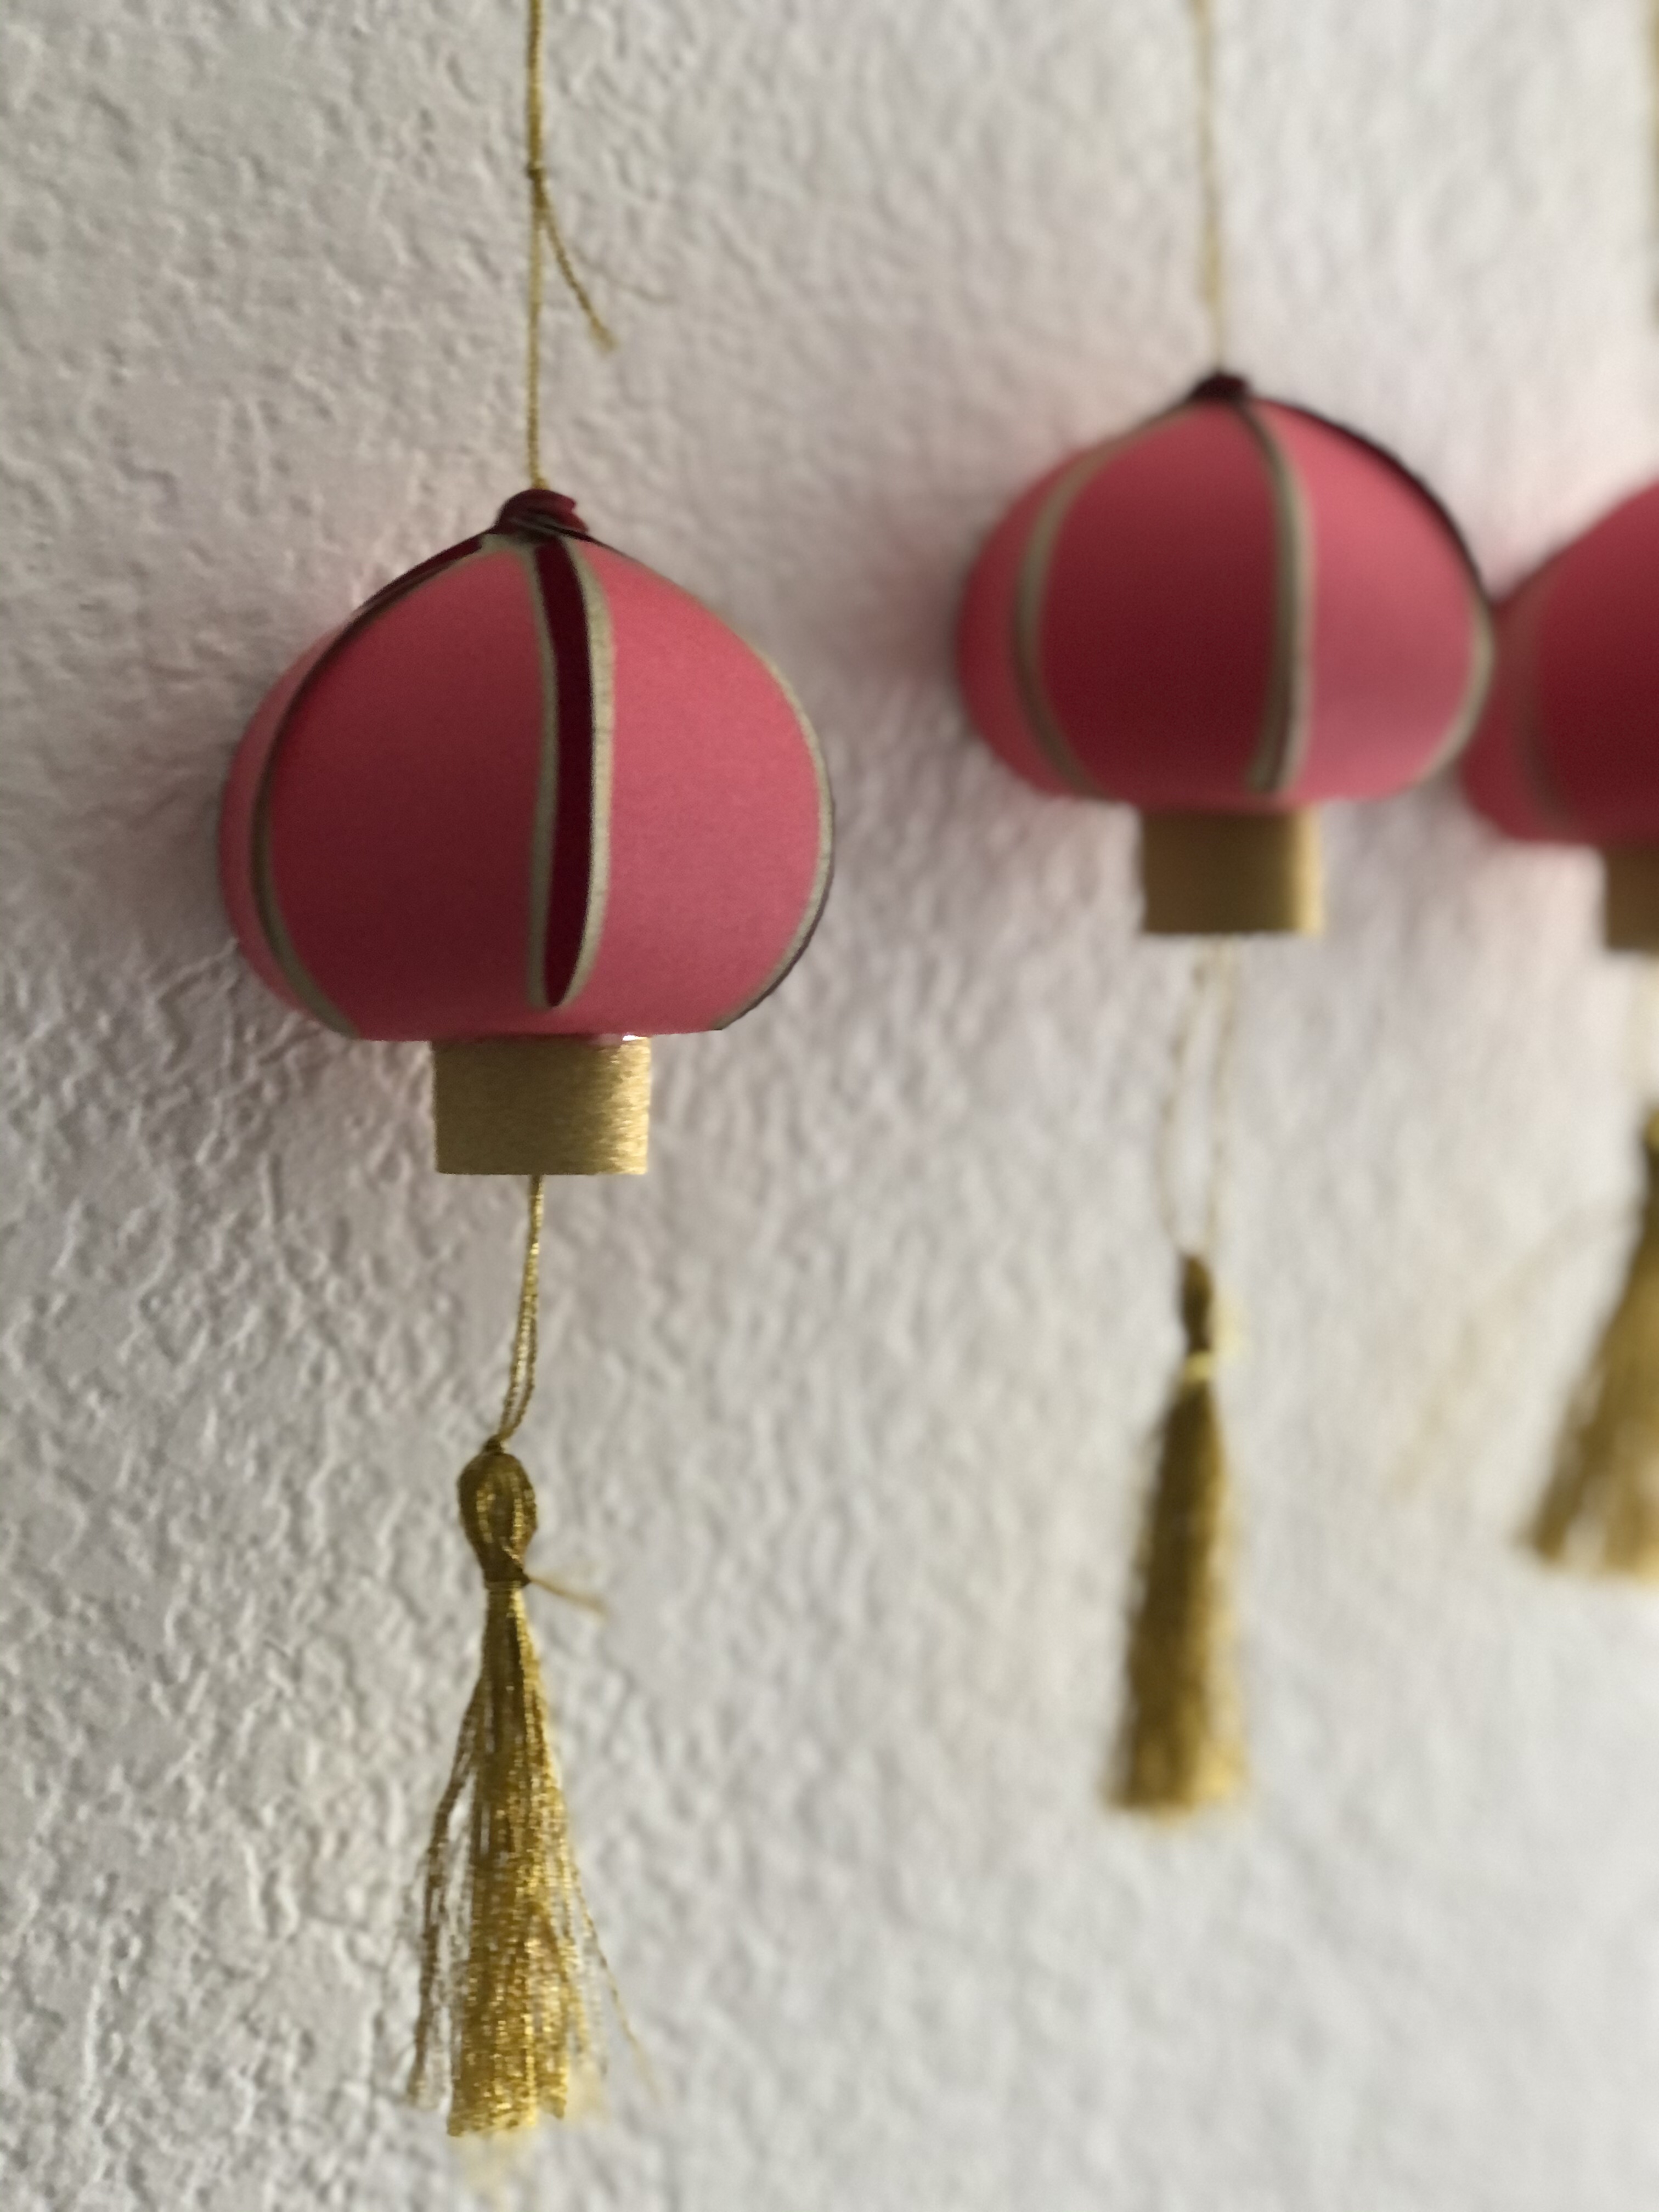
paper lanterns.
Gearing up for Lunar New Year! I was recently asked to host a paper lantern workshop in celebration of Lunar New Year. I had never created a paper lantern before so I did some internetting to get design ideas. My friend Rebecca created a lantern template for me and you…
-
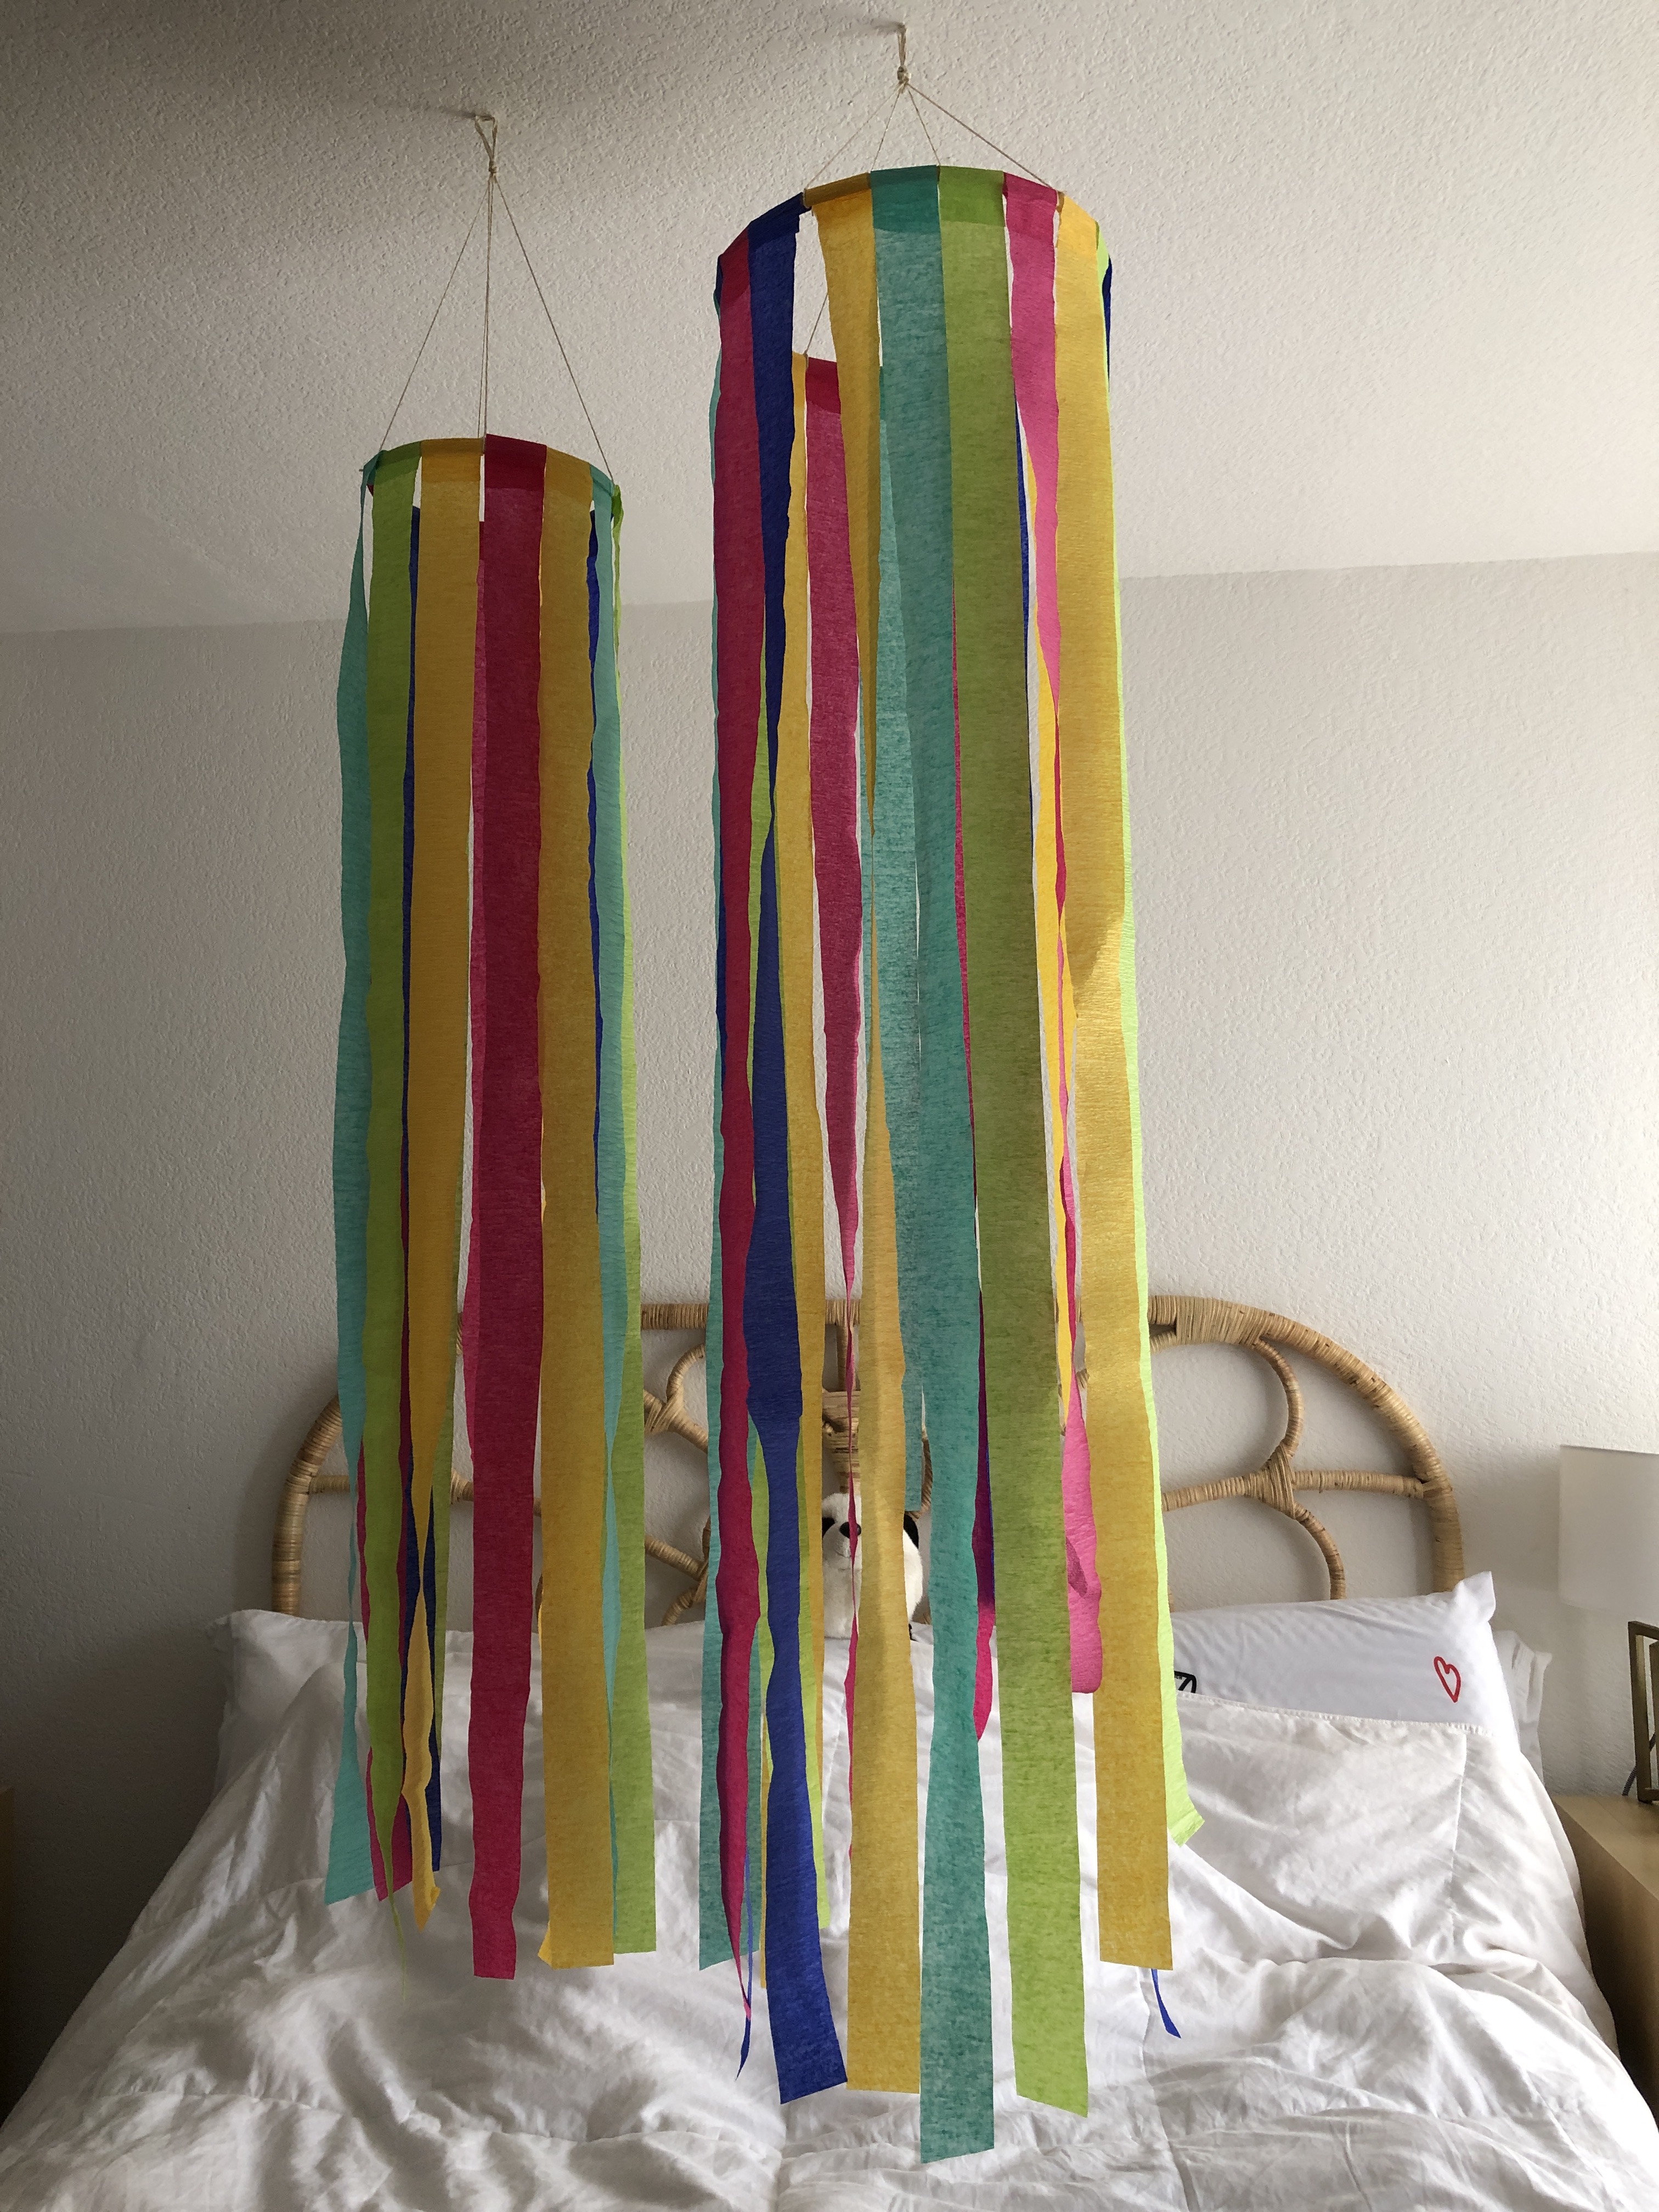
birthday hoops.
It’s my birthday tomorrow! Also, Trolls World Tour comes out tomorrow on demand and I’m totally going to watch it because I’m turning 4 (x9)! I made some colorful hoops for the occasion (birthday/Trolls watch party). You can make some, too. Materials: Streamers (you can also use ribbons or yarn)…
-
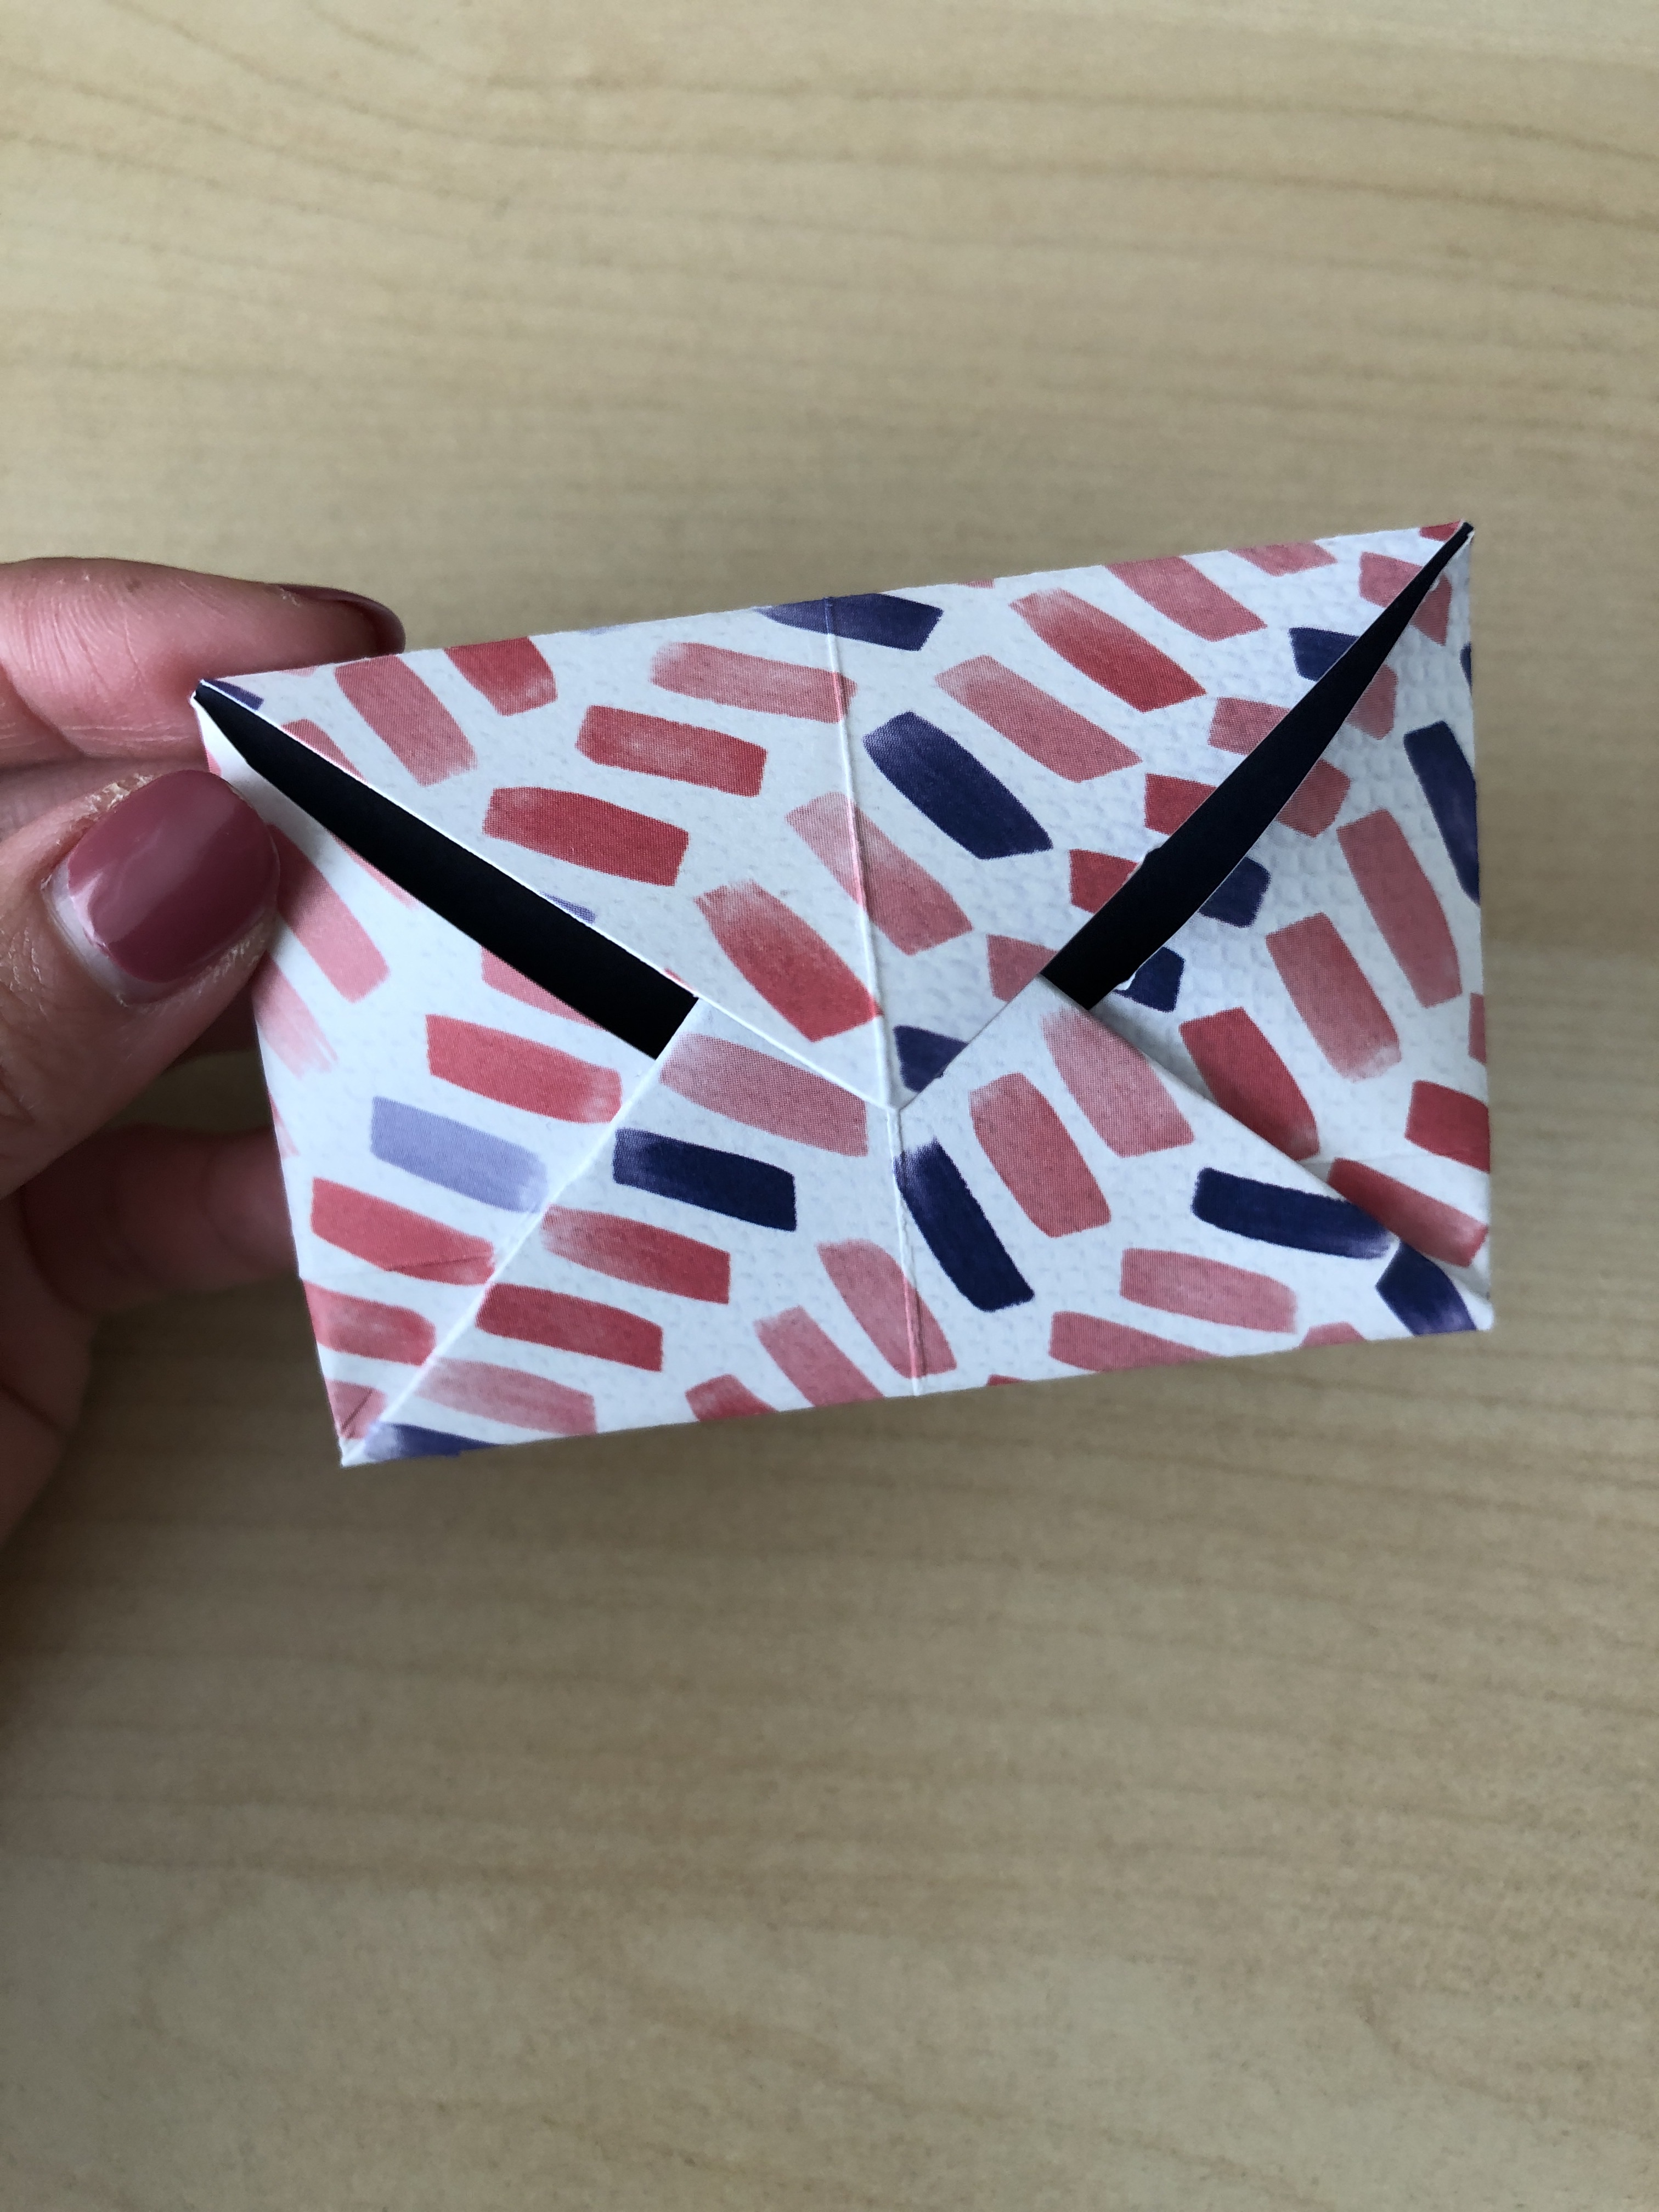
mini envelopes.
Valentine’s is just around the corner. Here’s a super quick paper envelope DIY for the occasion (or any occasion!). For this craft you will need: paper, paper cutter, bone folding tool (or similar), and glue. Cut paper into a square, any size works. I cut out 5″ squares to form…
-
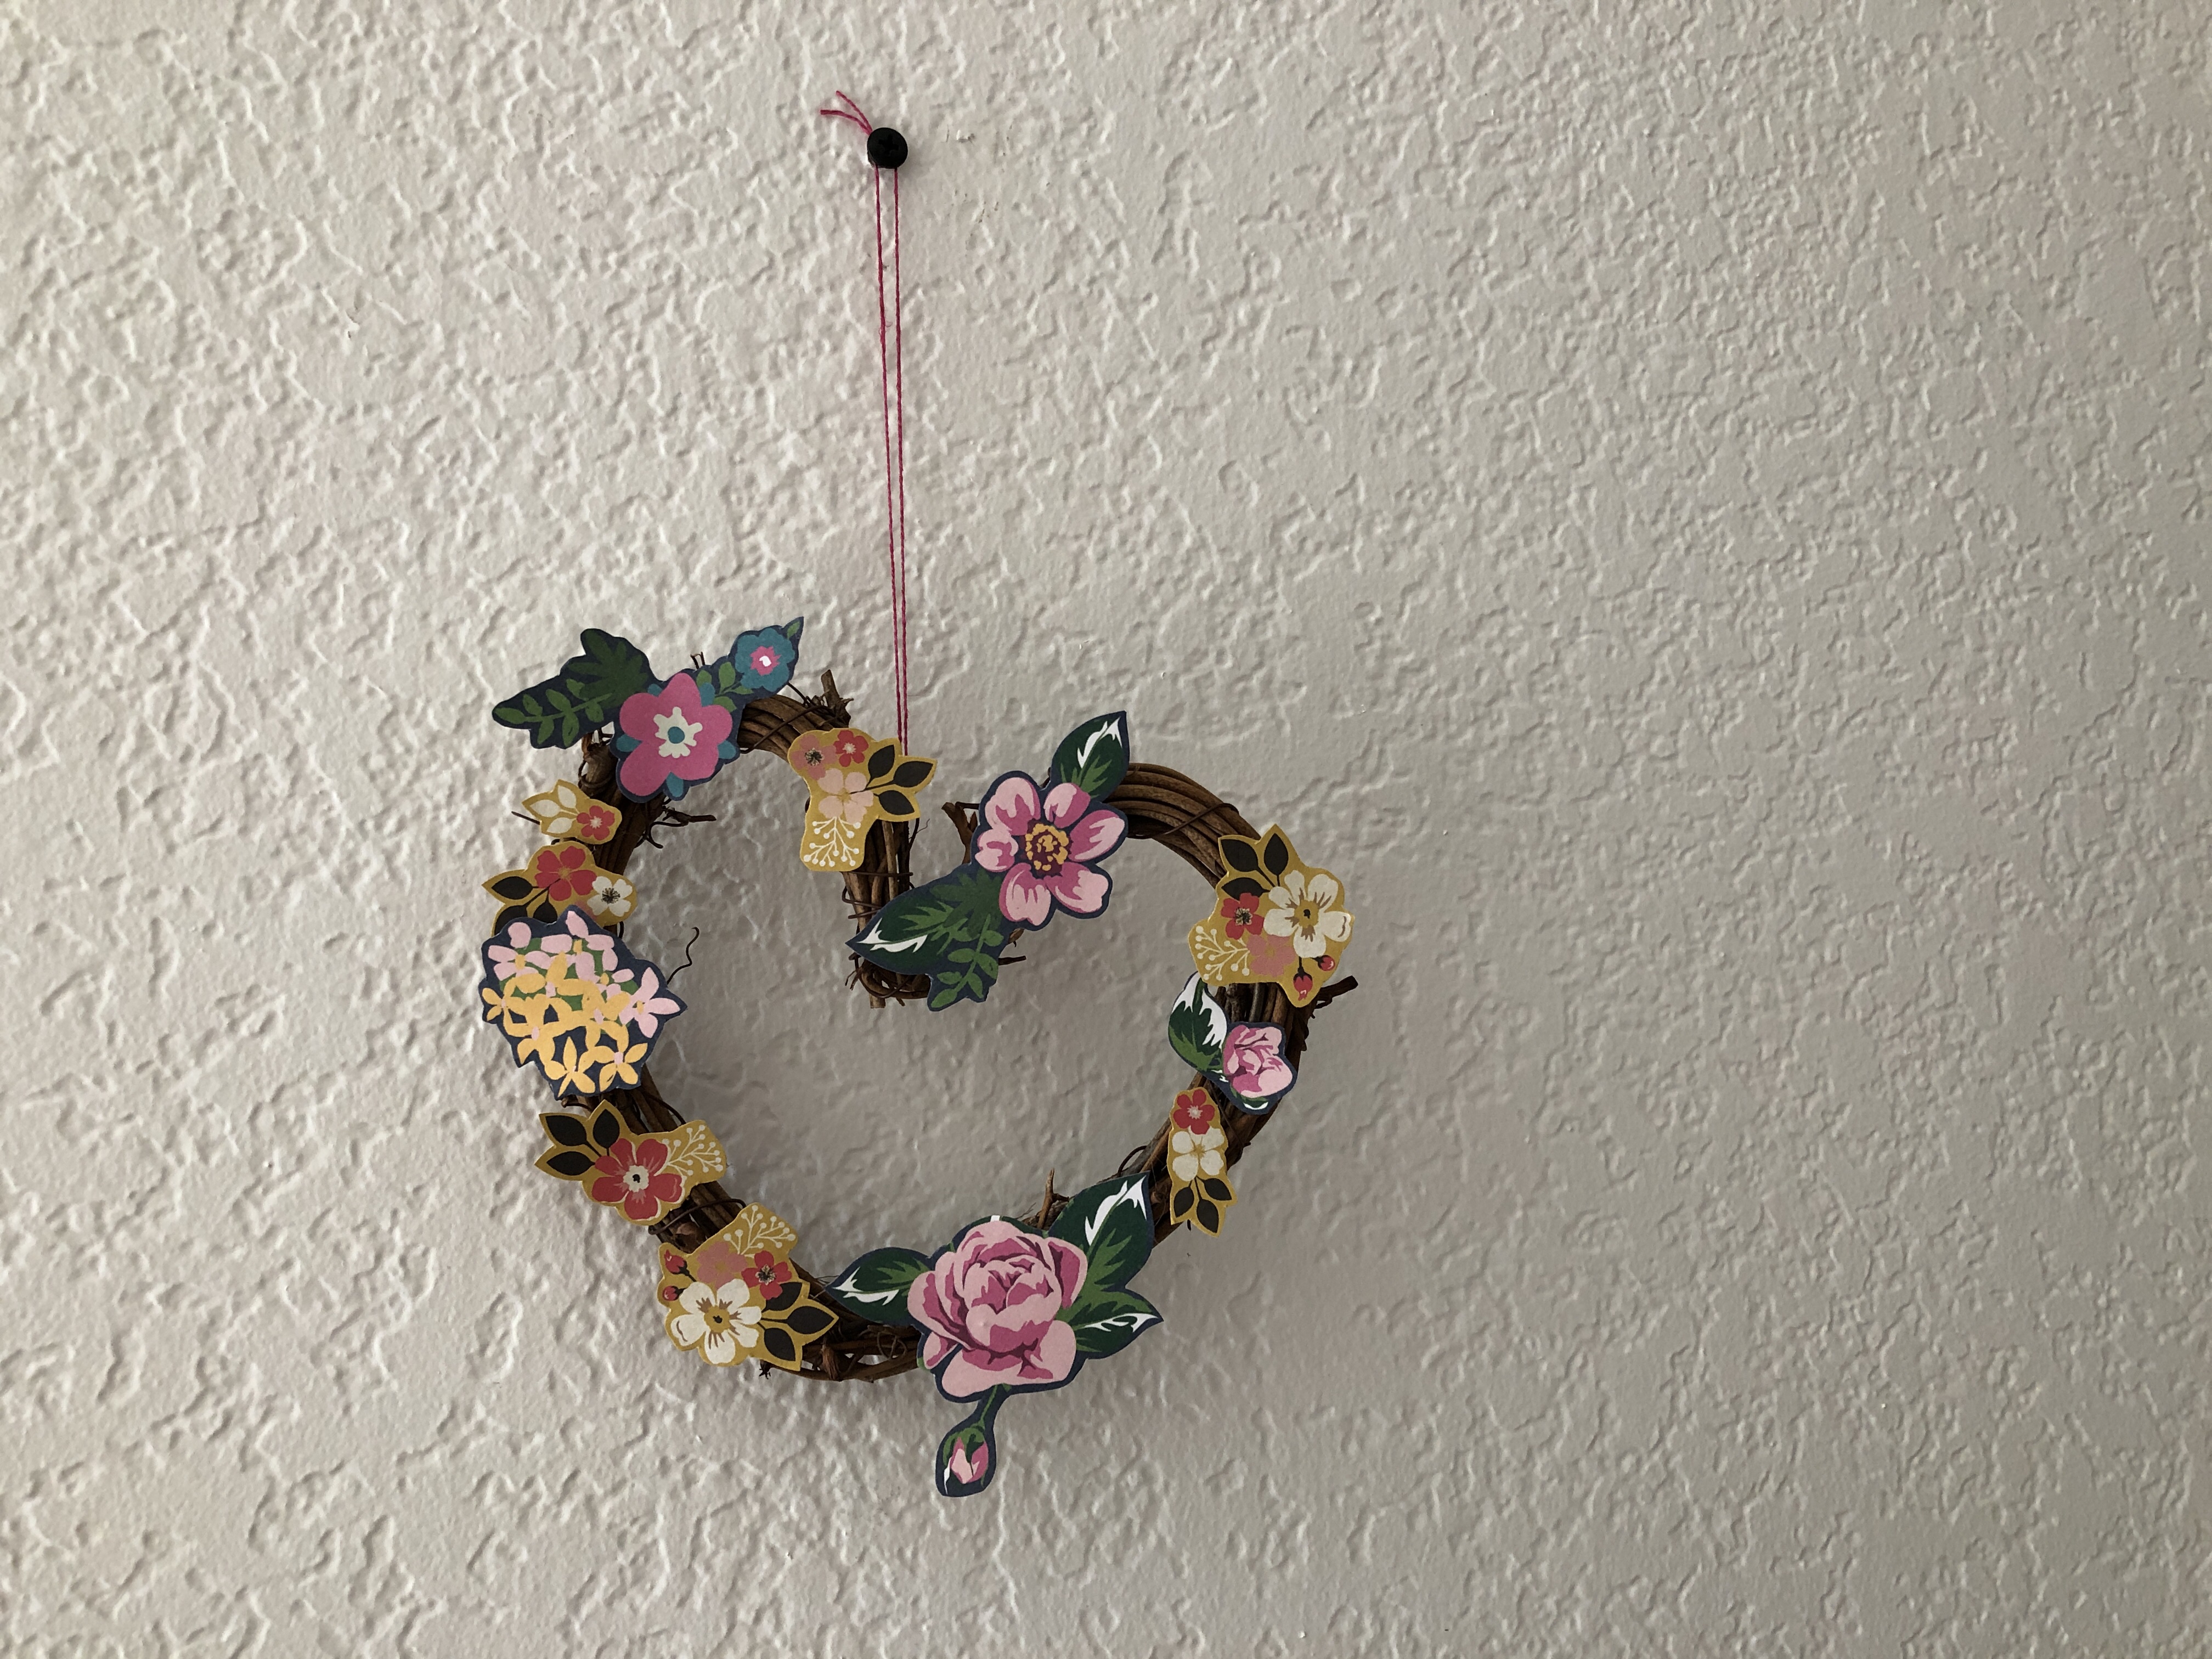
heart.
I came across these heart shaped grapevine wreaths – so cute! I usually use grapevine wreaths in my felt workshops, so I wanted to see if I could decorate a wreath with non-felt supplies. I chose paper! For this project you will need: Heart shaped grapevine wreaths Scrapbook paper with…
-
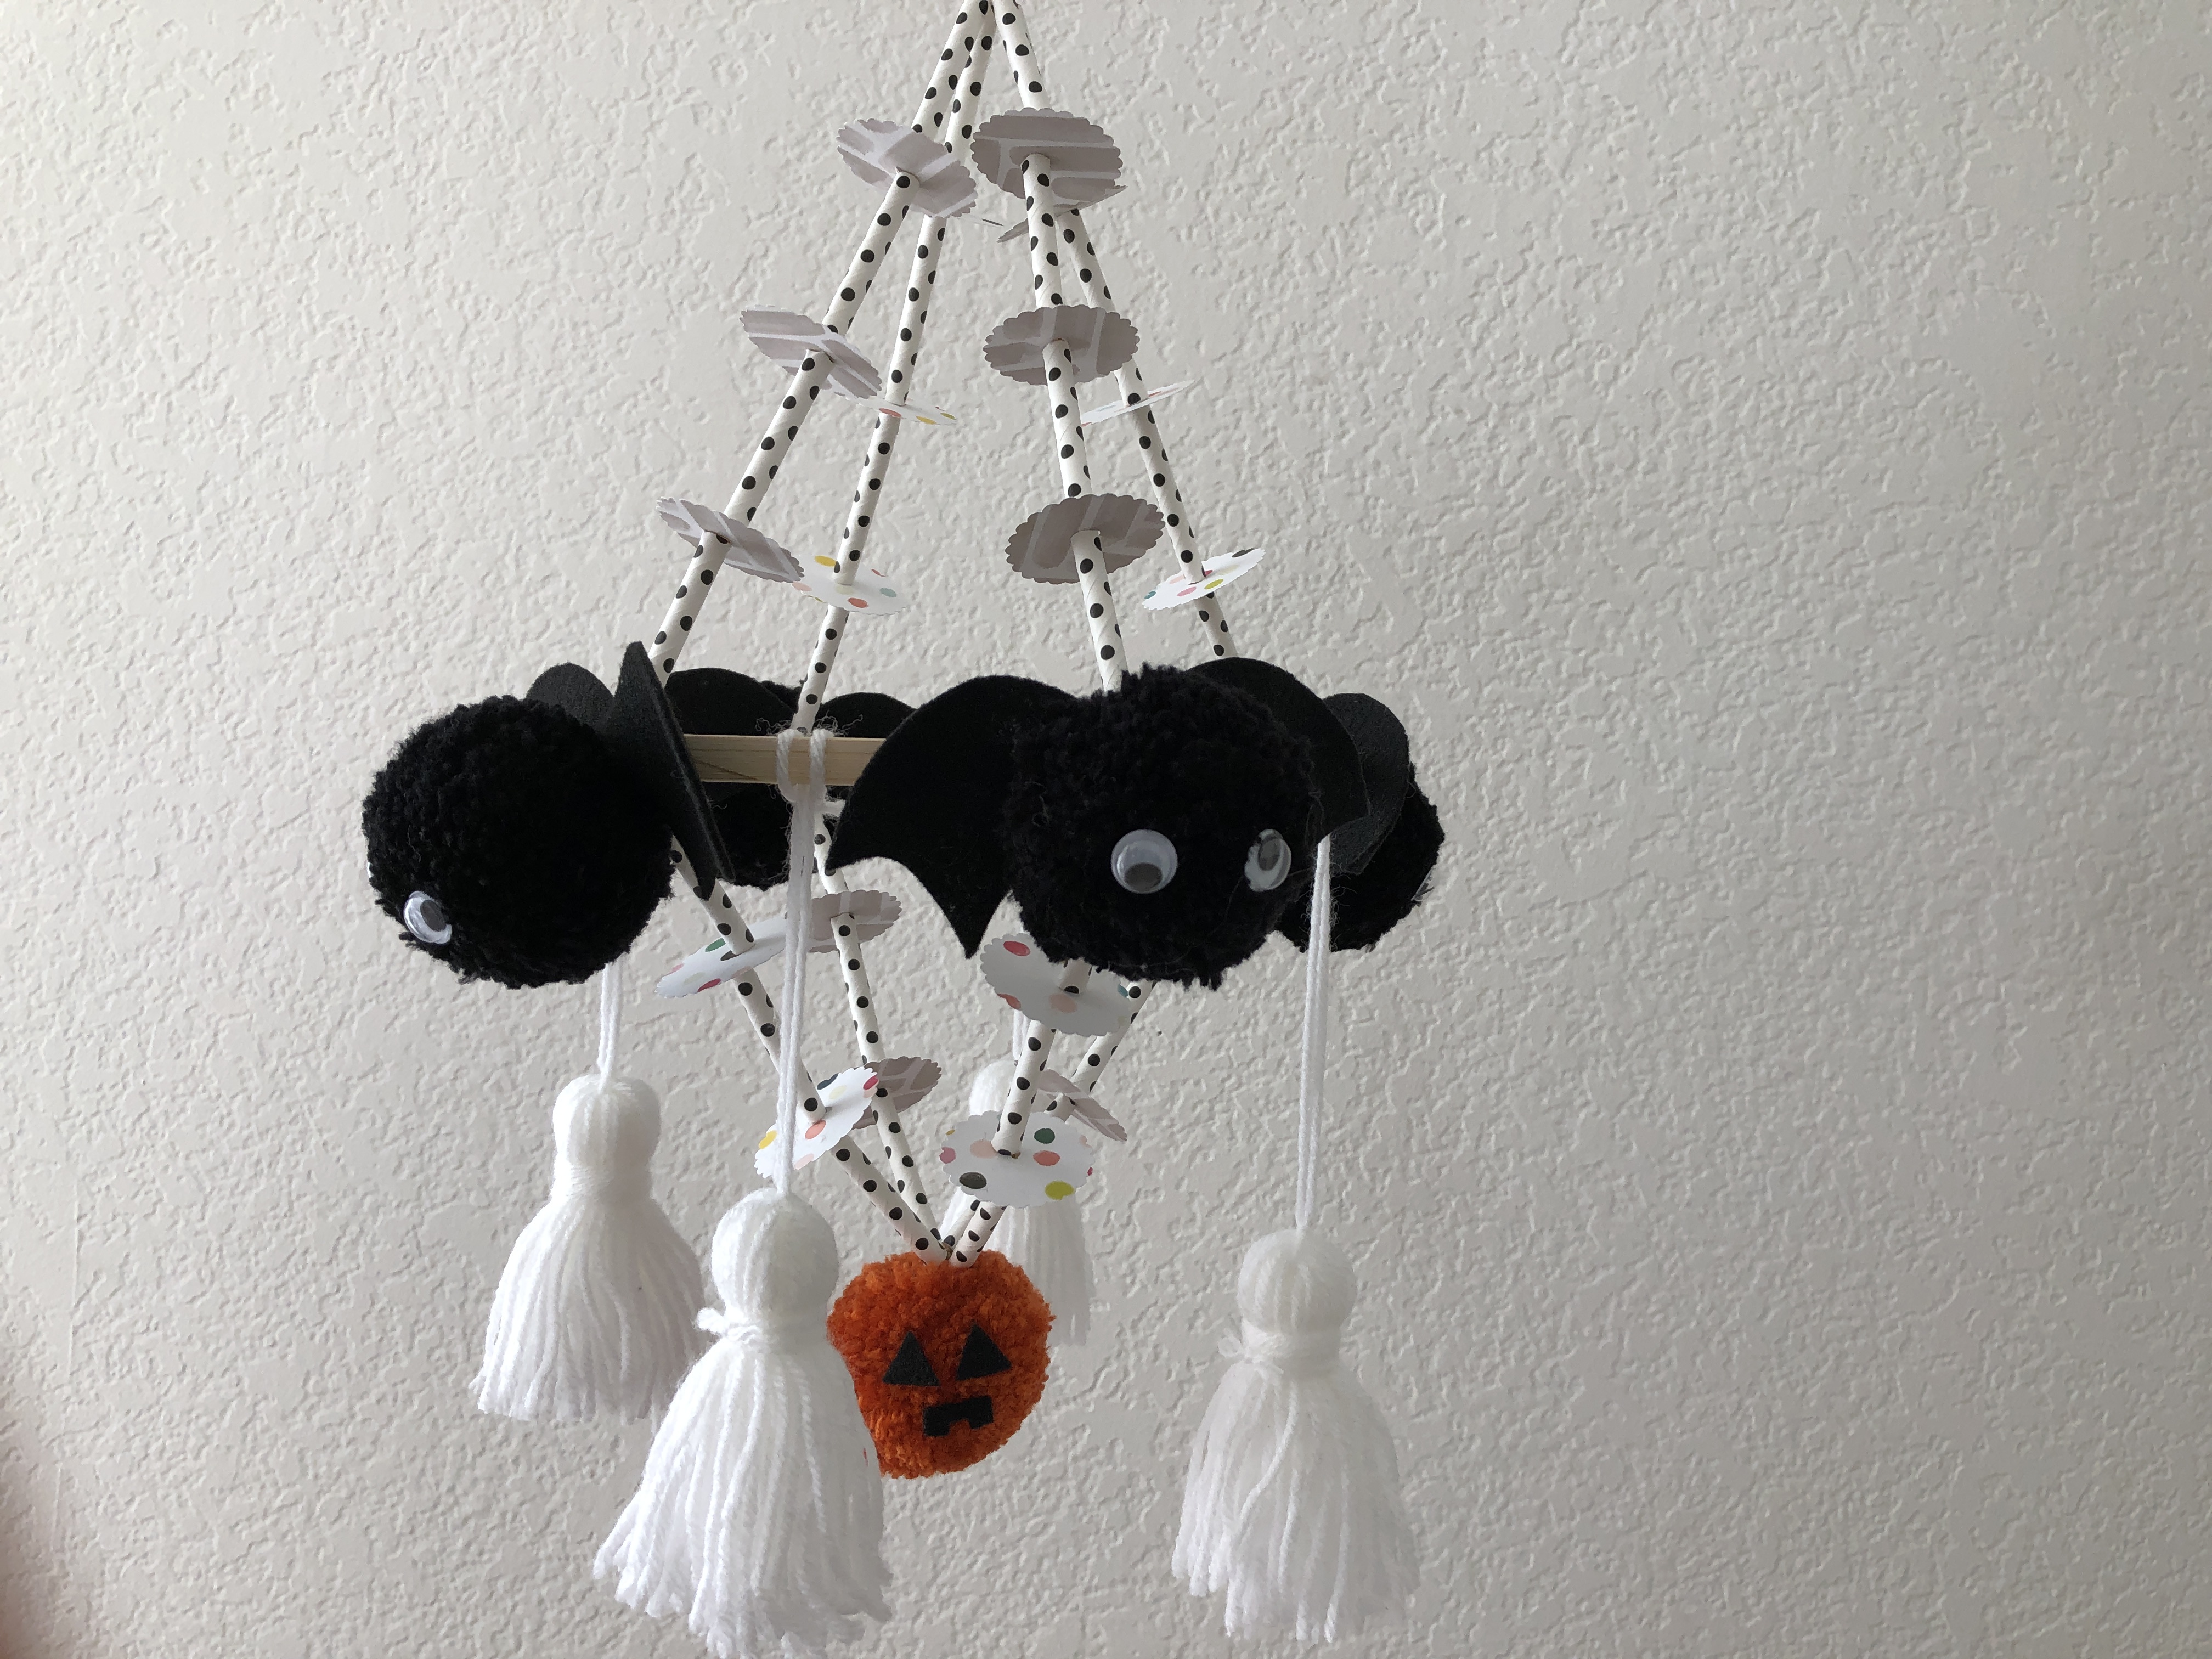
bat mobile.
A Halloween inspired pomtass chandelier! For this project you will need: 2″ ring 8″ hoop Nylon cord 10 paper straws cut into 28 -2 1/2 inch pieces Card stock (1 – 12×12 sheet is plenty) 1-2″ hole punch 1/4″ hole punch Yarn in orange, black, and white Pom pon /…
-
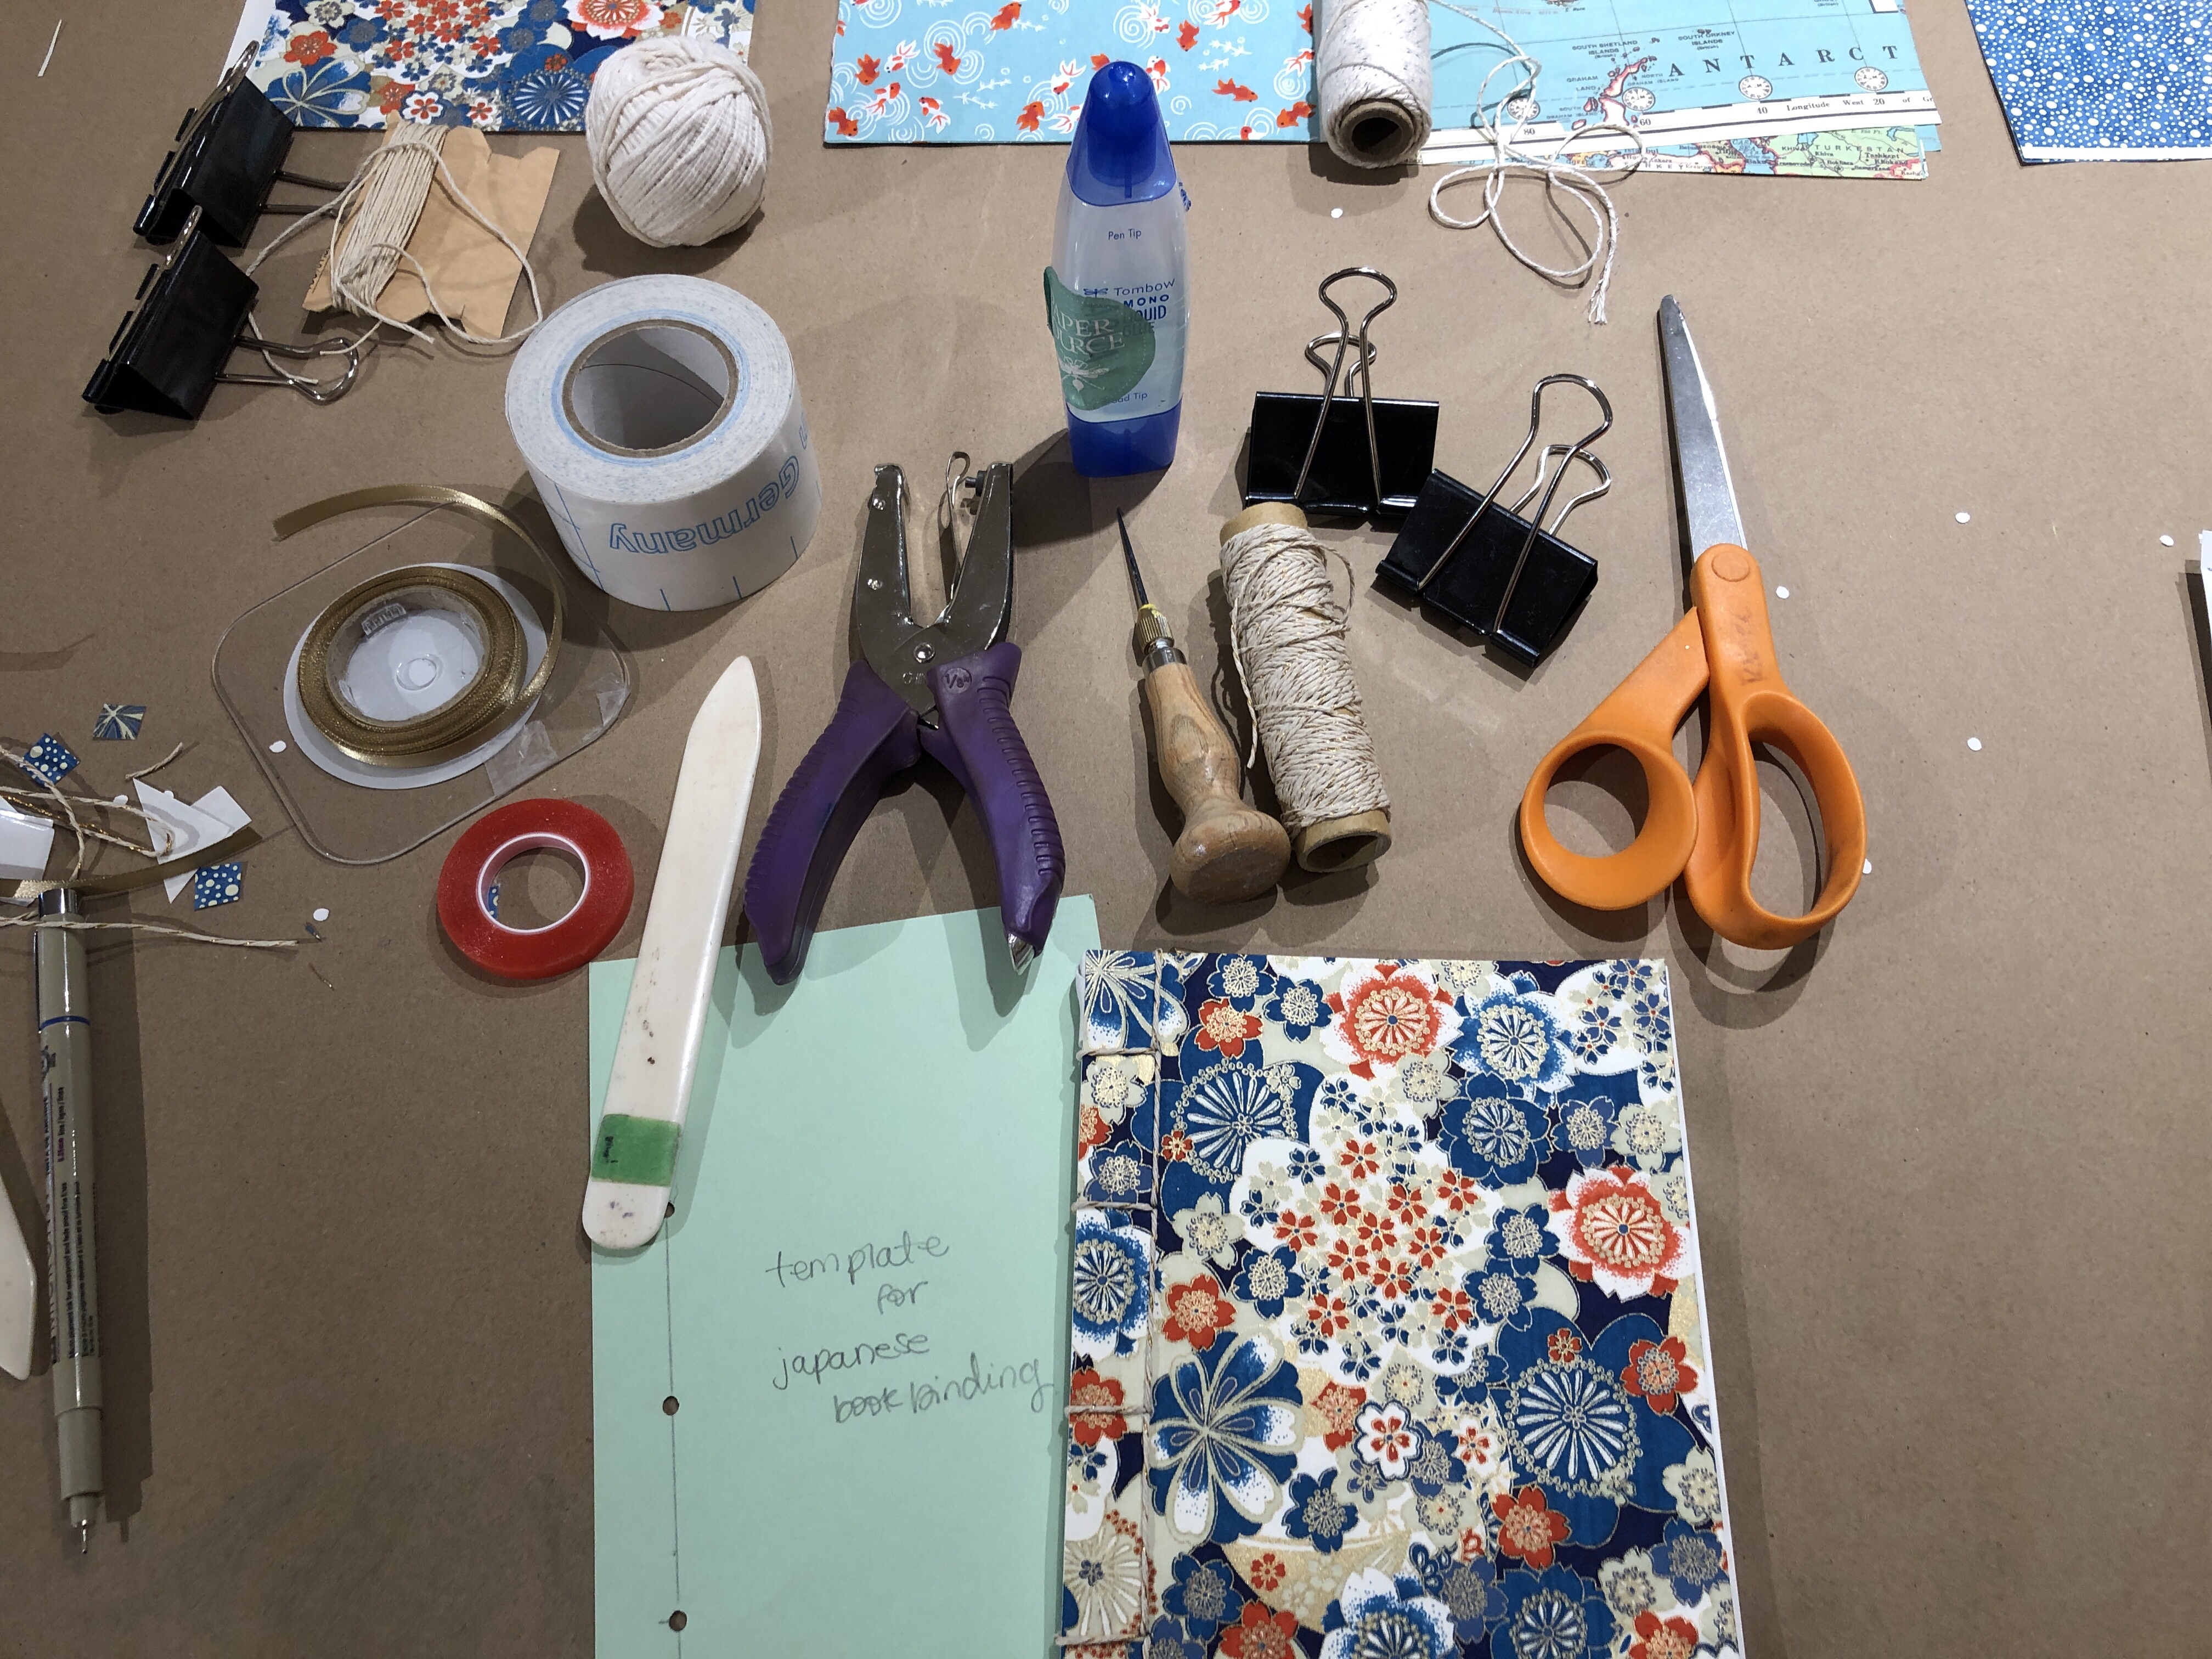
bookbinding.
I received a freebie ticket to a Paper Source workshop (Thanks, Craftcation!) so I took a bookbinding class. There were only two of us in class ~ semi-private class for the win! We were quick to finish too, so our instructor shared some bonus fun things we could add to…
-
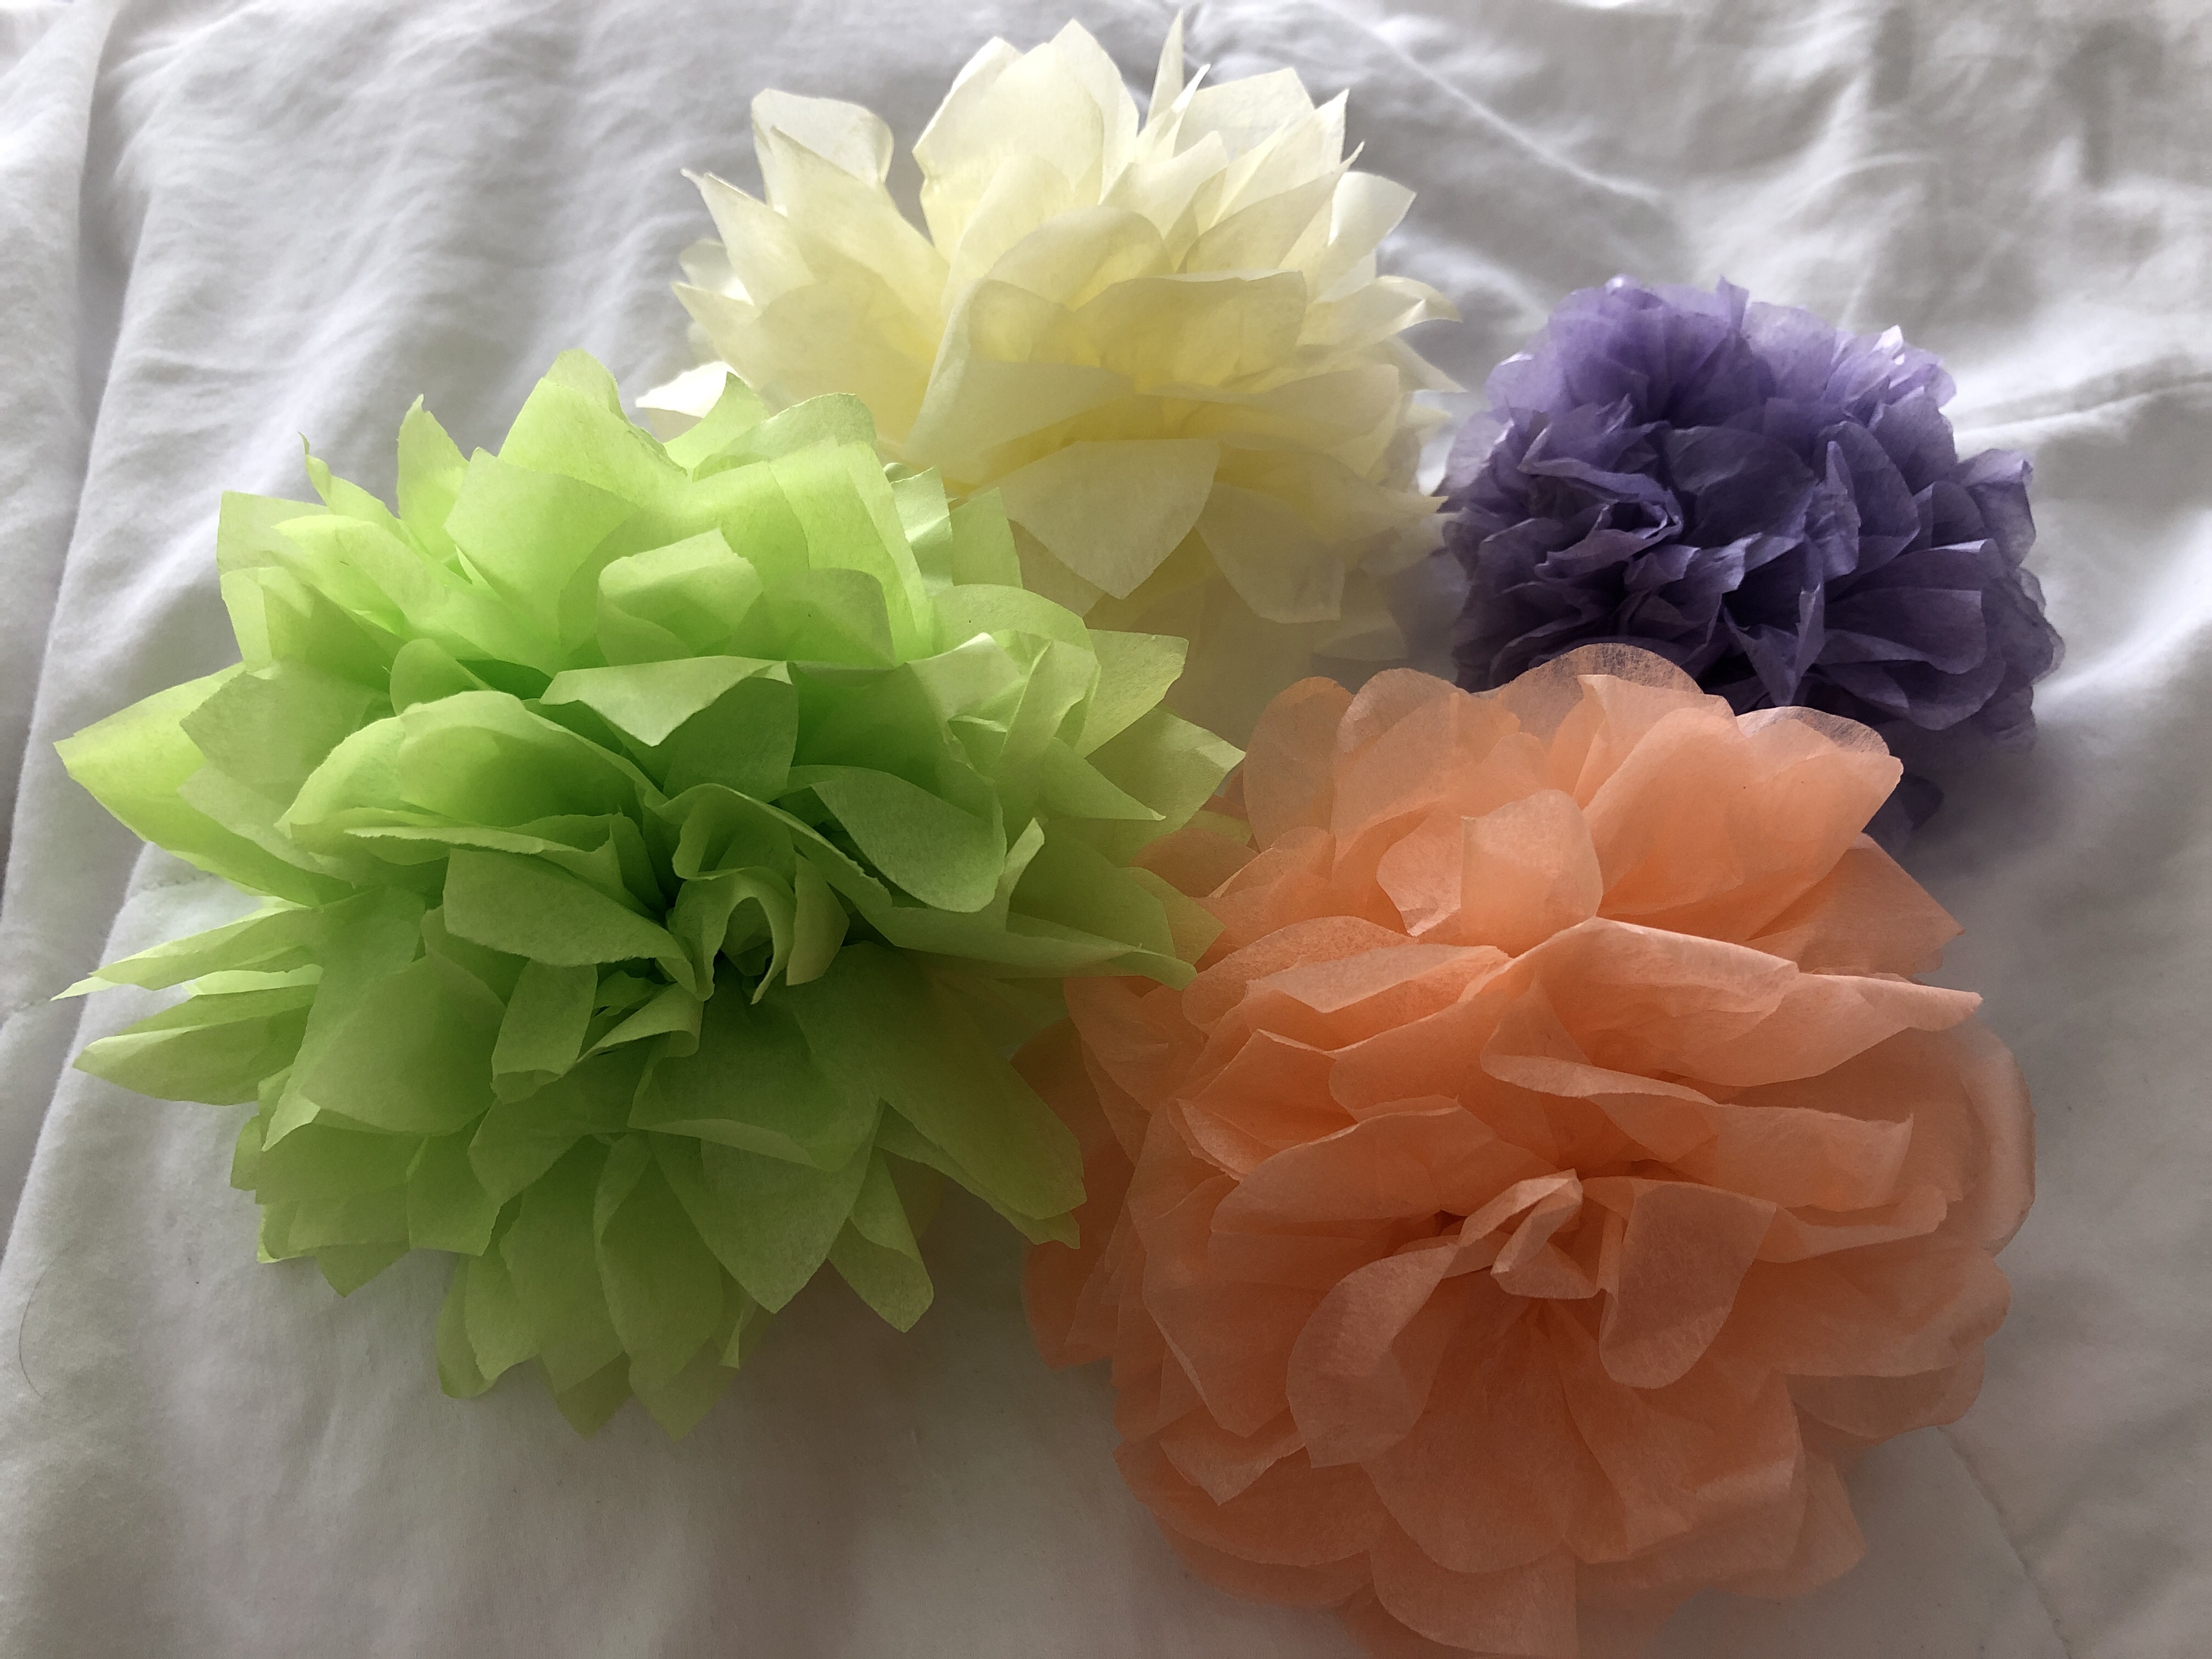
the tissue issue.
I recently refreshed my memory on how to make tissue paper flowers. It’s so easy and the results are so pretty I had to share! These would pair nicely with some piñata crafts, too. Here are a few: burro, piña, hearts. Materials: tissue paper, string or staples, scissors Layer 6-8…
-
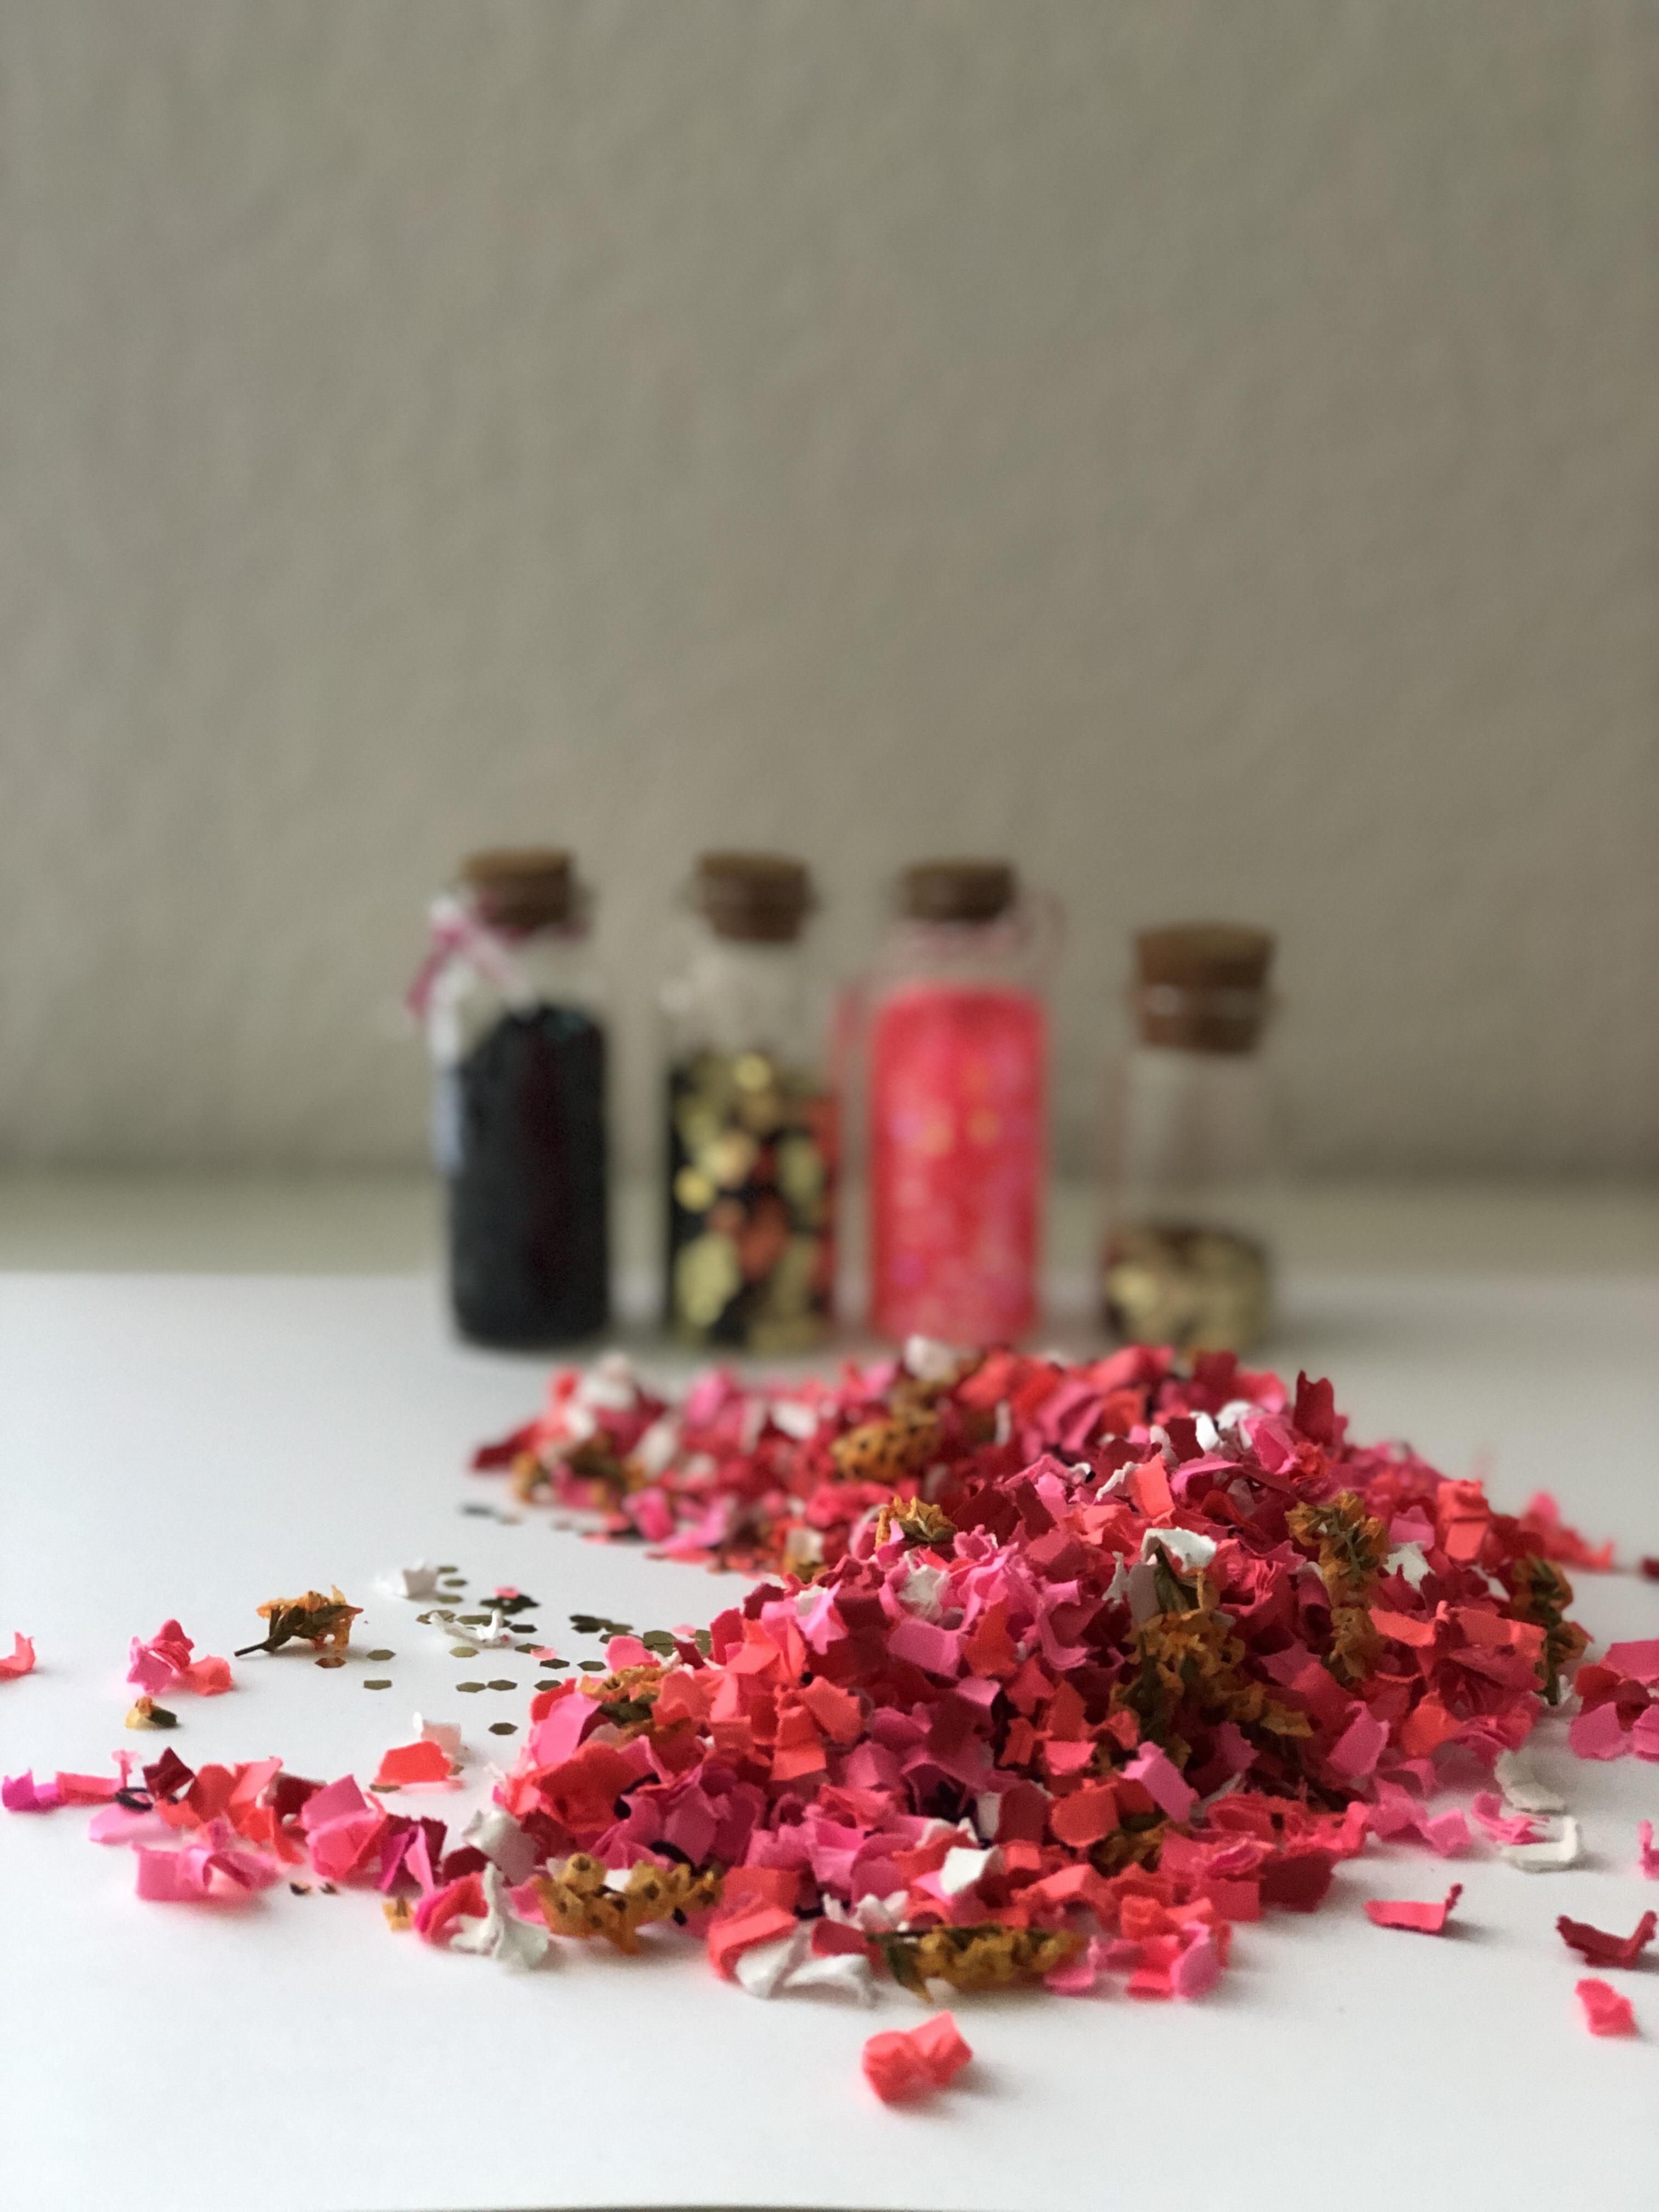
confetti of love.
My most favorite crafting holiday is just around the corner! So, it’s Valentine’s confetti time! For this project you will need: A cross-cut paper shredder Paper in shades of red, pink, and white – 65 lb paper works great! Assorted confetti Dried flowers Washi tape Containers or clear bags Scissors…
-
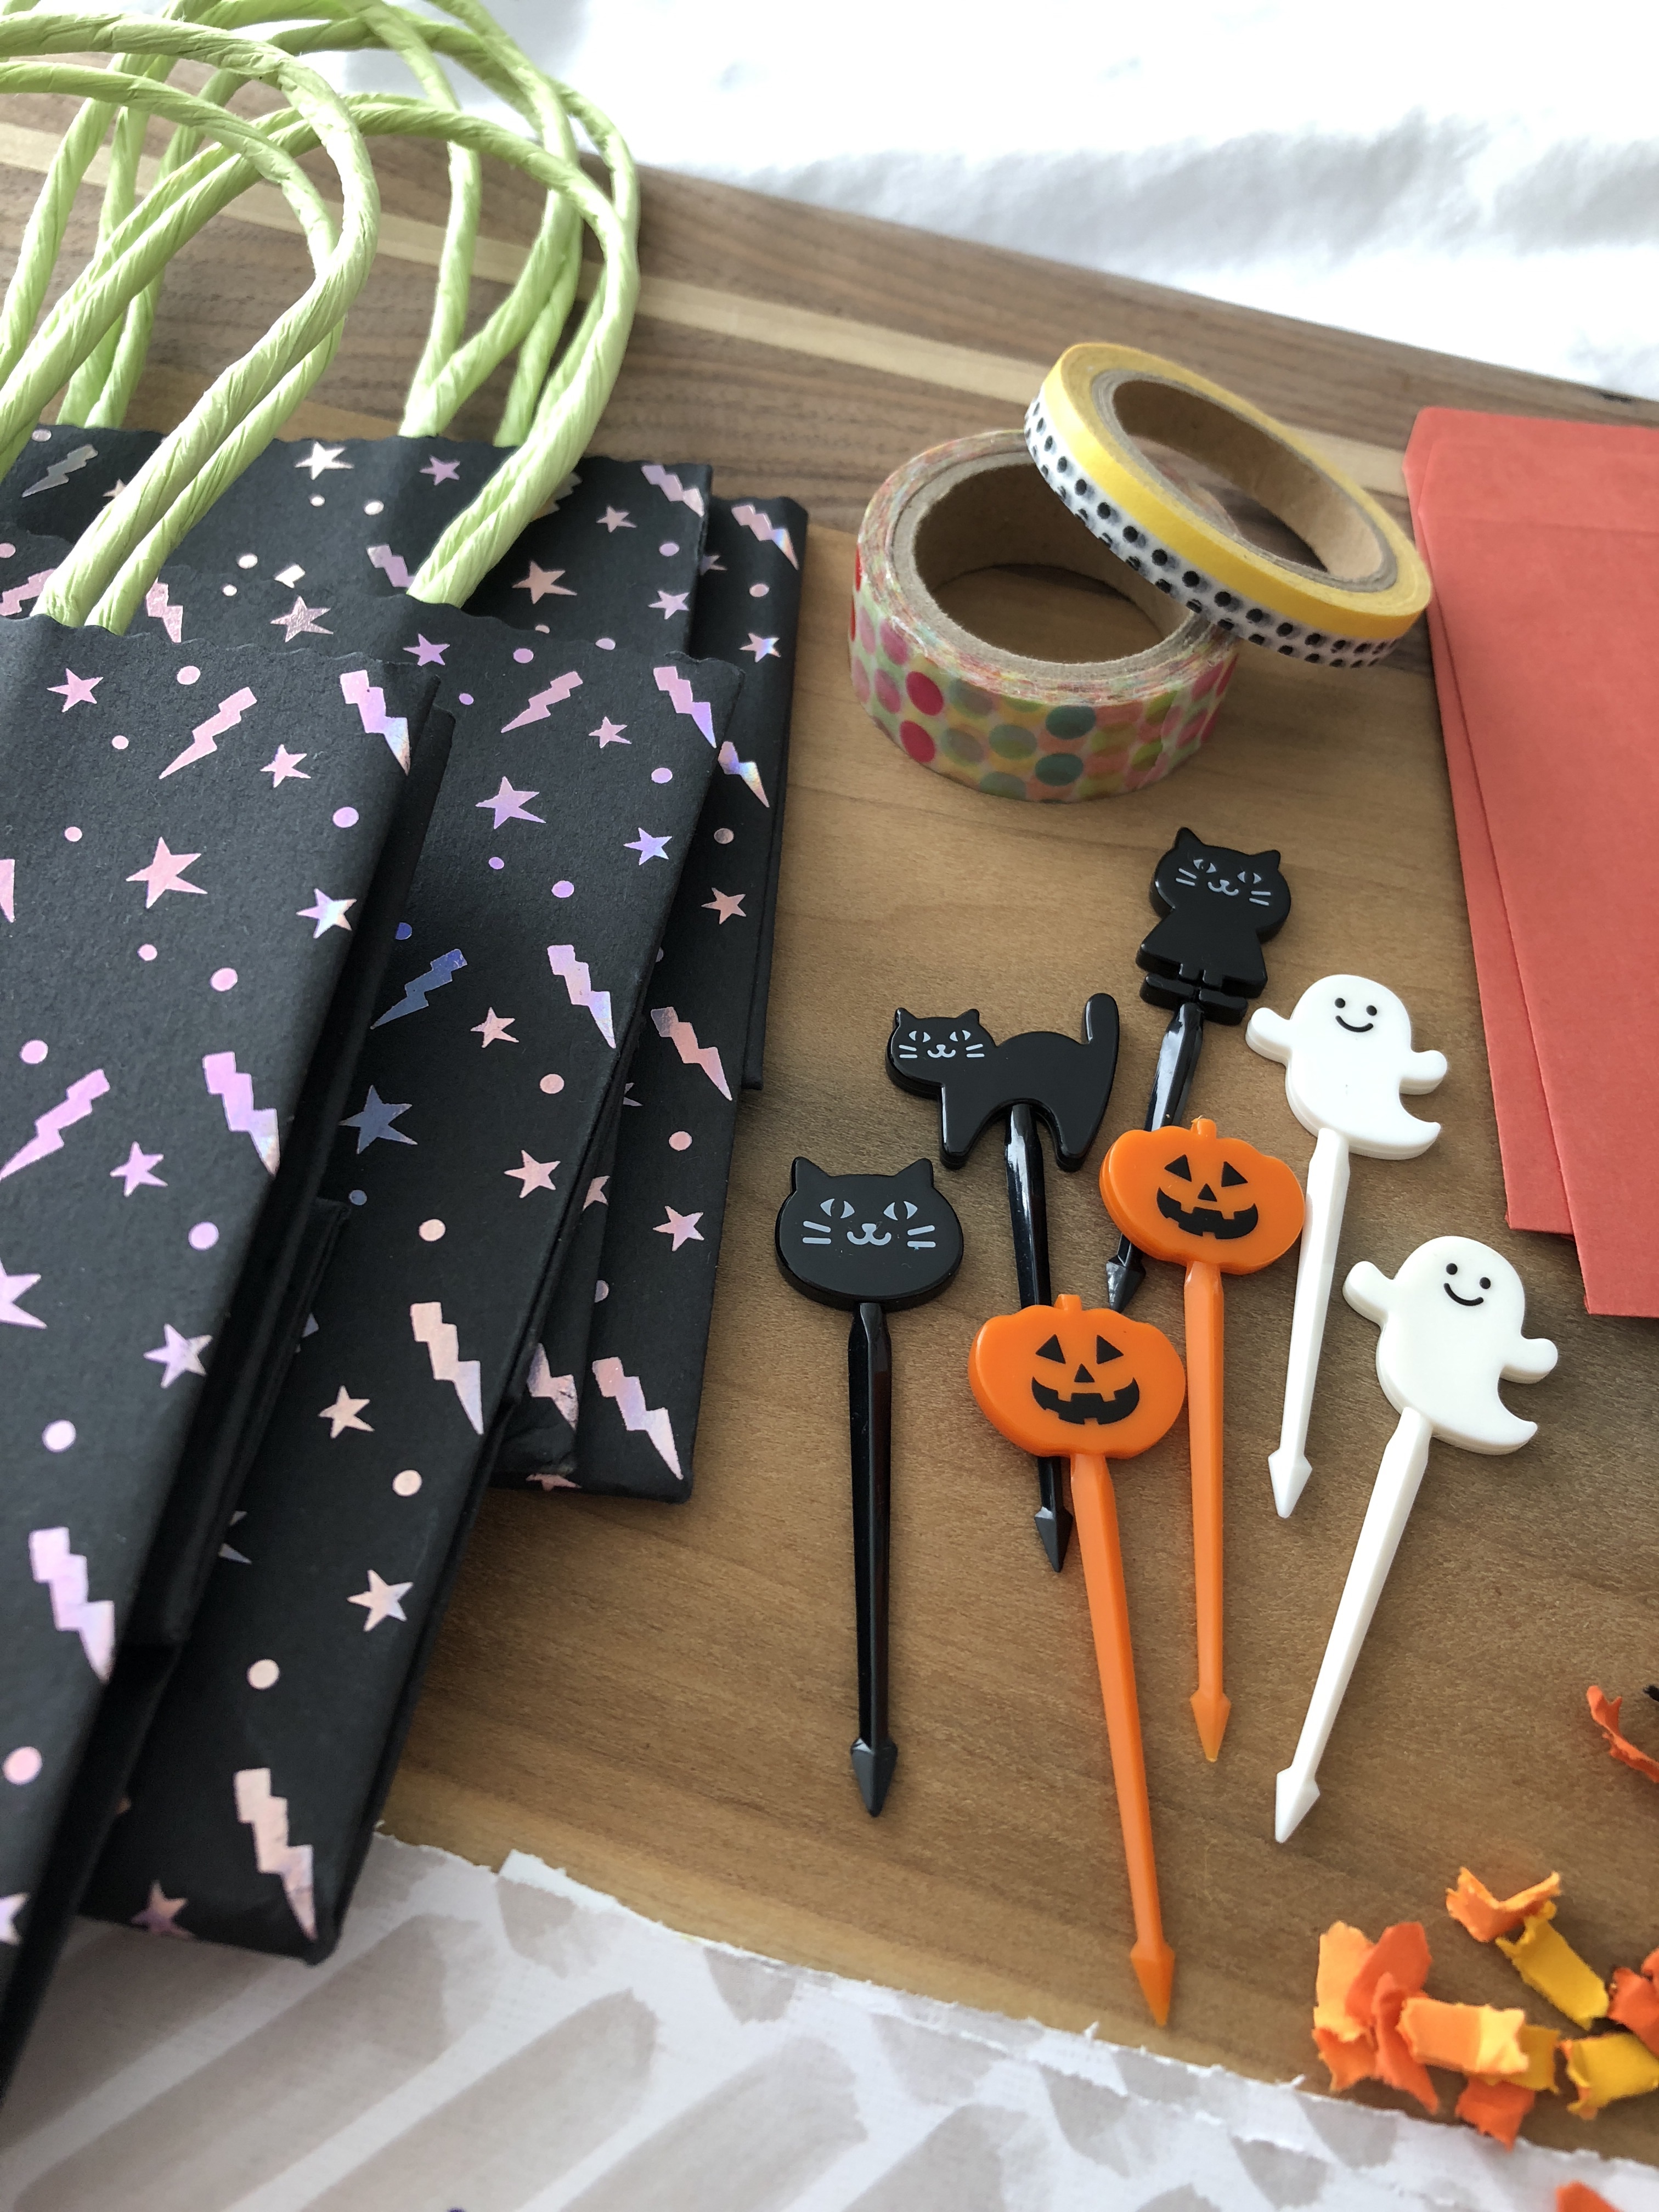
only treats.
Hey, Boo. It’s treat bag time! Here are a couple of ways to dress up your treat bags for Halloween. Materials: Bags (found these at Target) Twine (also Target) Envelopes (found at a Japanese ‘dollar’ store) Card stock (I shop at Scrapbook Expo!) Food picks (found at Daiso) Washi tape…