Tag: macrame
-

3-tier plant hanger.
Sharing my largest plant hanger creation so far – it’s as tall as me. 🙂 This was a fun project because I just…made! At first, I intended for this project to end up a macra-weave piece, but then it morphed into a macrame plant hanger. No regrets! I used classic…
-
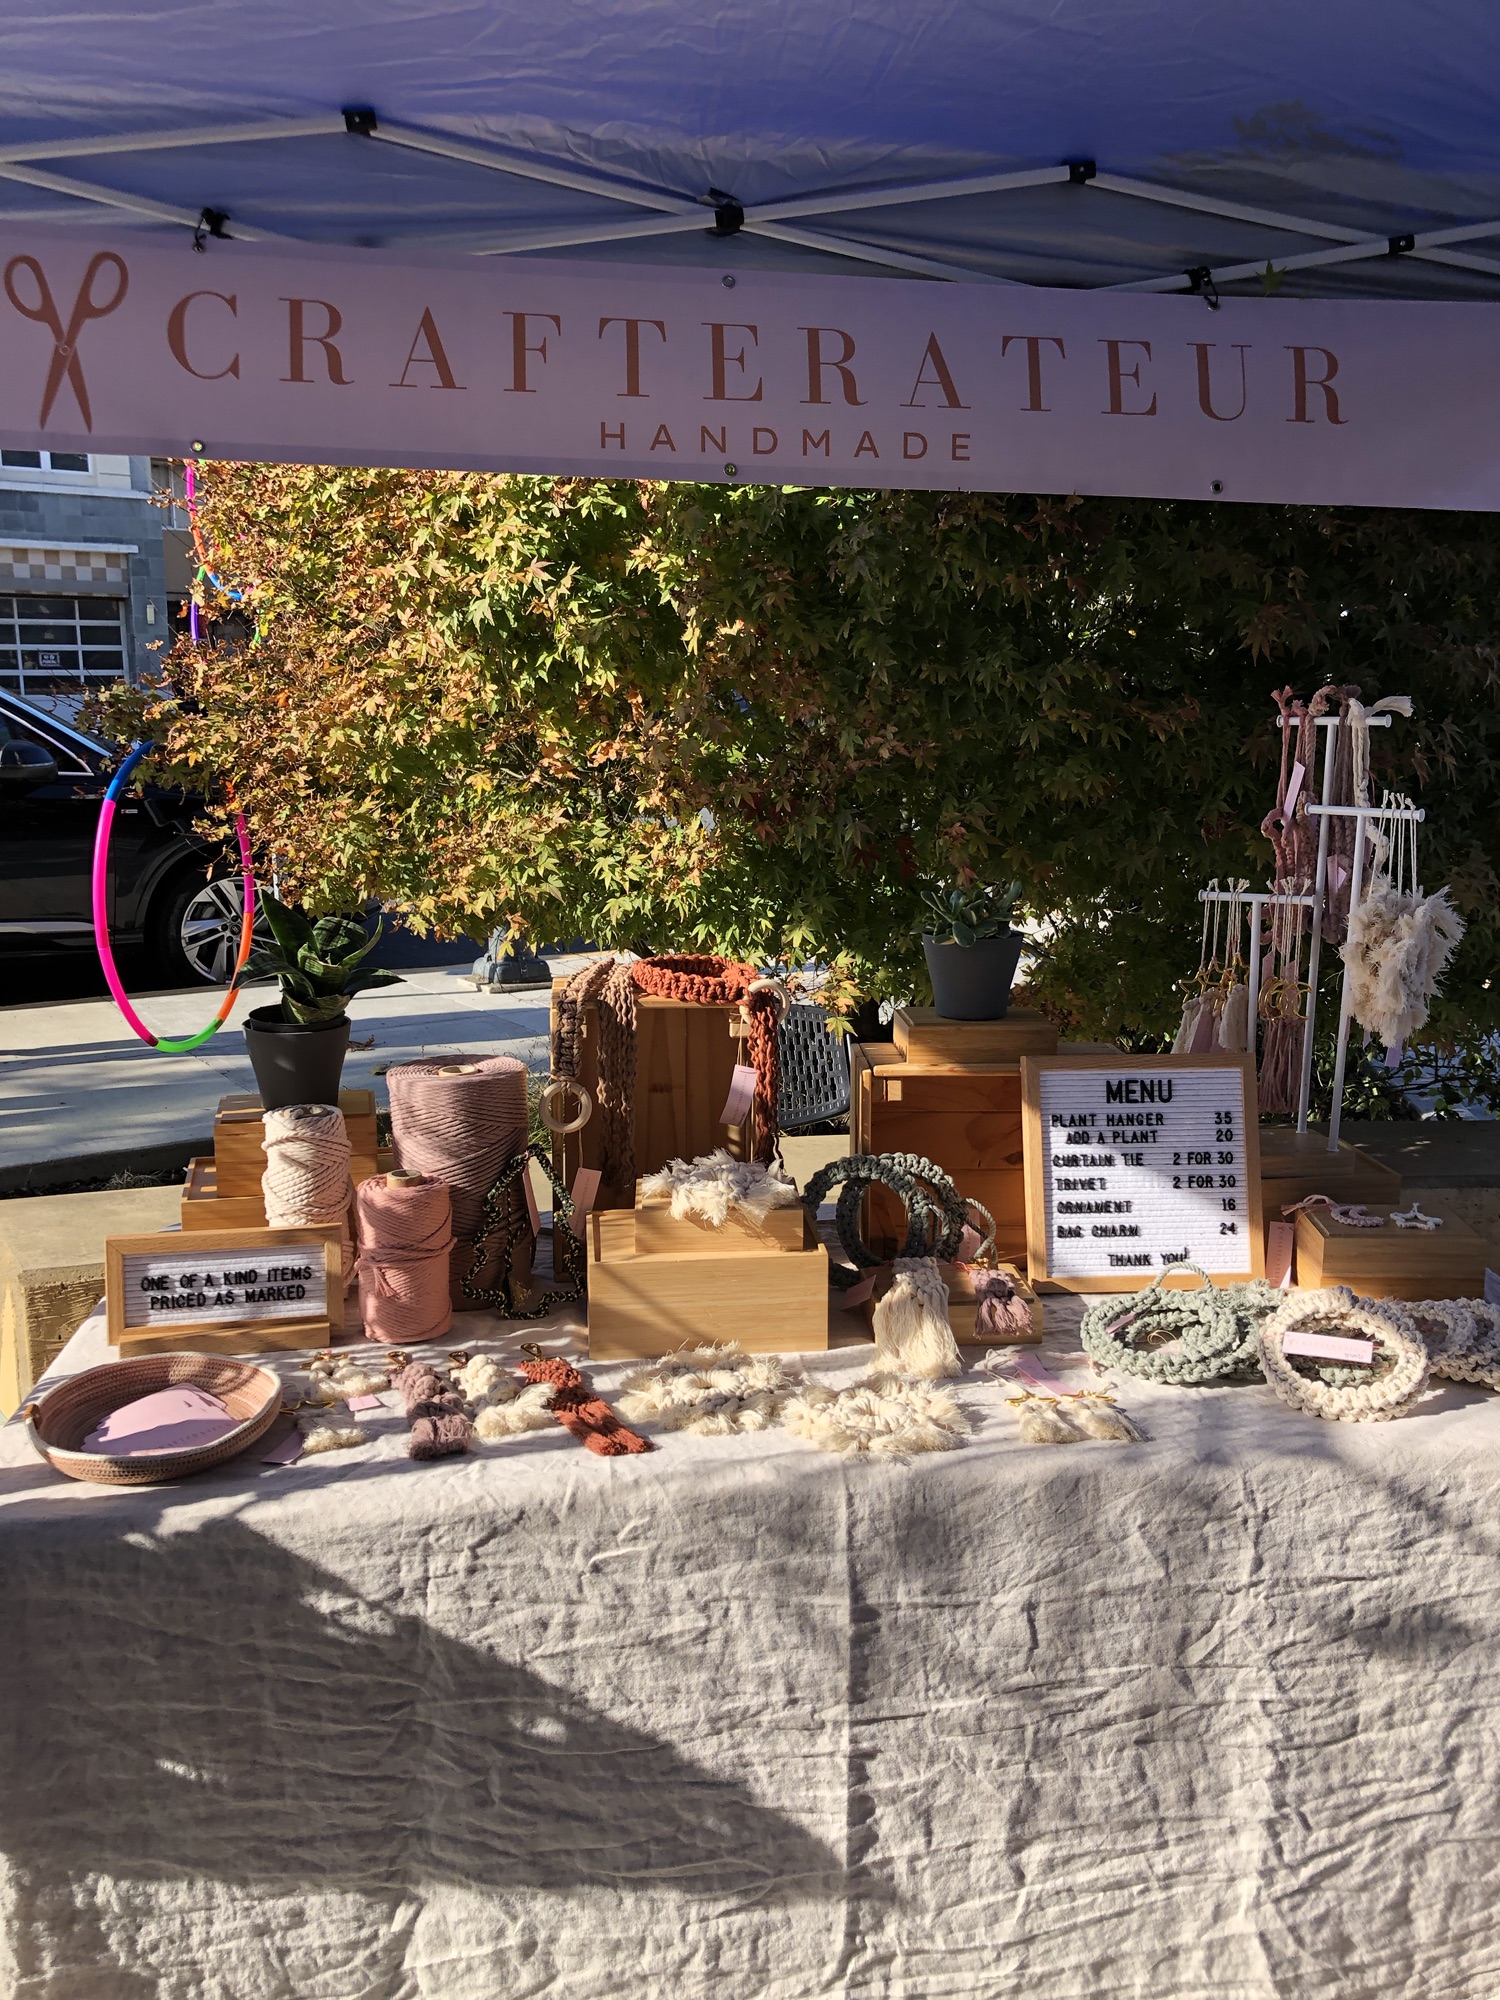
a craftera-tour!
2024 was the year of the Crafterateur relaunch with a branding glow up. I started recognizing myself more as an artist, taking time to experiment with my own macrame designs and giving myself permission to explore my other creative interests, like regular clay and jewelry making! And, because I missed…
-
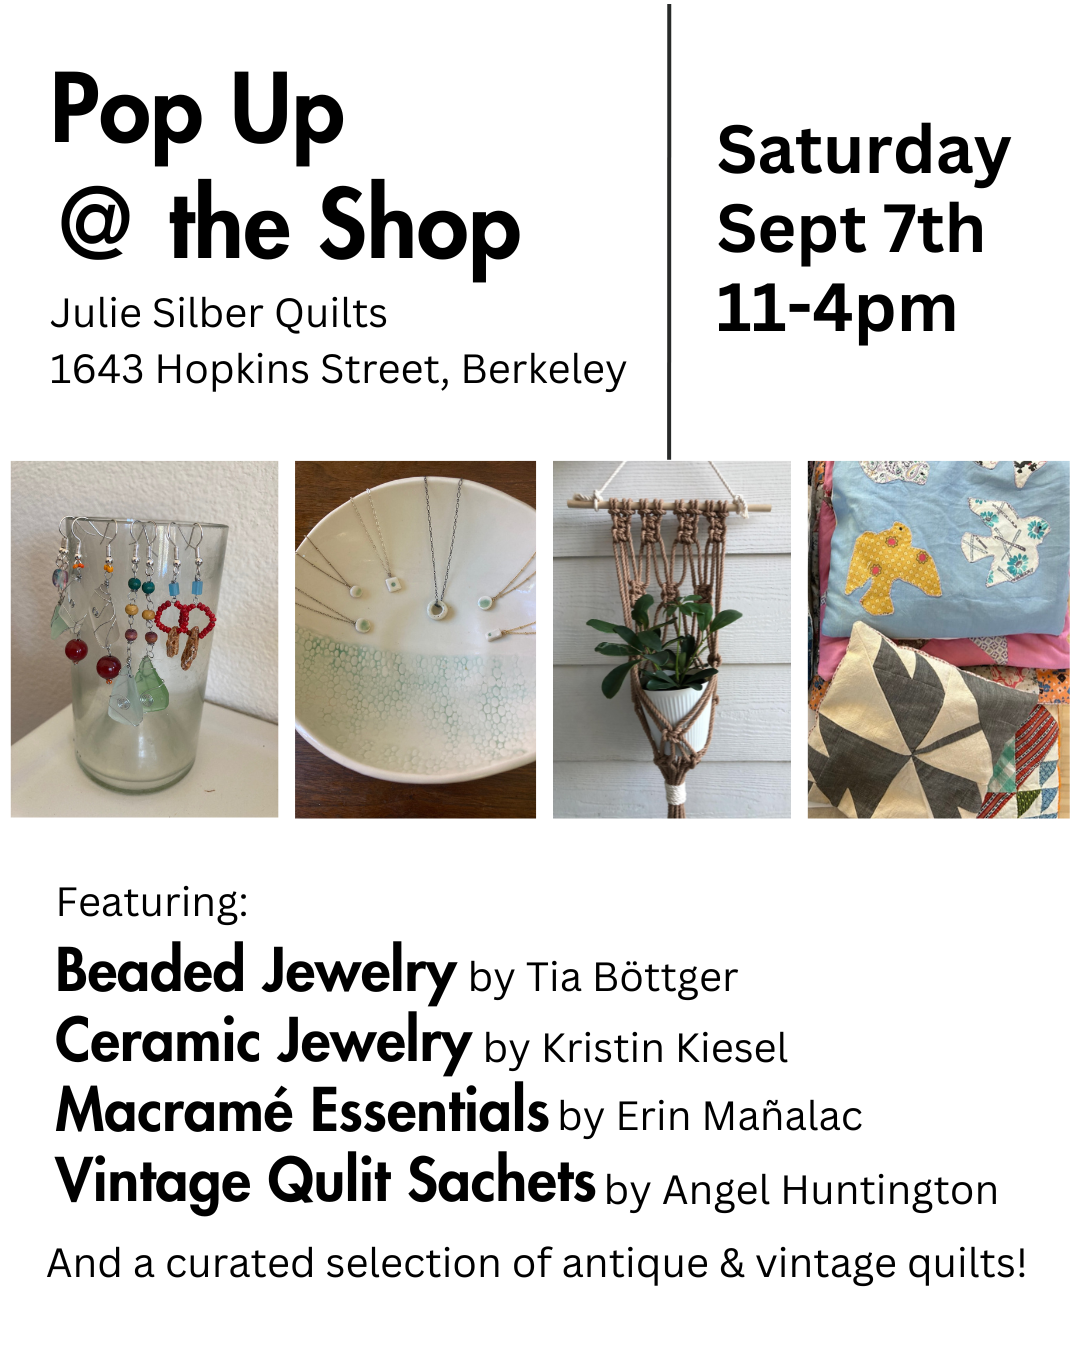
Pop Up @ the Shop!
I’m popping up shop with my crafty friends in front of Julie Silber Quilts! Come shop my collection of macrame goods, see my latest ‘big projects,’ or come chat craft with me! 🙂 The quilt shop will be open with a number of antique and vintage quilts on display and…
-
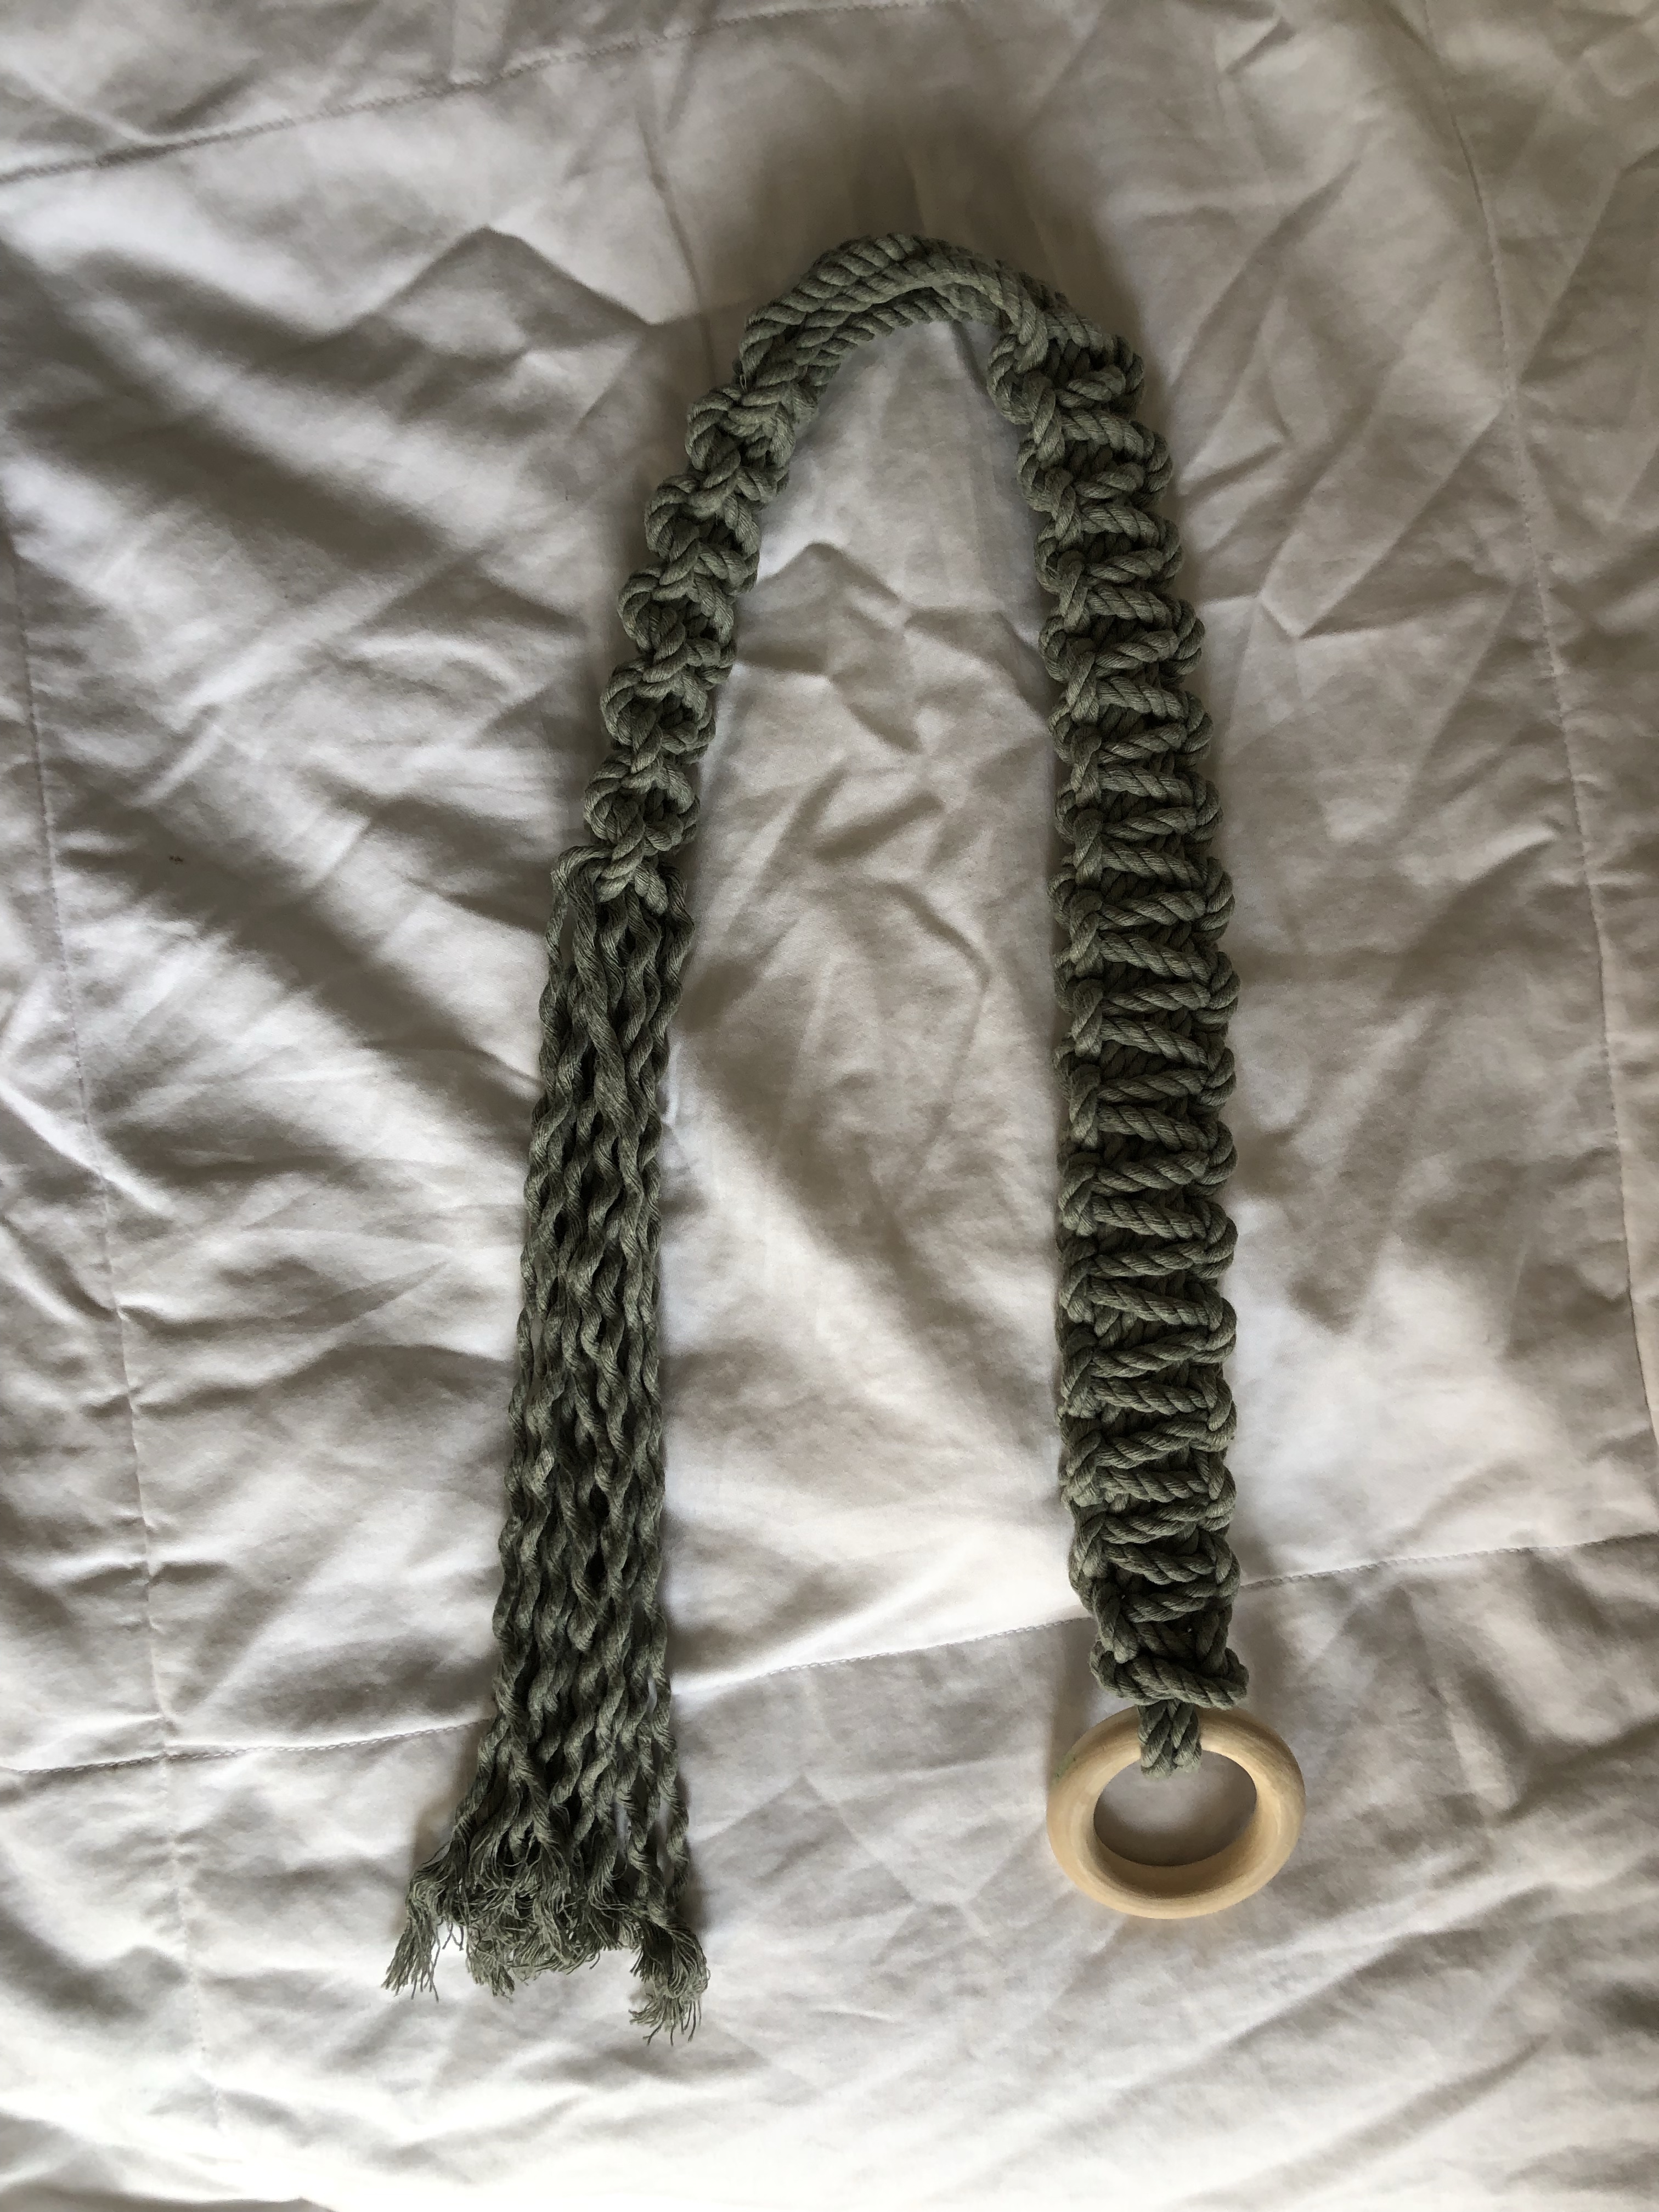
curtain tie backs.
I’ve been using a macrame-ish curtain tieback for a few years now (pictured on left below) and it was time for an upgrade. Modern Macrame rope and idea to the rescue! You know the drill – Cut two strands 10 feet long and one strand 12 feet long. Fold the…
-

market bag.
I’ve had this 500-foot spool of gorgeous mustard rope hiding in my craft closet. I thought maybe I would get 3 or 4 projects out of the rope, but I ended up choosing a 400+ foot market bag project. Look at this beaut! This project was from Modern Macrame by…
-
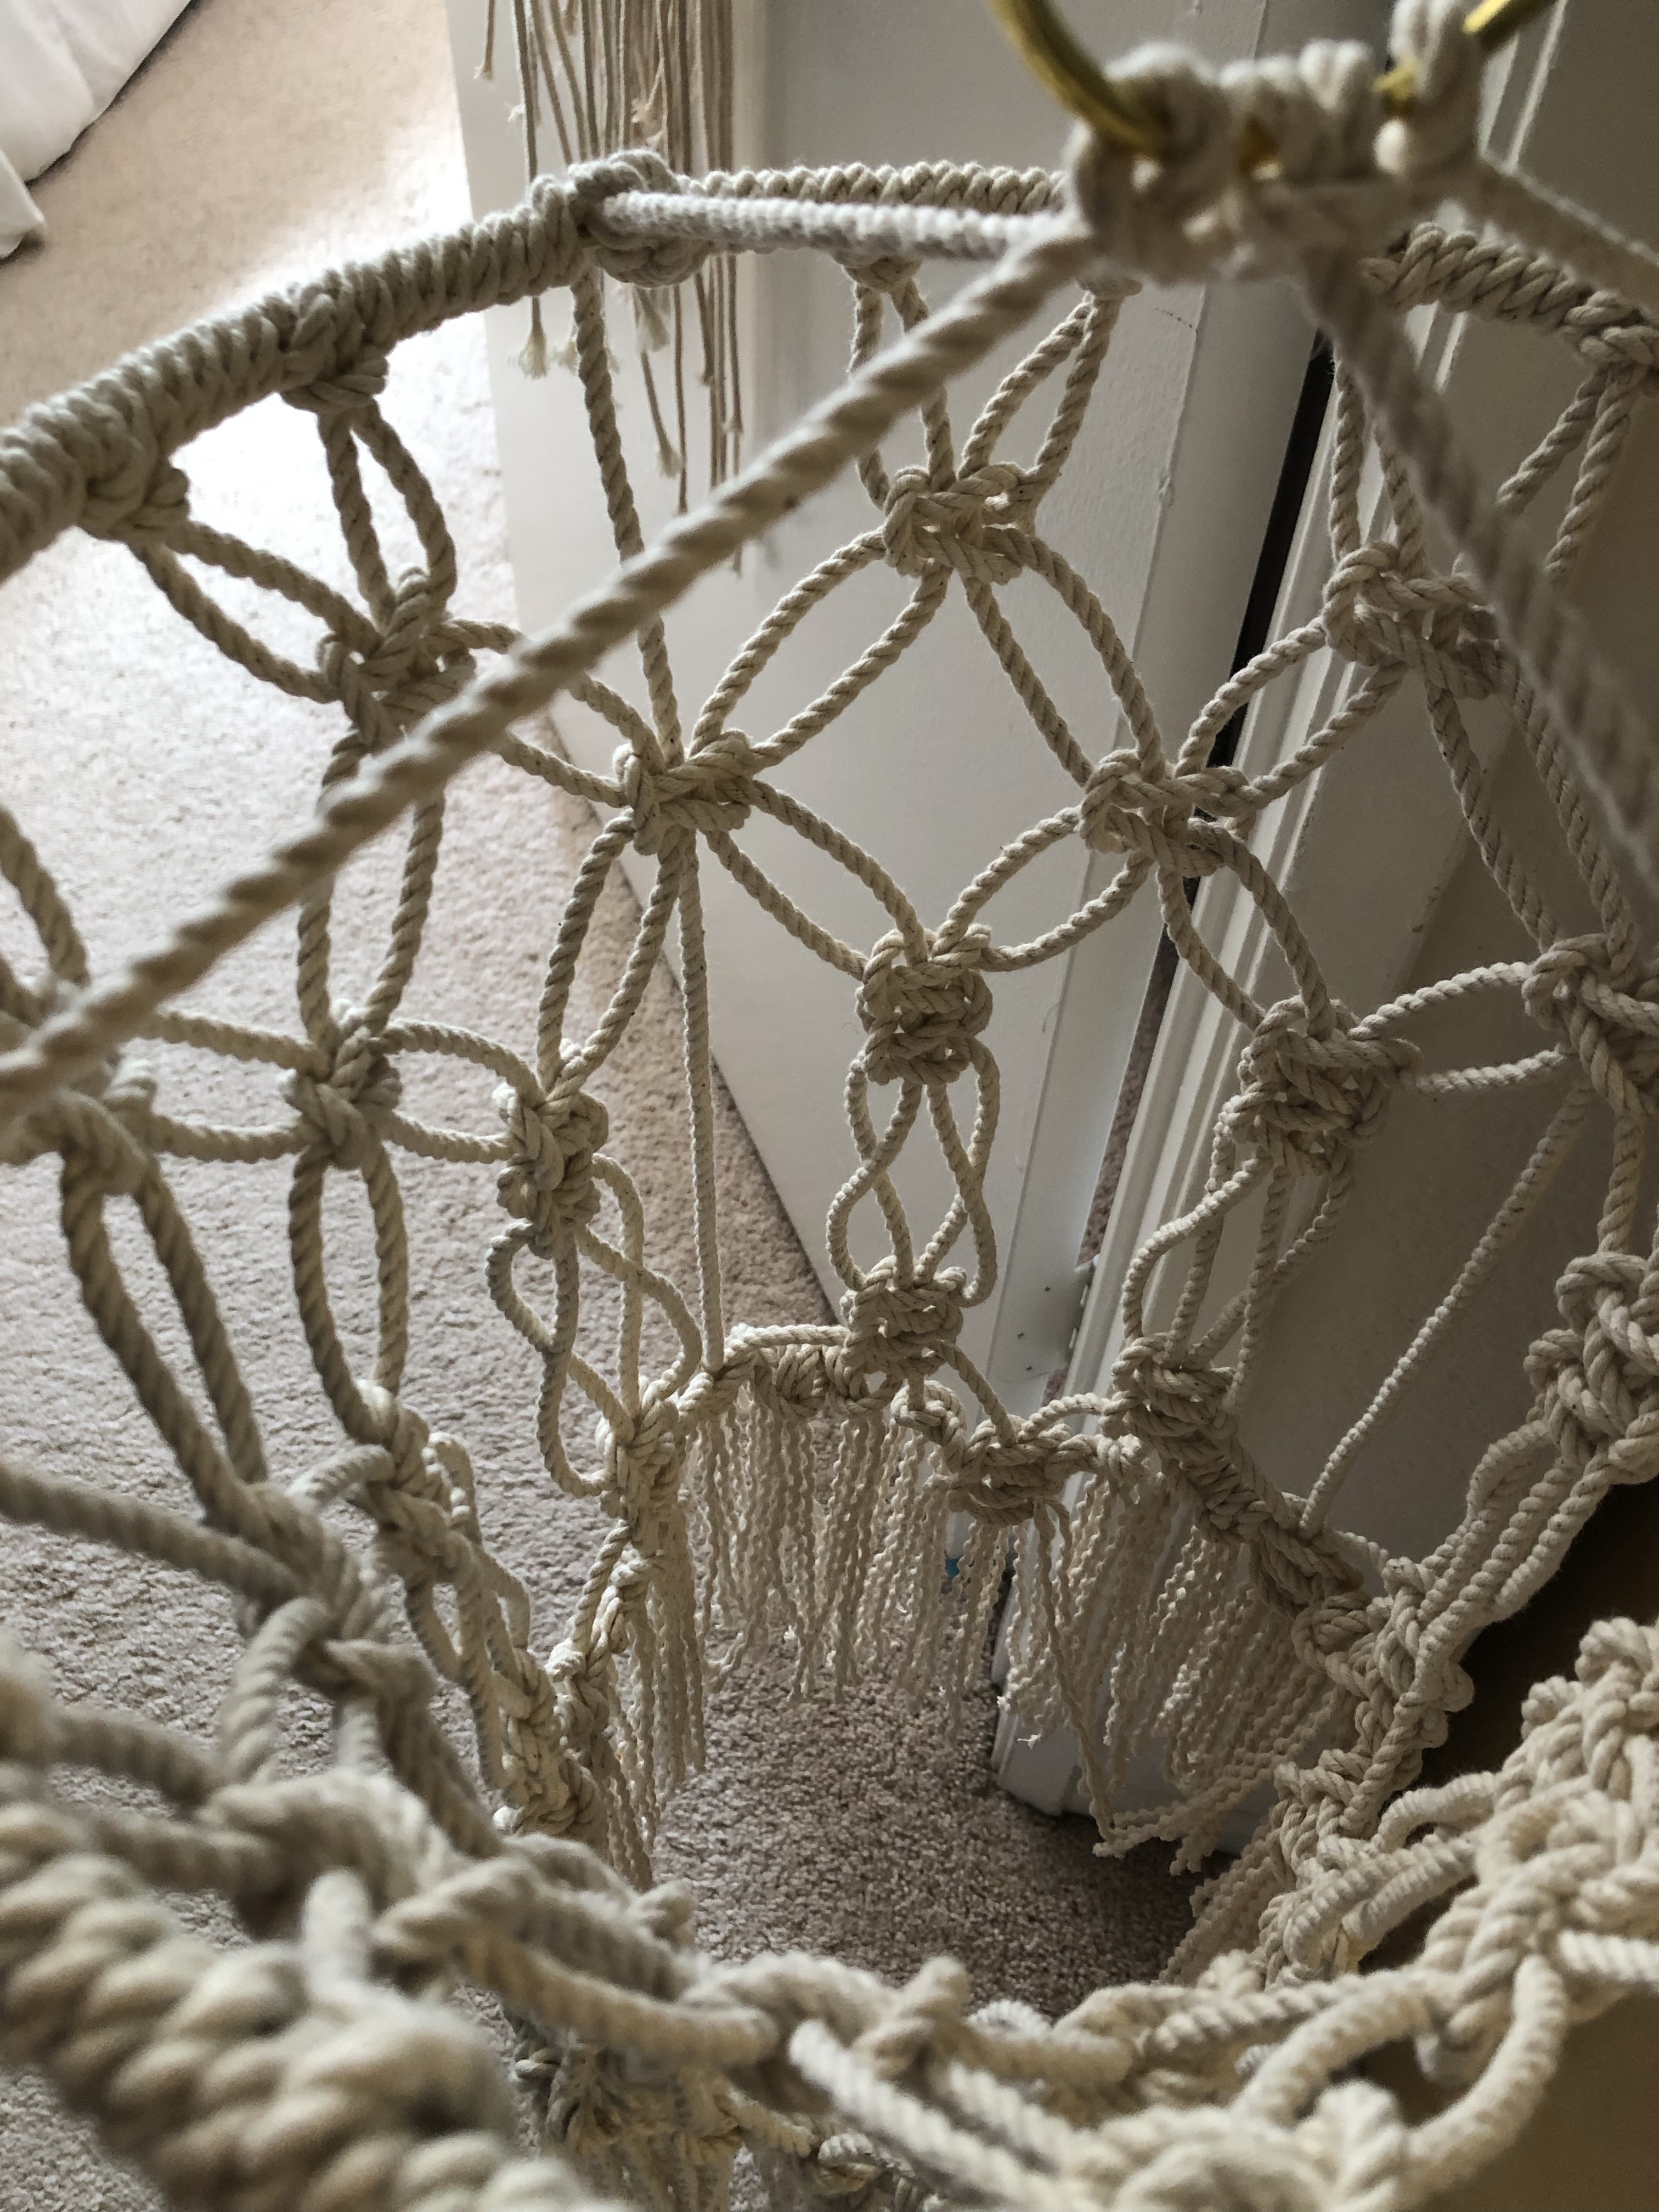
chandelier.
So…our floor lamp toppled over and broke. But it’s ok, because this macrame chandelier lamp project was in my queue. (Ay.) This project was a kit from the Crafter’s Box (now Crafter) by Modern Macrame*. The kit included*: You’ll also need*: I won’t share the pattern here because it’s Modern…
-
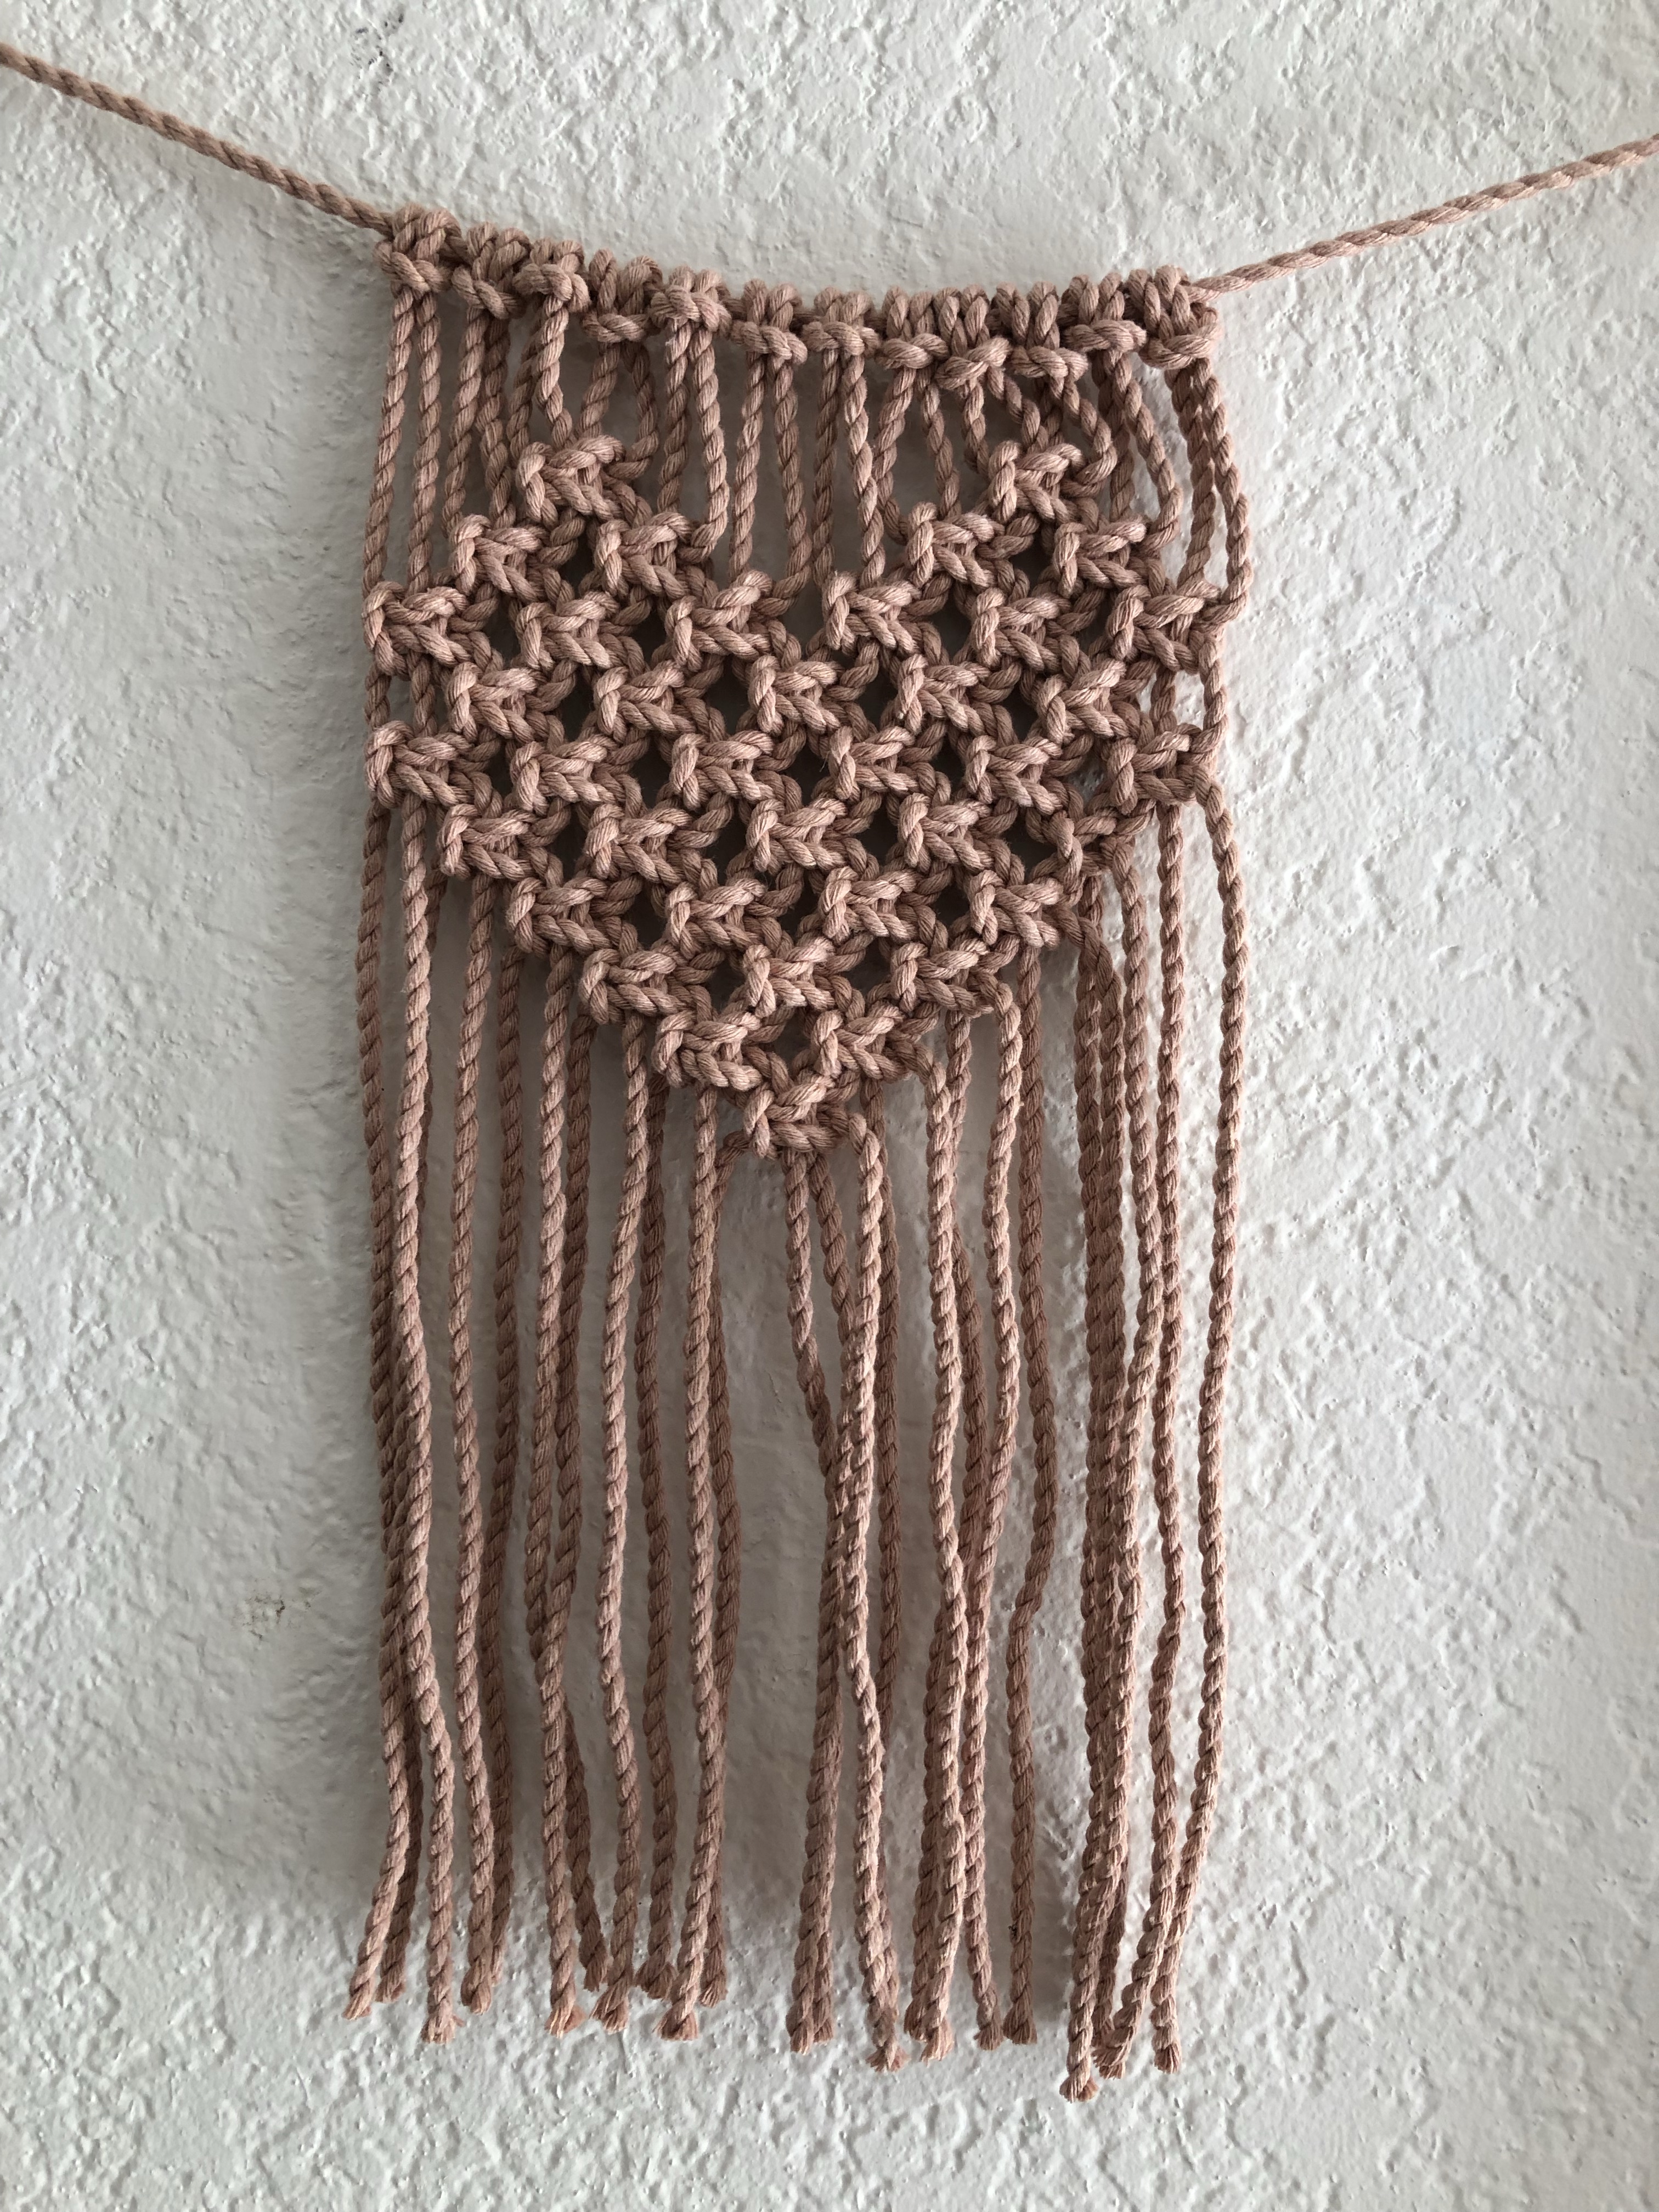
heart garland.
I’m a big fan of hearts so I Googled “macrame heart garland” and was inspired by artist Isabella Strambio. It looked daunting because this was my first try at creating a shape with knots (versus shapes/images with color blocking). It was easier than I thought it was going to be;…
-

hanging garden.
On my crafty wish list: get better at macrame. So for March (National Craft Month!), I’m sharing all macrame projects, all the time. First up is a 4-plant pot hanger featuring a Modern Macrame pattern and rope. You will need: Shop supplies on Modern Macrame and get $10 off your…
-

plant people.
No more surface area for plants? Hang them! Here’s an easy macrame plant holder you can whip out in 30 minutes or less. This recipe creates a plant holder for 4-7 inch plant pot, up to 6-8 inches tall. For this project, you will need: 67 feet of 5mm rope,…
-

macrame basics.
Use these knots and techniques to create unique designs for your macrame pieces. Lark’s Head Knot The lark’s head knot is often used as an anchoring knot to start your piece. Fold rope cord in half. Place the midpoint underneath the dowel in a U fashion. Bring the top loose…