Tag: jewelry
-
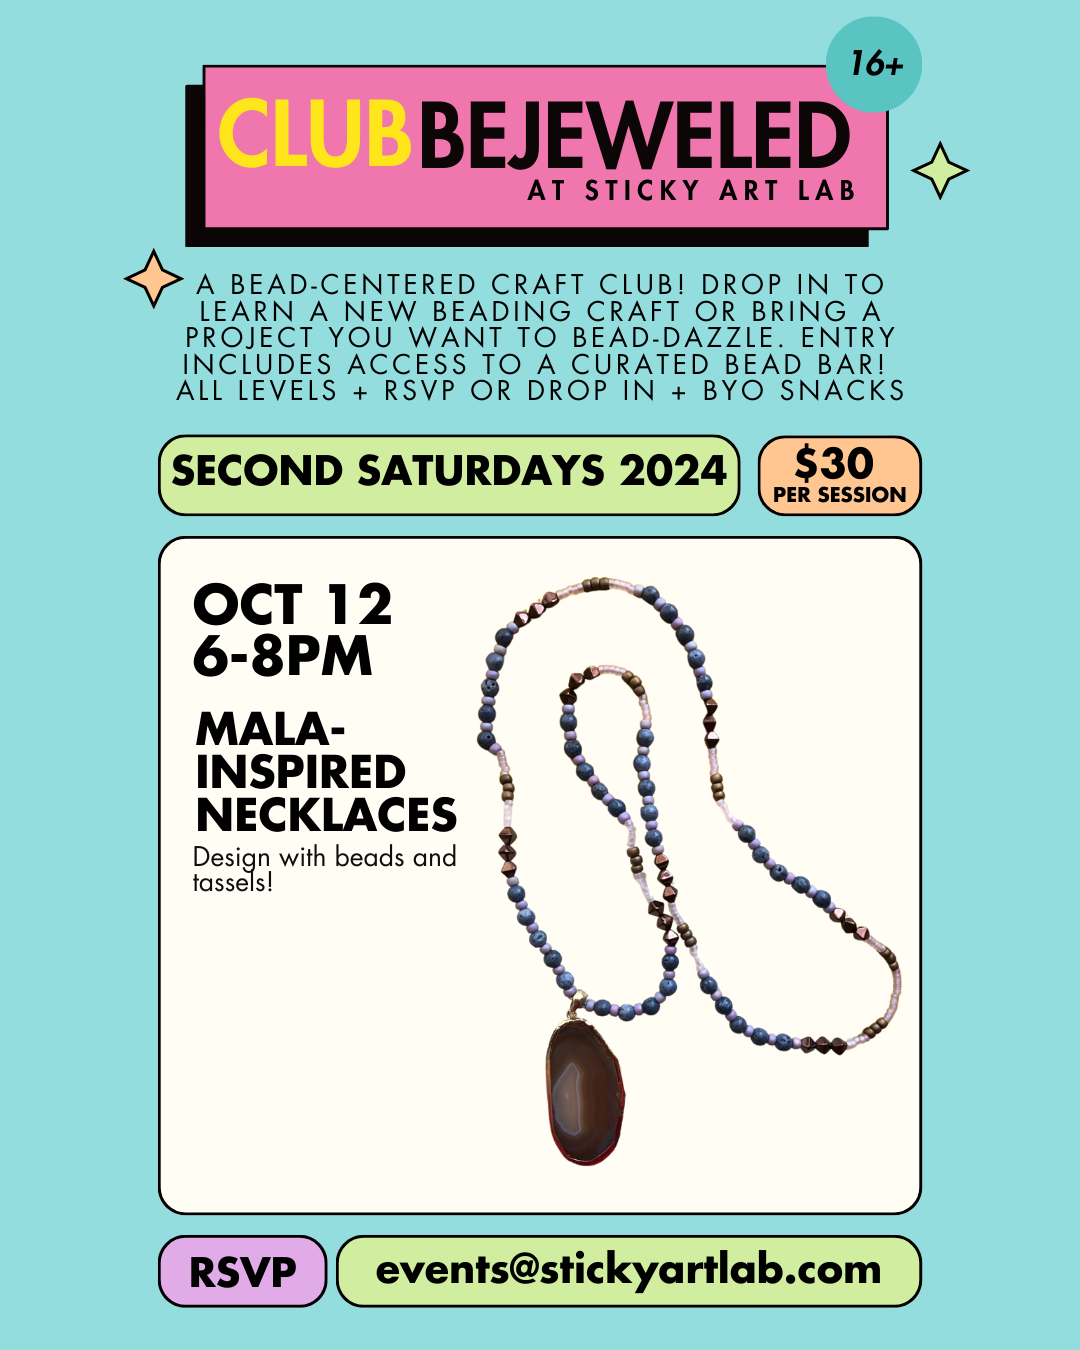
Club Bejeweled (16+ Jewelry Craft Club) – October 2024
Join me for Club Bejeweled at Sticky Art Lab! Club Bejeweled is an open lab style beading event. Bring a project you’d like to bead-dazzle or come learn a new jewelry technique – I’ll have samples and will do a beading demo. October’s project is mala-inspired necklaces! Participants will have access to…
-

Club Bejeweled (16+ Jewelry Craft Club) – September 2024
Join me for Club Bejeweled at Sticky Art Lab! Club Bejeweled is an open lab style beading event. Bring a project you’d like to bead-dazzle or come learn a new jewelry technique – I’ll have samples and will do a beading demo. September’s project is polymer clay charms! Participants will have access…
-

club bejeweled.
New craft club alert! Remember when Blue Door Beads owner Sarah invited me to ‘shop’ for donations and I won the bead lottery? Welps, with the inherited bounty I helped design a bead-centered craft club with Sticky Art Lab: Club Bejeweled! I’m super excited about this project because beading is…
-

Club Bejeweled (16+ Jewelry Craft Club) – July 2024
Join me for Club Bejeweled at Sticky Art Lab! Club Bejeweled is an open lab style beading event. Bring a project you’d like to bead-dazzle or come learn a new jewelry technique – I’ll have samples and will do a beading demo. Participants will have access to the bead bar and…
-
Club Bejeweled (16+ Jewelry Craft Club) – June 2024
Join us for our inaugural Club Bejeweled session at Sticky Art Lab! Club Bejeweled is an ‘Open Lab’ style bead workshop. We’ll have bead and jewelry samples for inspiration but anything goes! Bring a project that needs a little bedazzling or come learn a new jewelry technique. Drop in or…
-
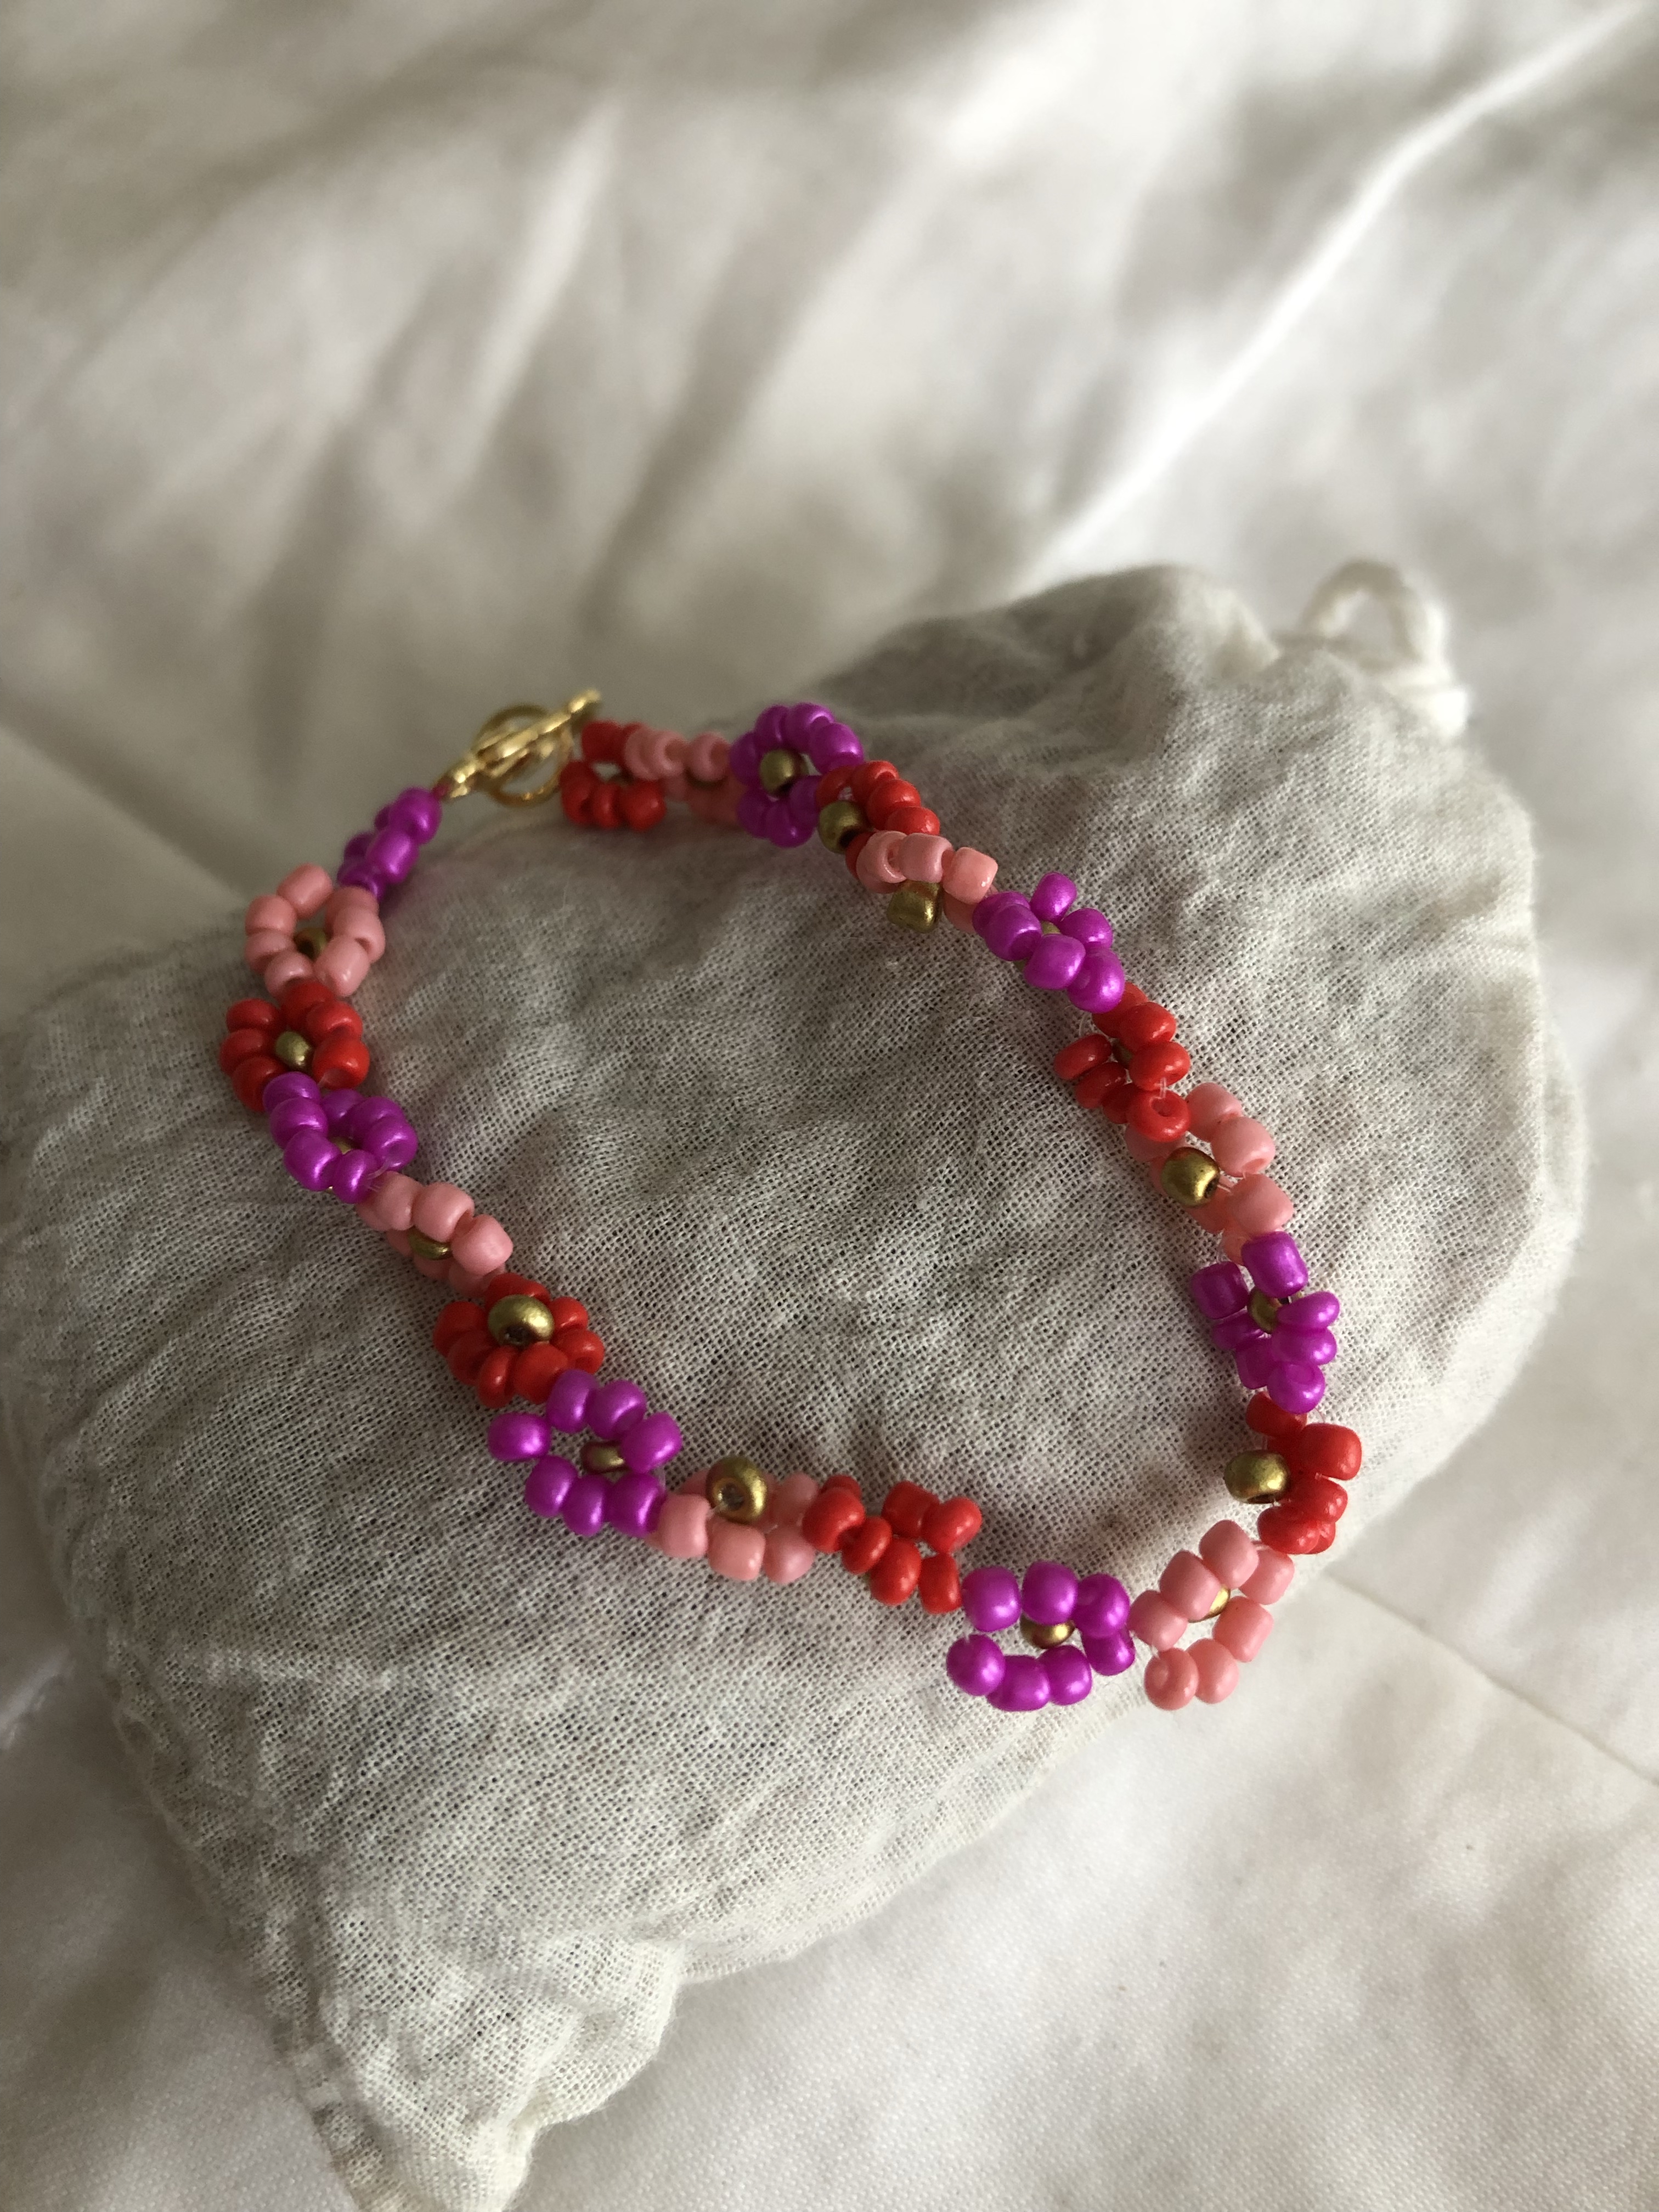
daisy chain.
My friend and I met up for nachos and crafting – a winning combo! I picked up the daisy chain bracelet kit from Joann to share. Just add pliers and scissors – a bead tray and mat help, too – and you’re good to go. I’ve long been fascinated by…
-

charmed.
As promised, here is another wrapped craft: charm bracelets! File this craft under handmade gift ideas for your besties (hint hint: Christmas is coming!)! It’s super simple and super cute. All you need: Bangles (I used bangles from Target) Embroidery floss Jump rings Charms (I found a great selection from…
-
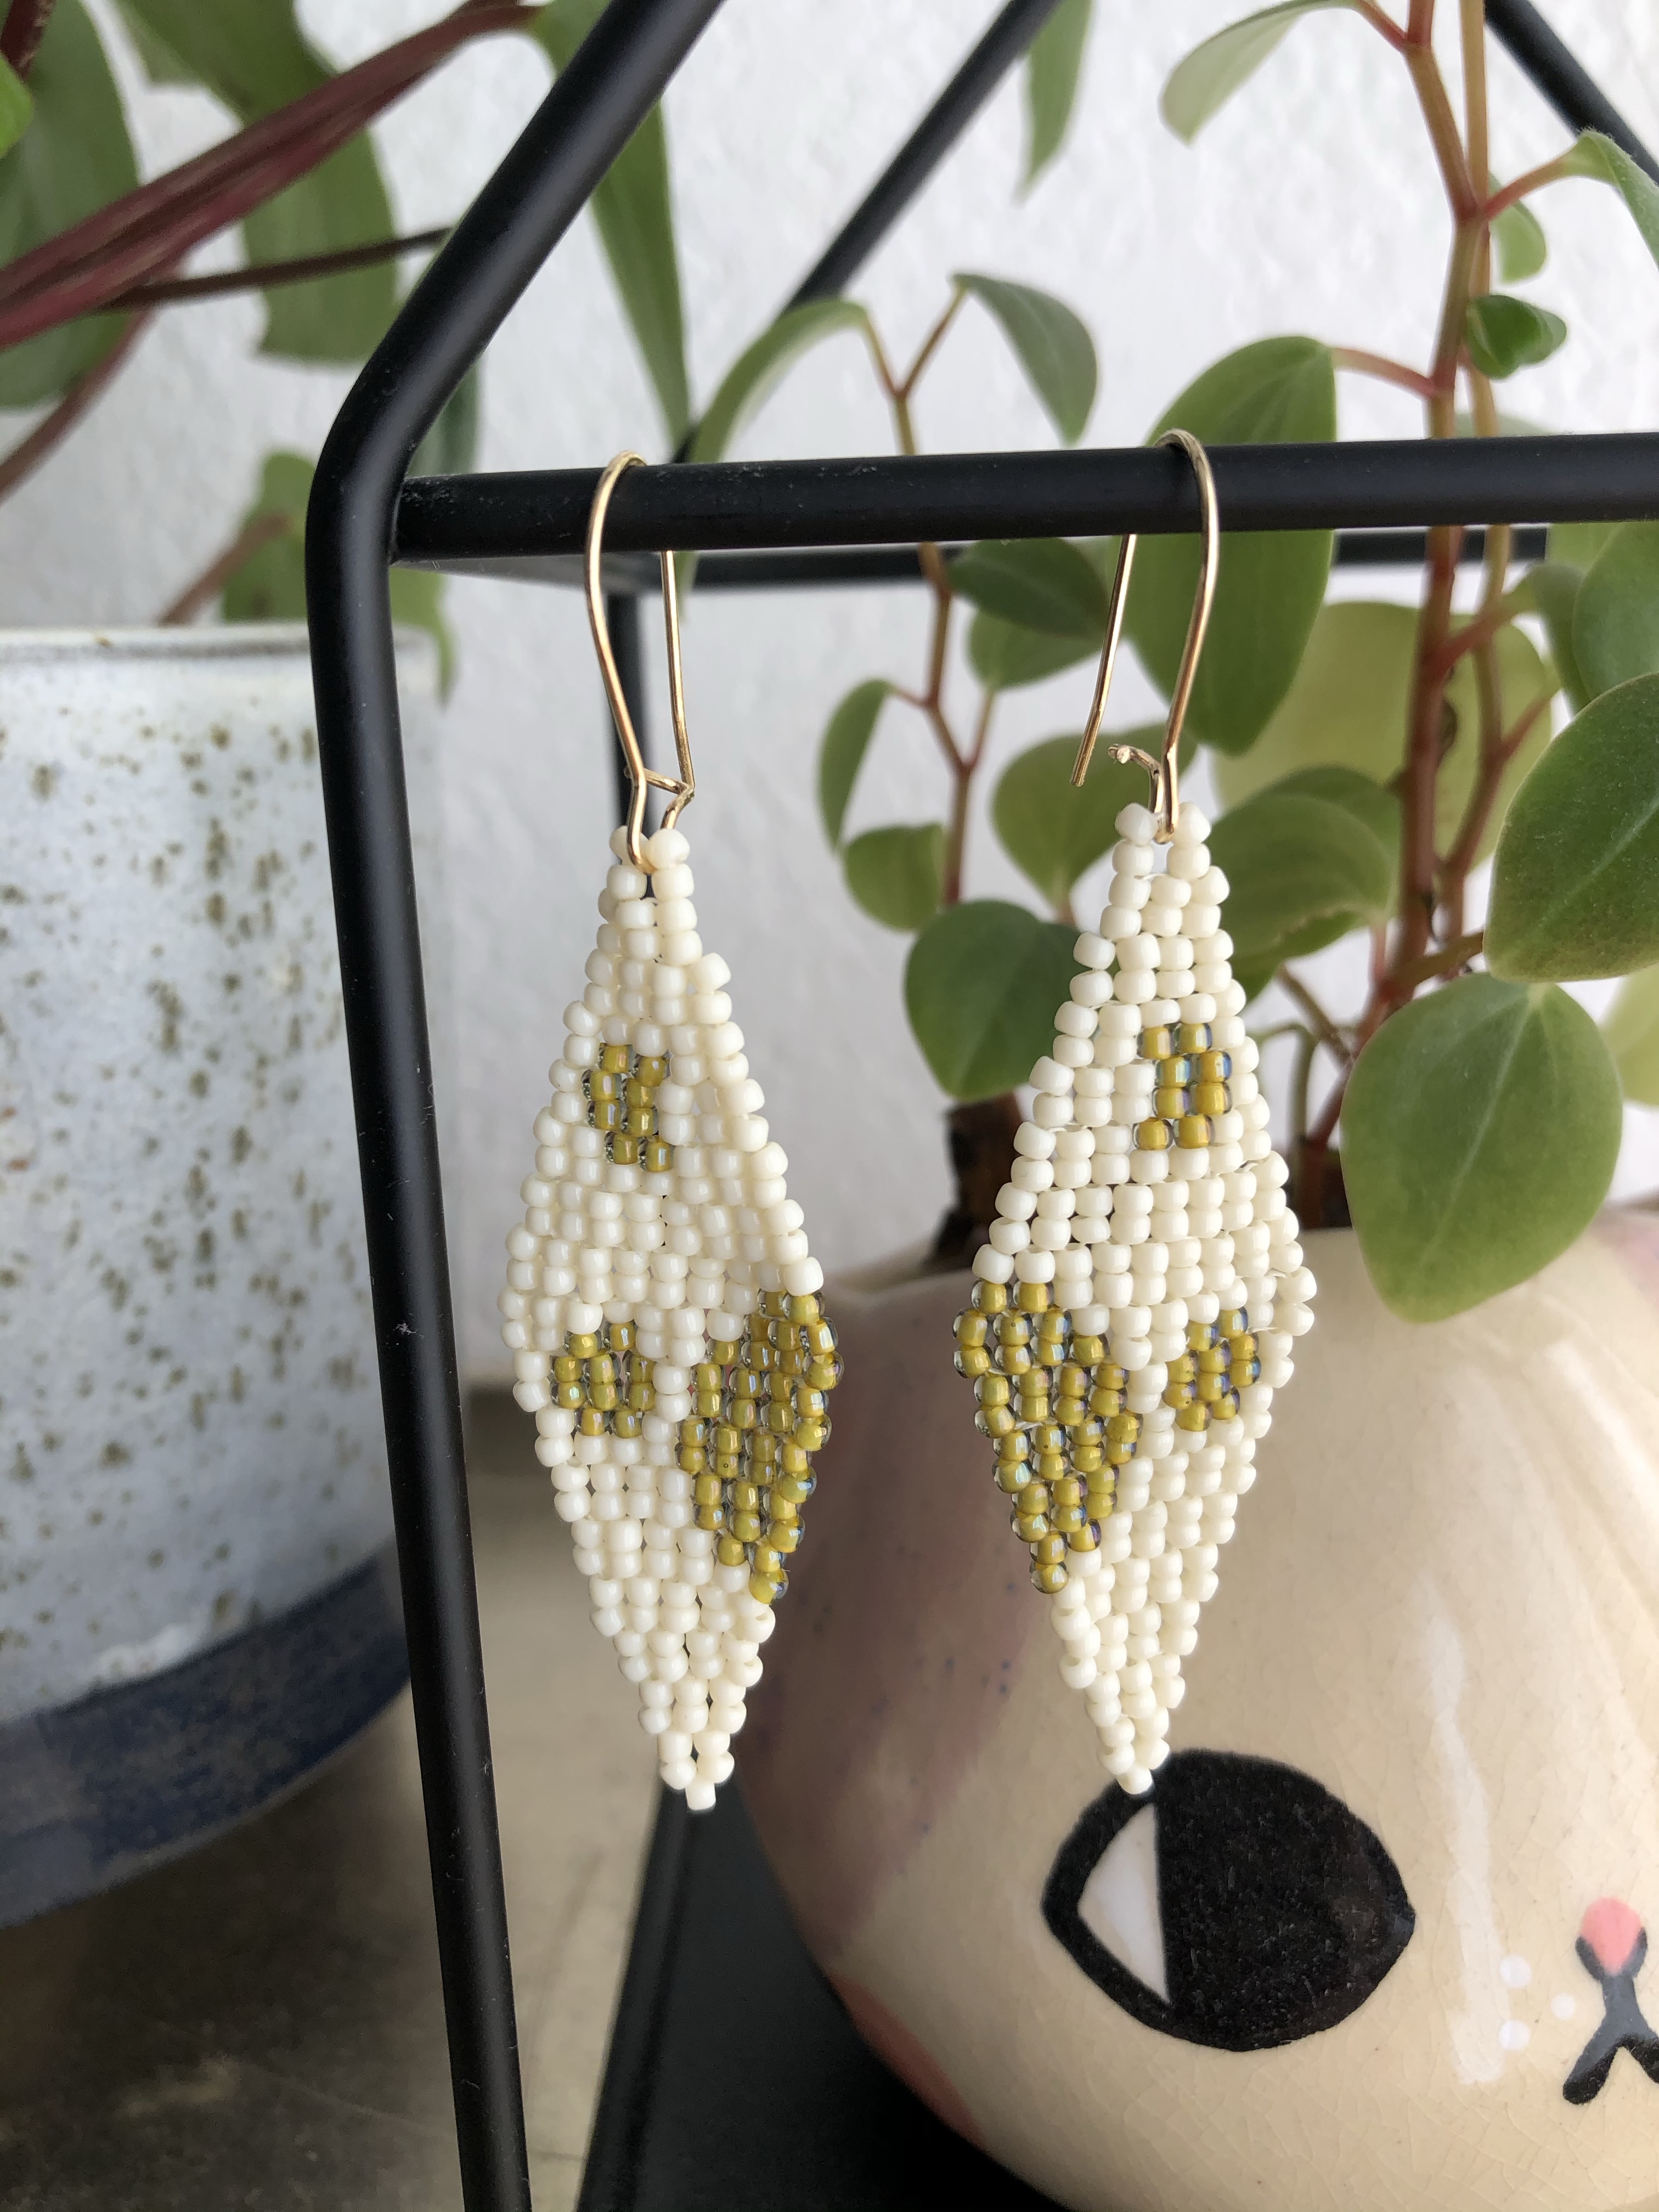
brick stitch.
I’ve been wanting to take brick stitch with Michelle Feileacan of the Sugar Pond for a while now. She was scheduled to teach at Craftcation 2020 and I actually got into one of her classes, but alas, with the cancellation of the event, so came the cancellation of my craft…
-

friendship.
I’ve been teaching crafty workshops all summer, and I finally participated in one as a student! I attended The Neon Tea Party‘s heart pattern friendship bracelet virtual workshop and it was the most fun! Marisa, owner and creative everything of The Neon Tea Party, taught us two friendship bracelet knots,…
