My friend and I met up for nachos and crafting – a winning combo! I picked up the daisy chain bracelet kit from Joann to share. Just add pliers and scissors – a bead tray and mat help, too – and you’re good to go.


I’ve long been fascinated by bead weaving/sewing so to find a kit to walk me through a new-to-me technique was a fun find! The kit comes with cord, an assortment of beads, two needles, a lobster clasp, a jump ring, and instructions. You can make one full bracelet with enough cord and beads leftover to make 3-4 more bracelets or other projects. Or, you can add additional strands to the initial bracelet.

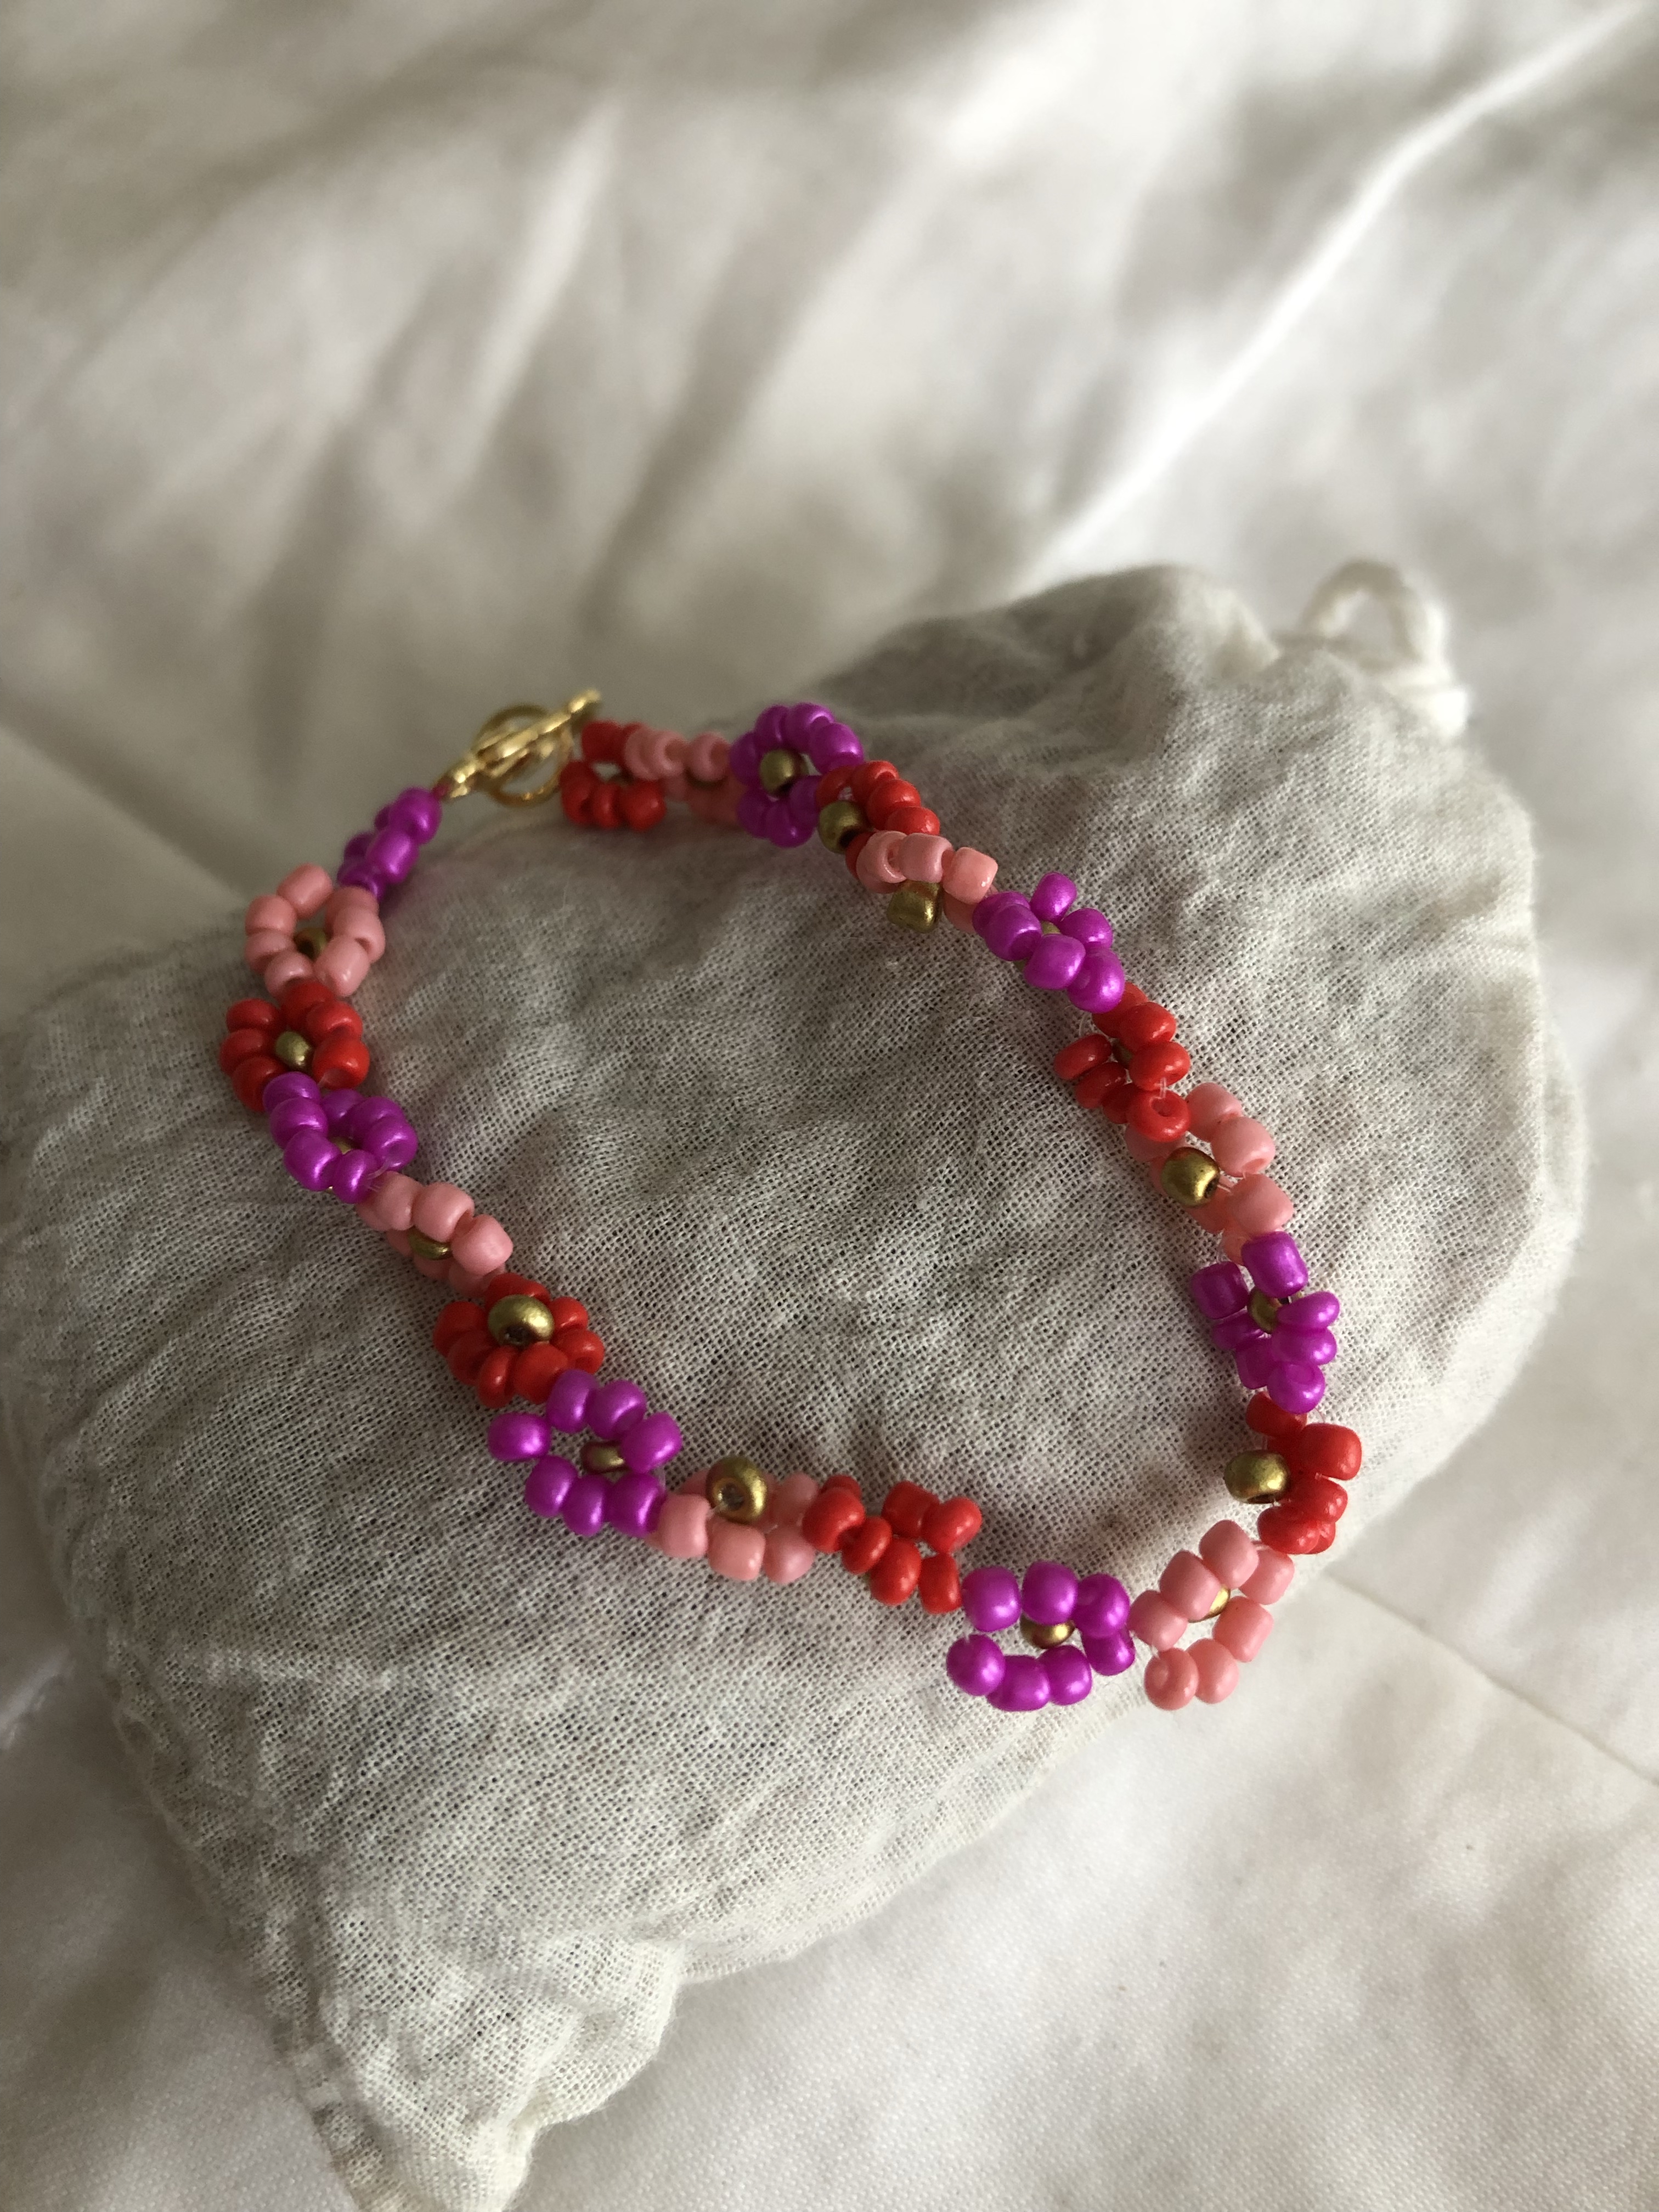
My friend chose yellow, teal, and pink beads for her flowers; I went for more of a love day color palette – red, fuchsia, and pink; and I swapped the silver findings for gold. It took me a few daisies to get the hang of the project; by about daisy number five I was feeling a bit more confident, though we couldn’t figure out why our pattern was twisting. If you know why, please share your tips. 🙂


How to:
- Cut a 4-foot strand of cord and tie onto the lobster clasp. I did a simple double knot.
- Thread on 4 petal beads and 1 center bead (gold in my example). Loop back through the first petal bead towards the lobster clasp.
- Add on 3 more petal beads and loop back through the 4th petal bead towards the lobster clasp. This will ‘close’ your daisy.
- Continue adding daisies in any pattern until you get your desired length. Note that the lobster clasp and jump ring will add length to your final piece.
- Tie on the jump ring. I triple knotted. It helps to hold the jump ring with a pair of pliers while you do this step. I worry that the cord will slip out through the jump ring slit; if you can solder it closed or use a ring without a slit, that would be ideal.
- Optional: Sew the cord a few flowers back to make it a little extra secure.
- Trim the excess cord.


This style daisy is about 1/4″ wide. I made 21 daisies for a 6.5″ bracelet (with inevitable gaps and the clasp). The final pieces:


Make your own with*:
- Seed beads
- Cord
- Beading needles
- Lobster clasp
- Jump ring
- Bead tray/mat (a sheet of felt works, too)
- Flat nose pliers (needle nose pliers work, too)
- Scissors
Happy making!
*This is an affiliate link. As an Amazon Affiliate I earn from qualifying purchases made via linked items at no additional cost to you.
Leave a Reply