Tag: fabric
-

lemonade stand ready.
My kid’s school hosts a summer lemonade stand, operated by the kids. They get to squeeze and prep the lemons, dispense and serve the lemonade, and greet the community with their “free lemonade” chants and smiles. I found out about a week before the event which was juuuust enough time…
-

forage sf.
I signed up for a lesson in natural dye with Forage SF, a wild foods community! Our instructor Maria Finn welcomed us into her home and creative sanctuary…on a house boat! What I thought would be a morning of foraging items for dye baths, ended up also being an arts…
-
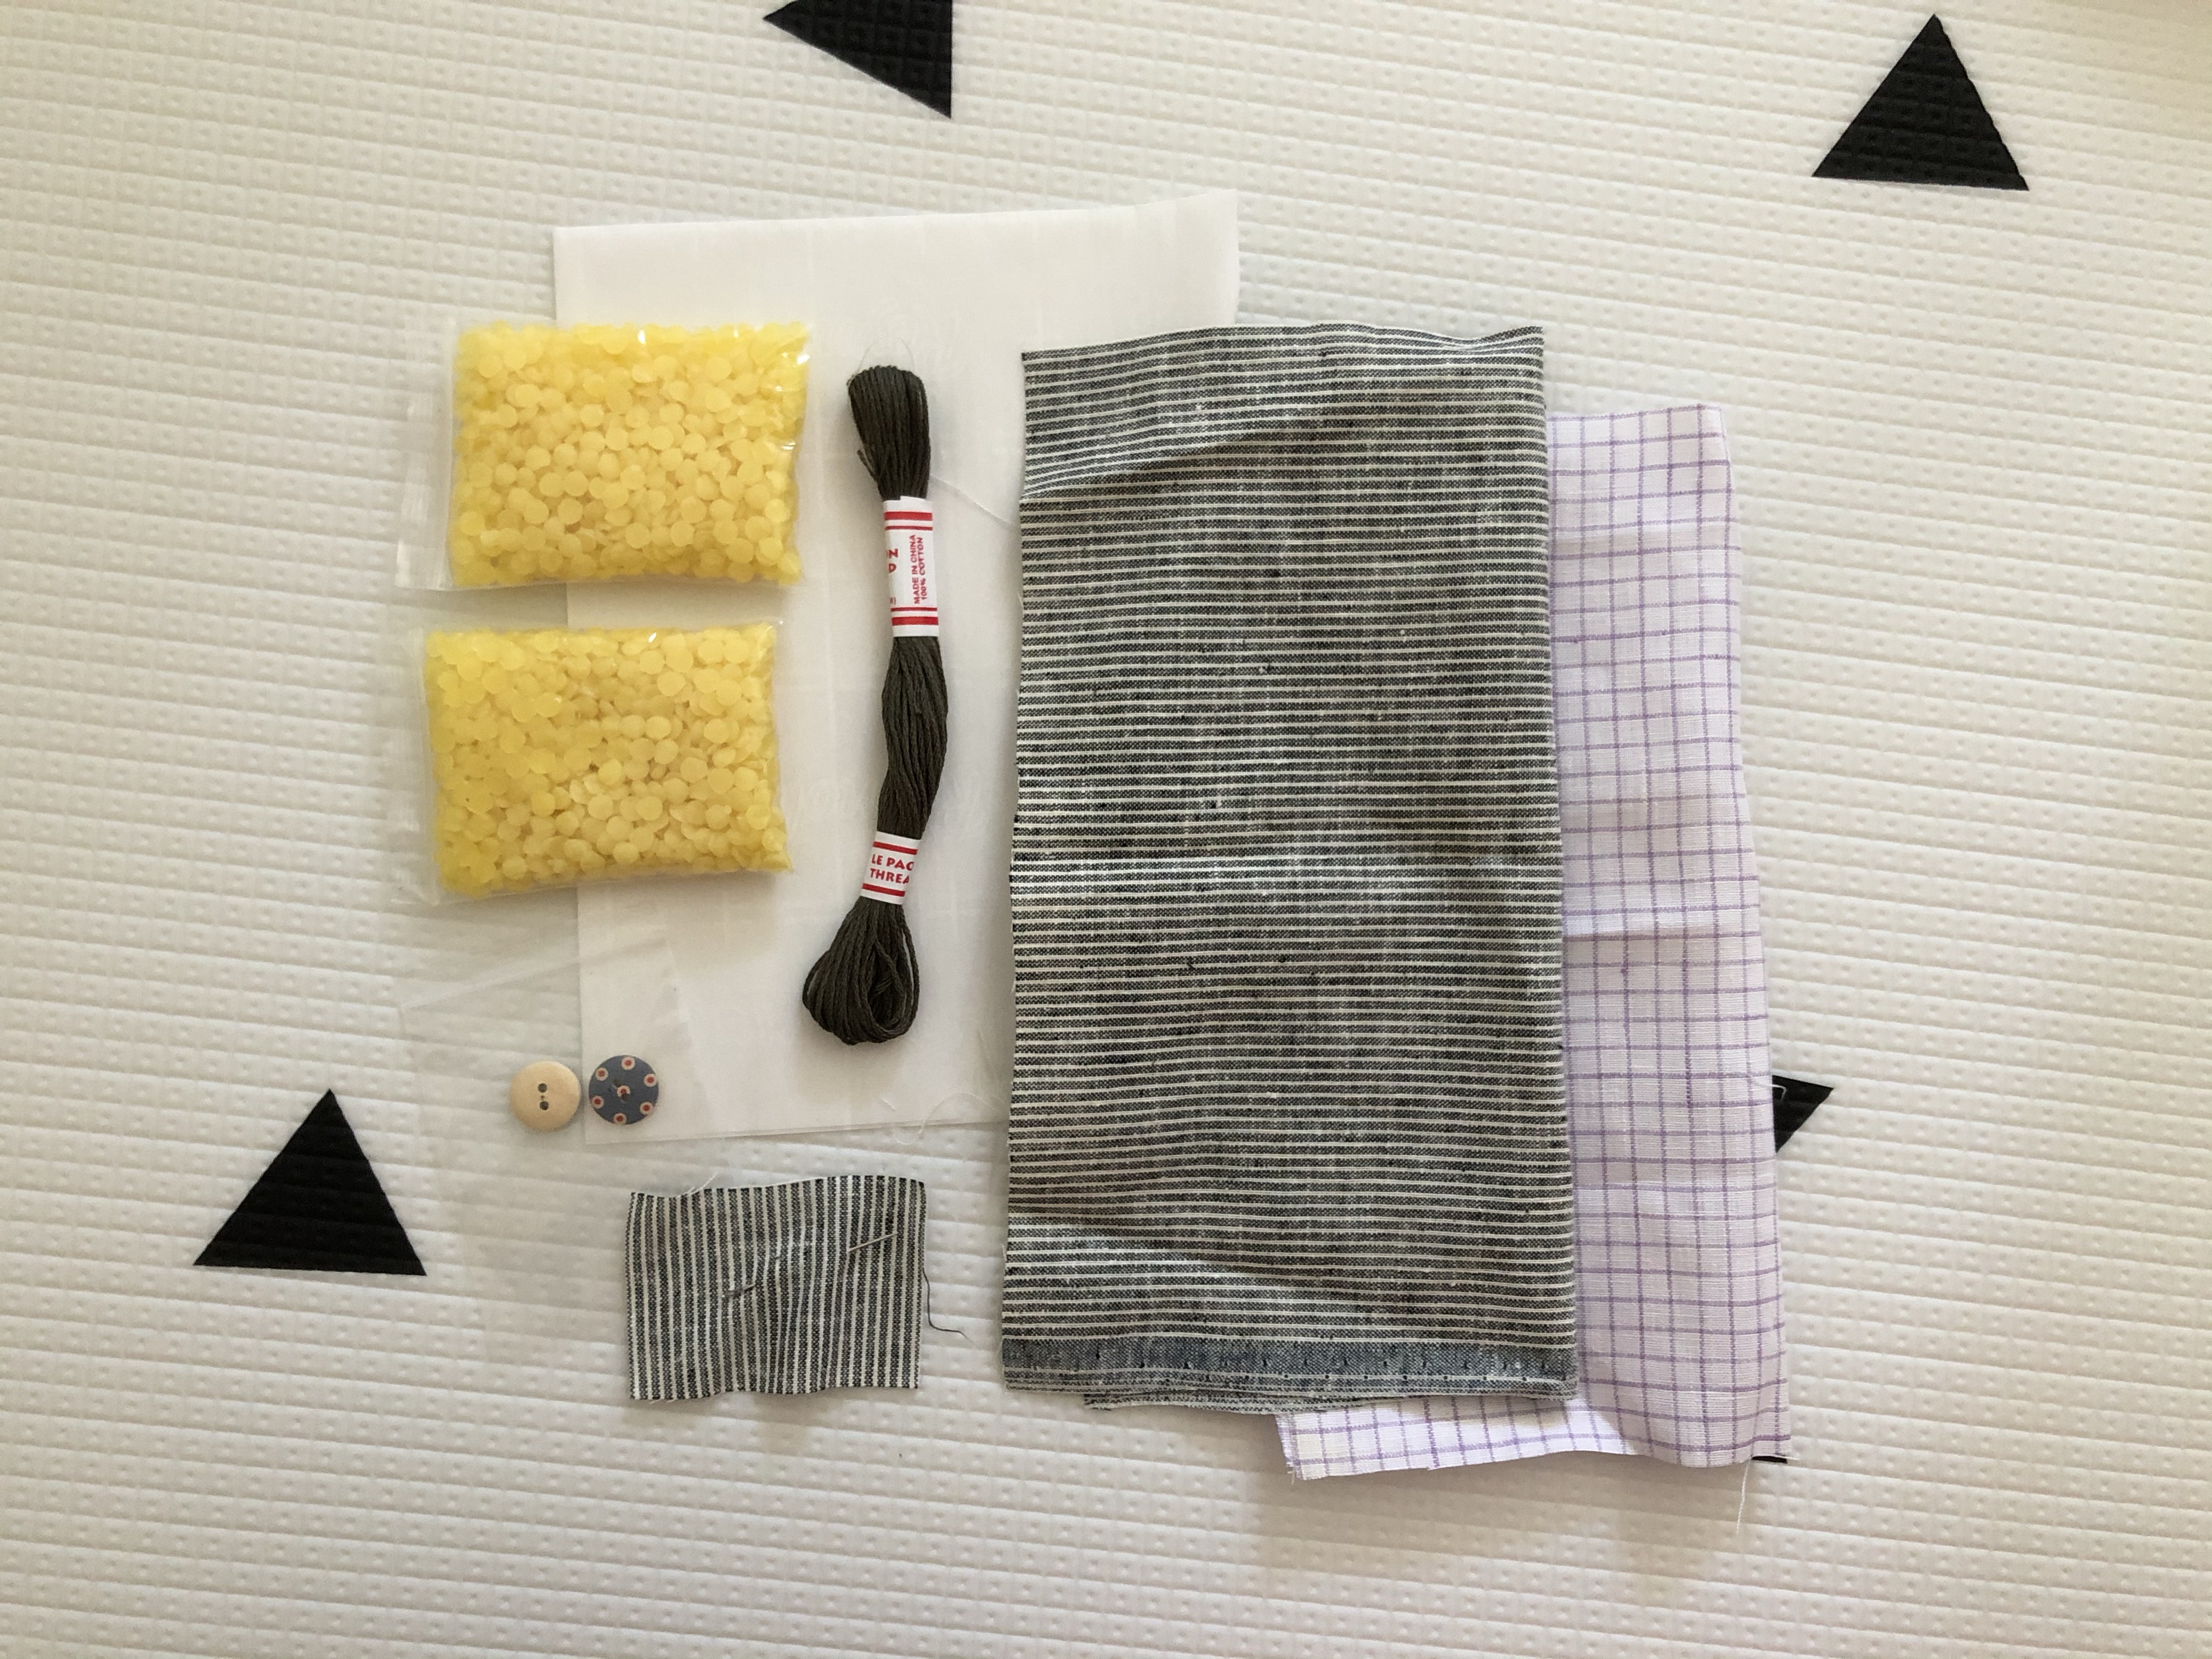
that’s a wrap.
I tried my hand at making beeswax food covers. I’ve been wanting to learn how to create my own for some time, and now I know I’d rather just buy them premade. Ha! It’s a messy craft! Jenny Lemons teamed up with Cara of Cara Corey Designs for their monthly…
-
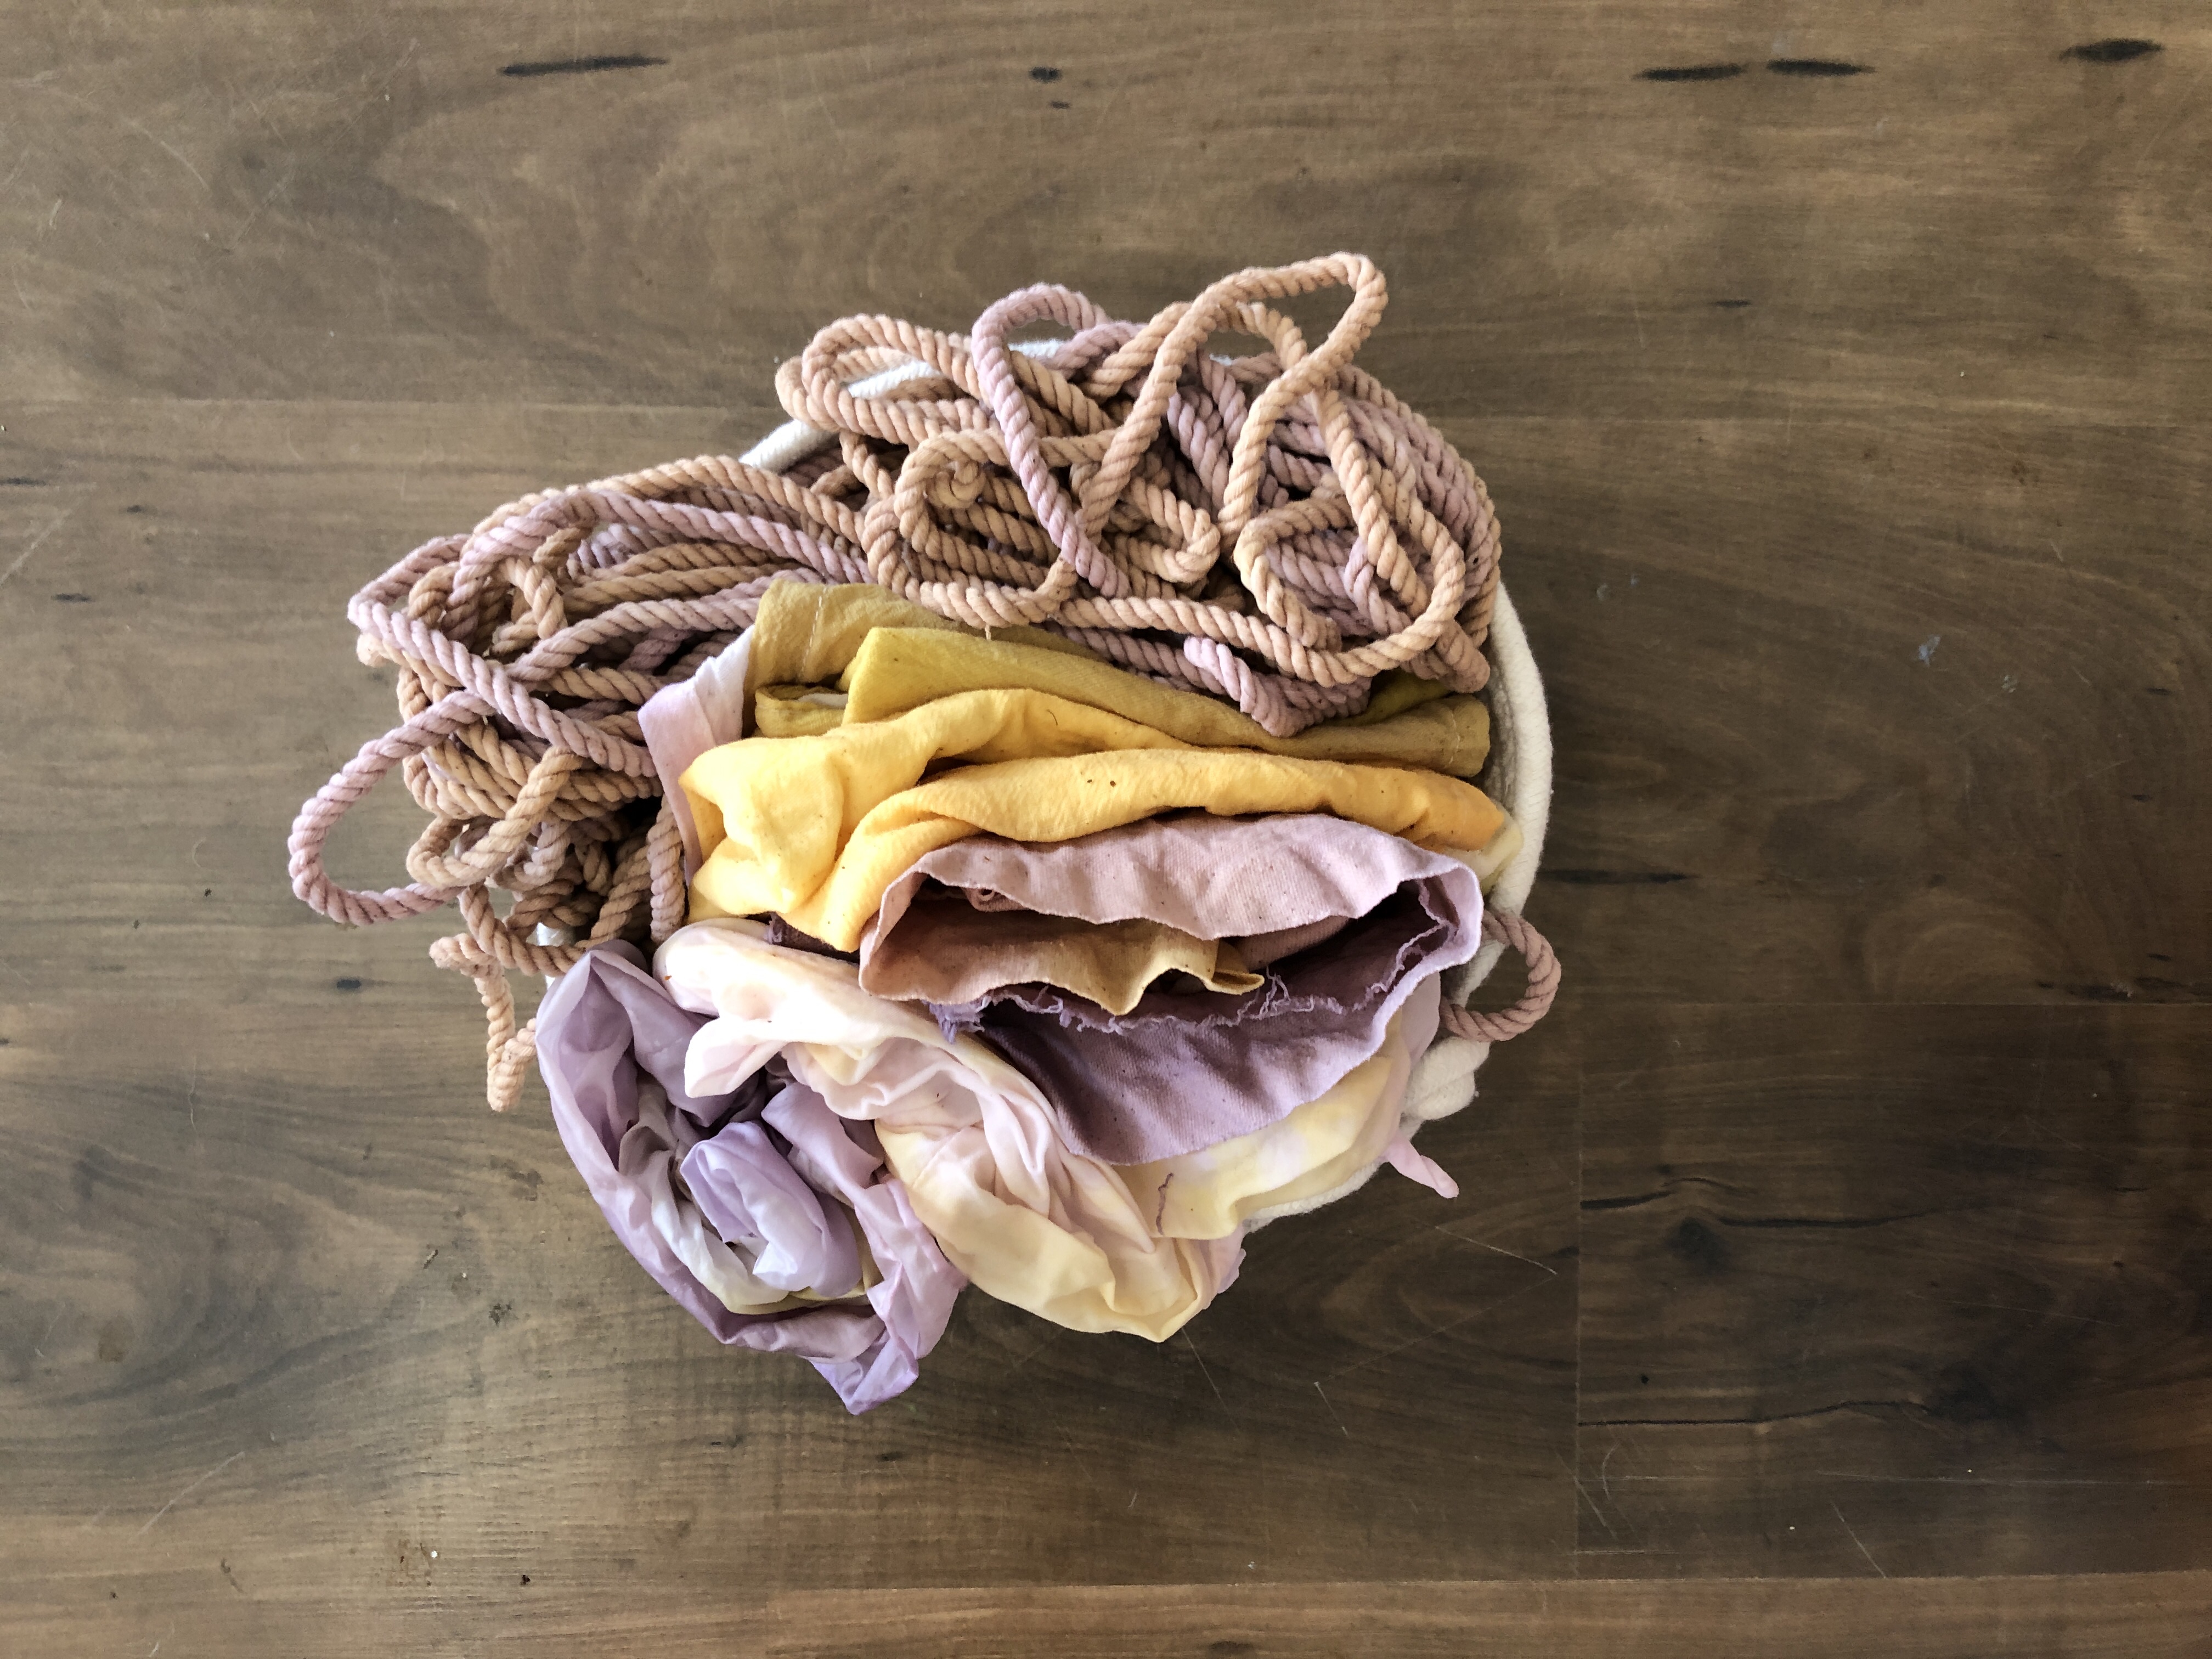
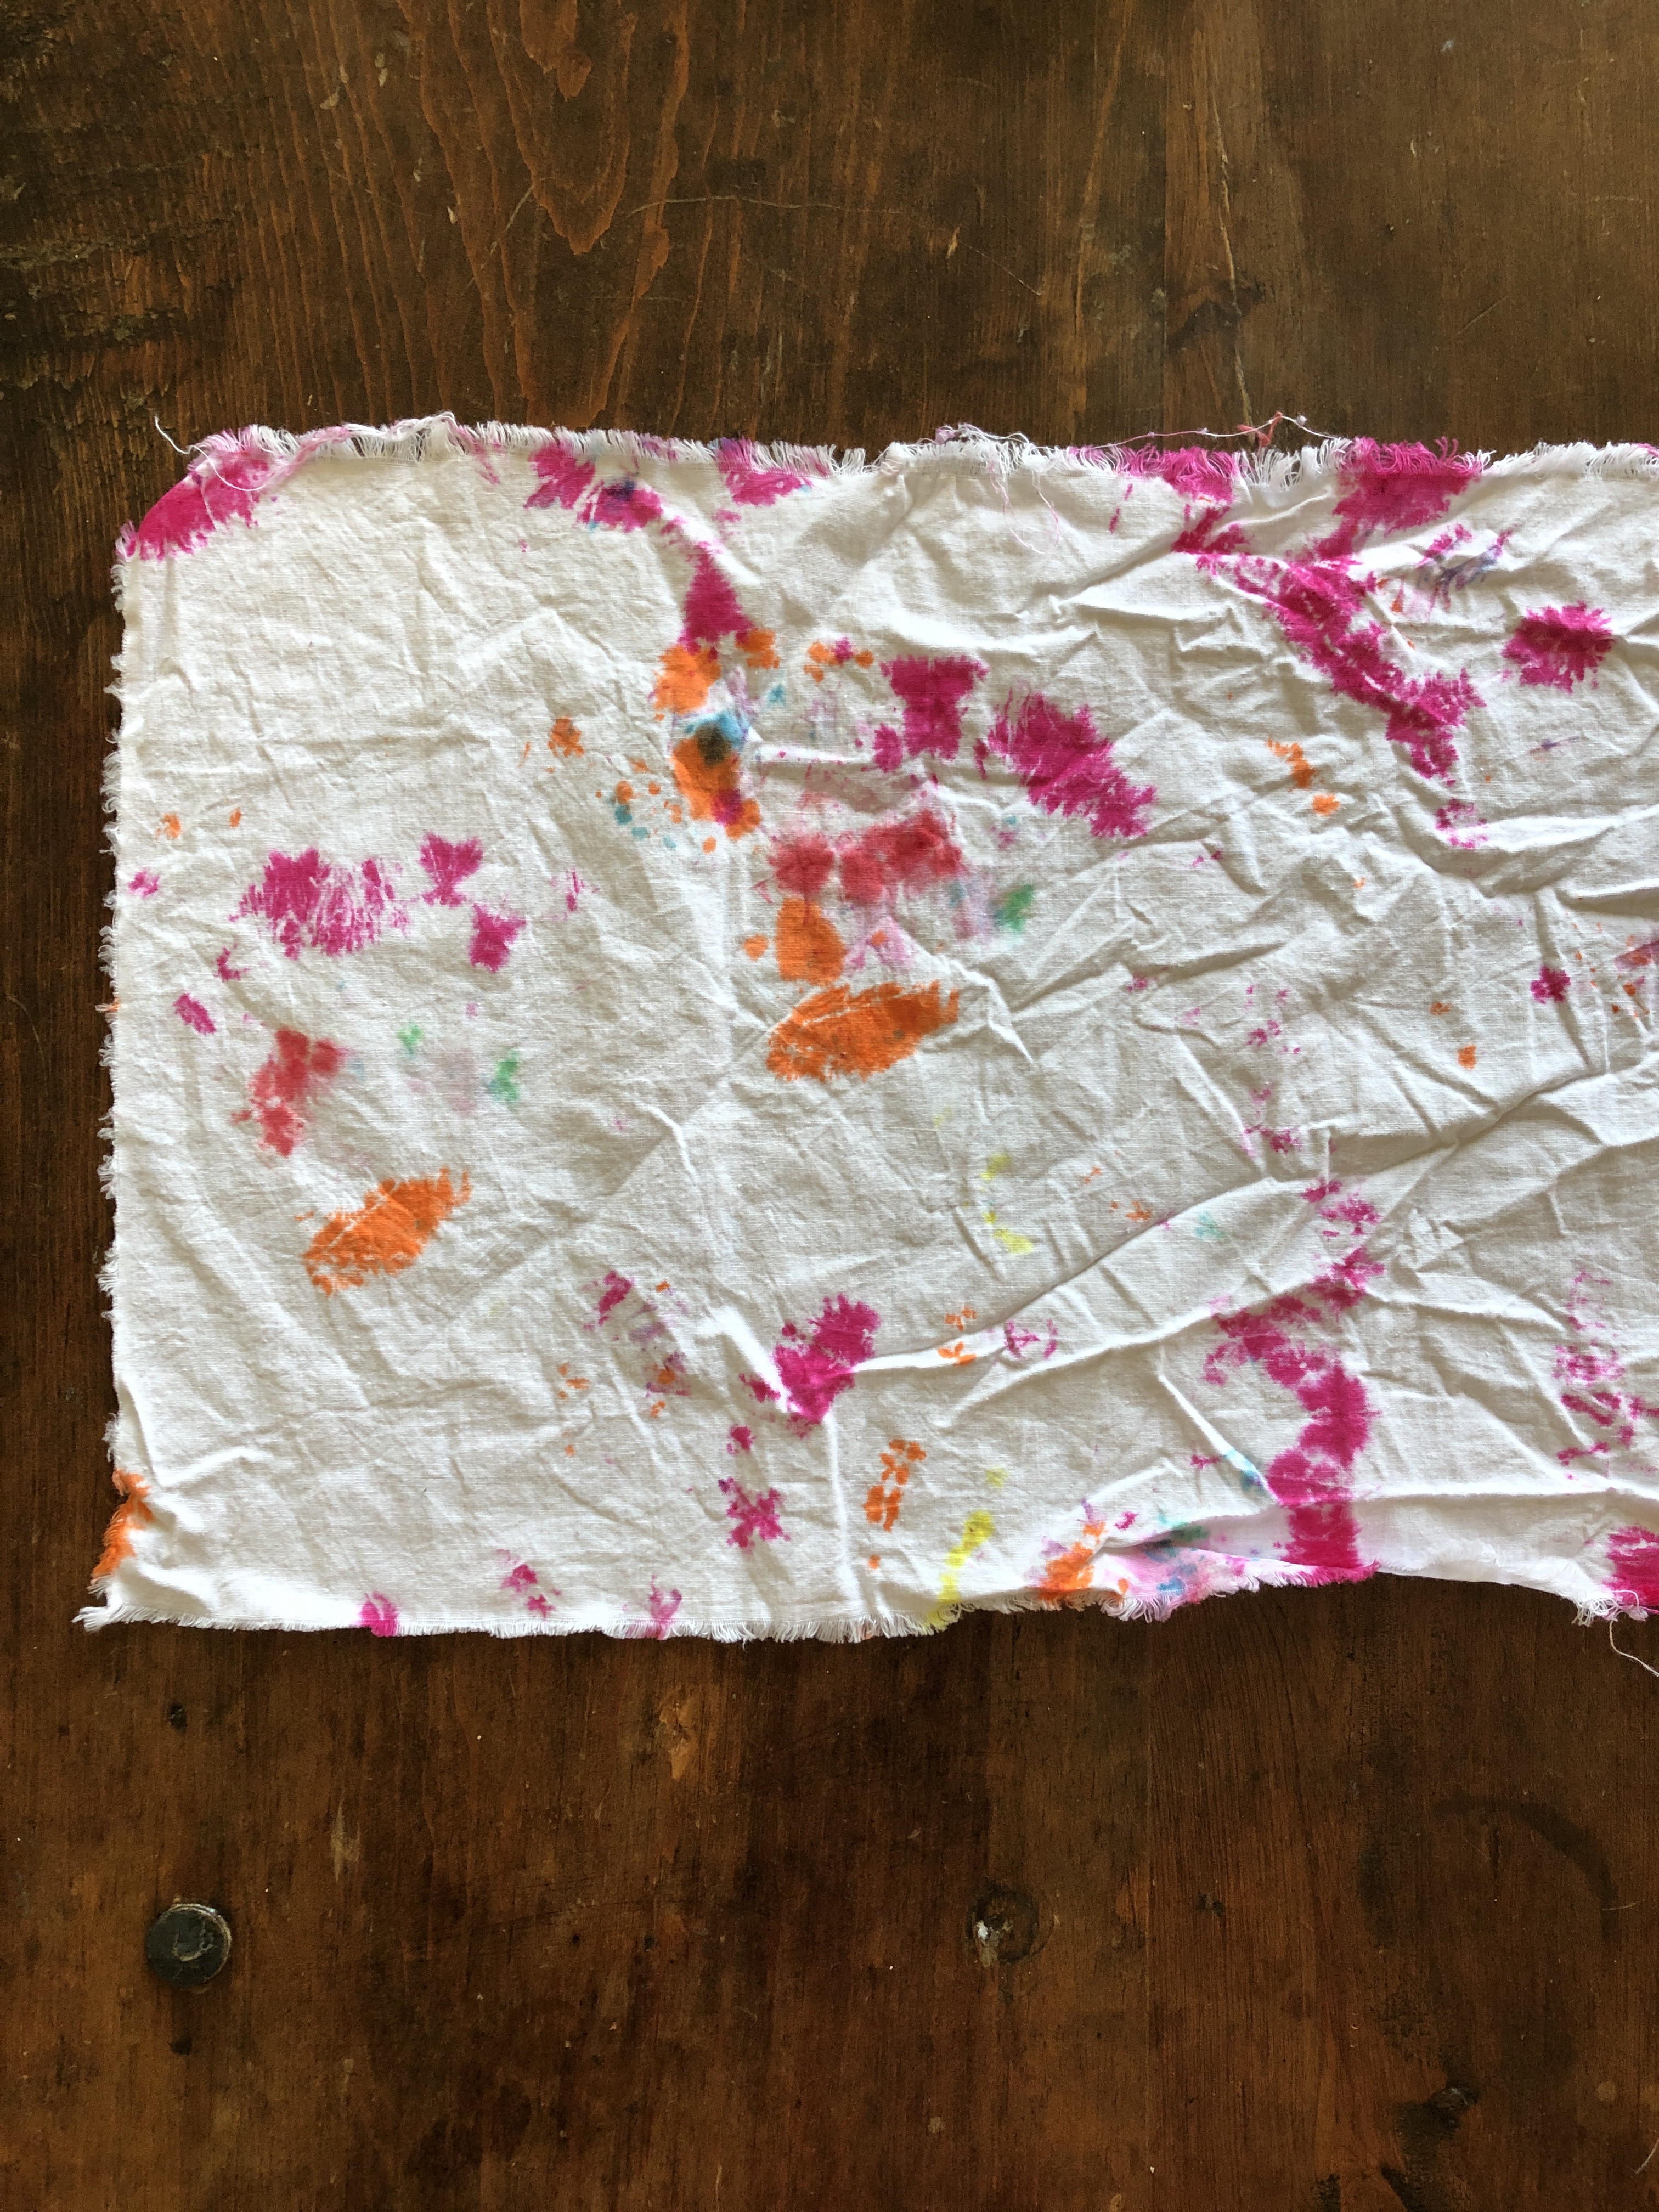
natural dyes.
I’ve been wanting to learn how to dye with natural dyes so when Craft + Work offered a class I totes fangirled and jumped on the opportunity! Our instructor was Heather Marano, hand-dyer, designer, and knitter extraordinaire. She brought some samples of her hand-dyed and knitted projects for inspiration. Heather…
-
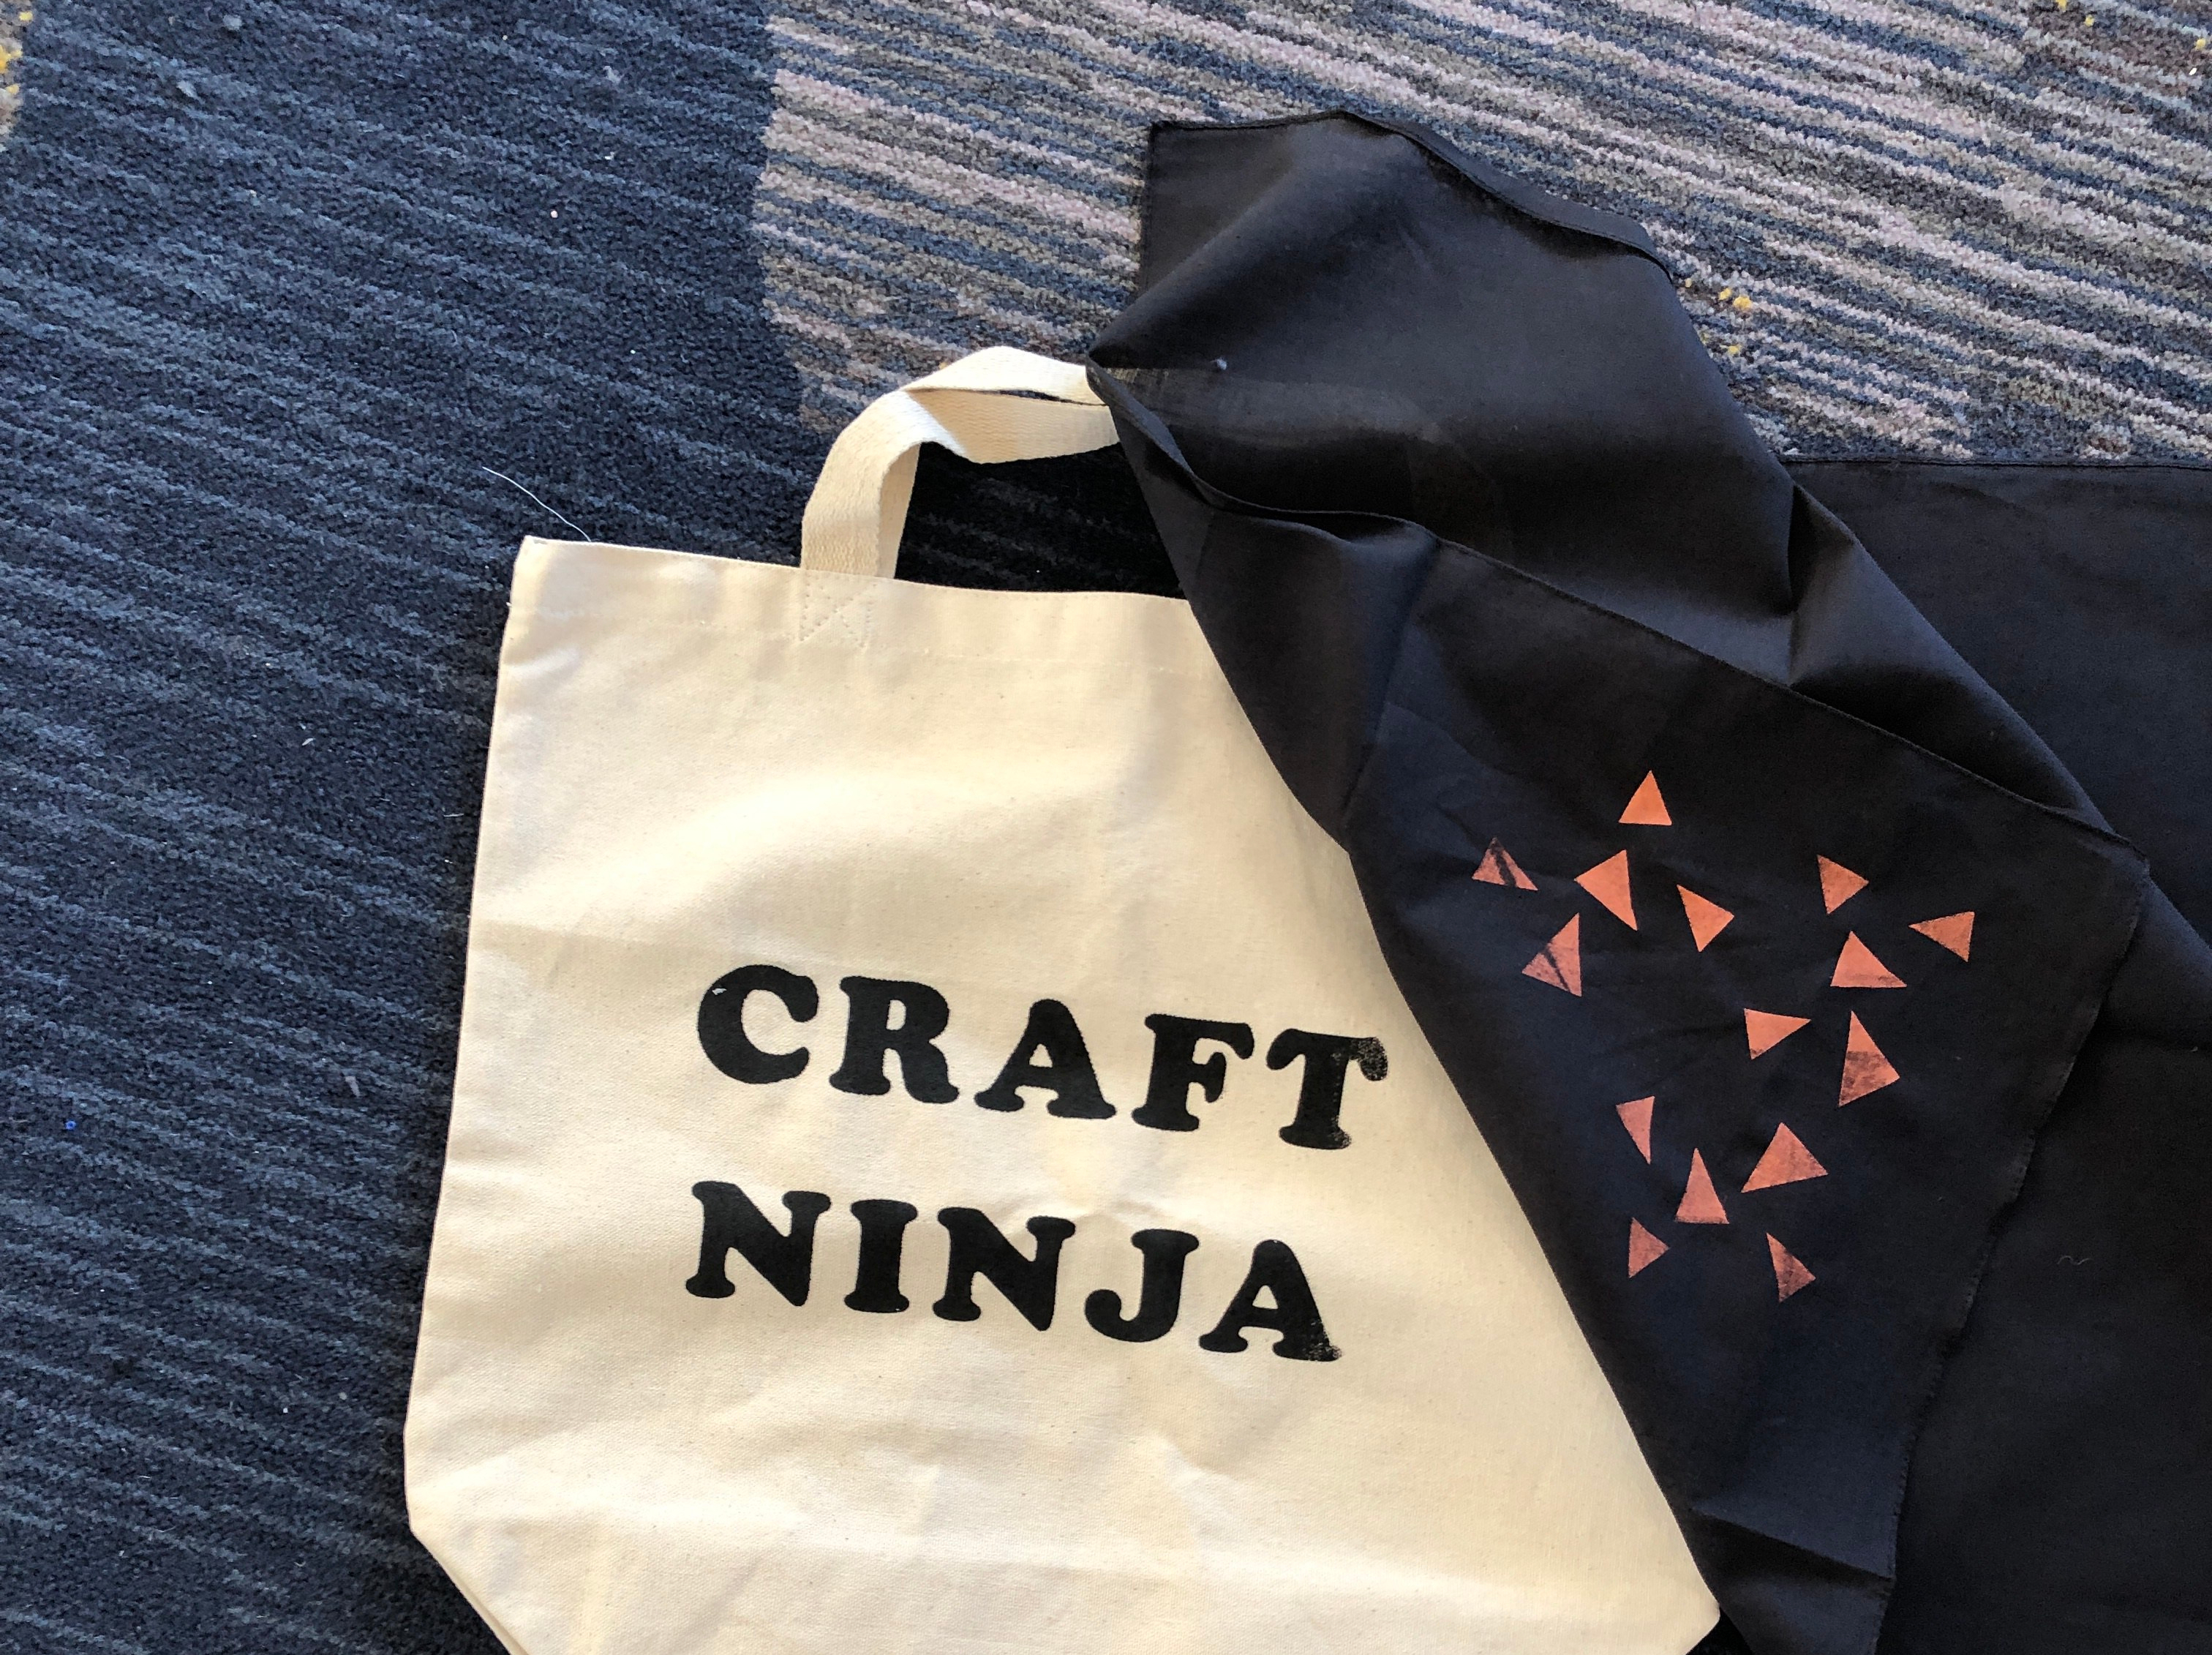
screen printing.
You thought I was done posting about Craftcation classes? MUHAHAHA, nevarrr! Seriously though, I learned so many things! Screen printing was one of the craft workshops Hubby picked out for me. He thought it would be a useful skill for business gear or for making tennis team shirts! The screen…
-
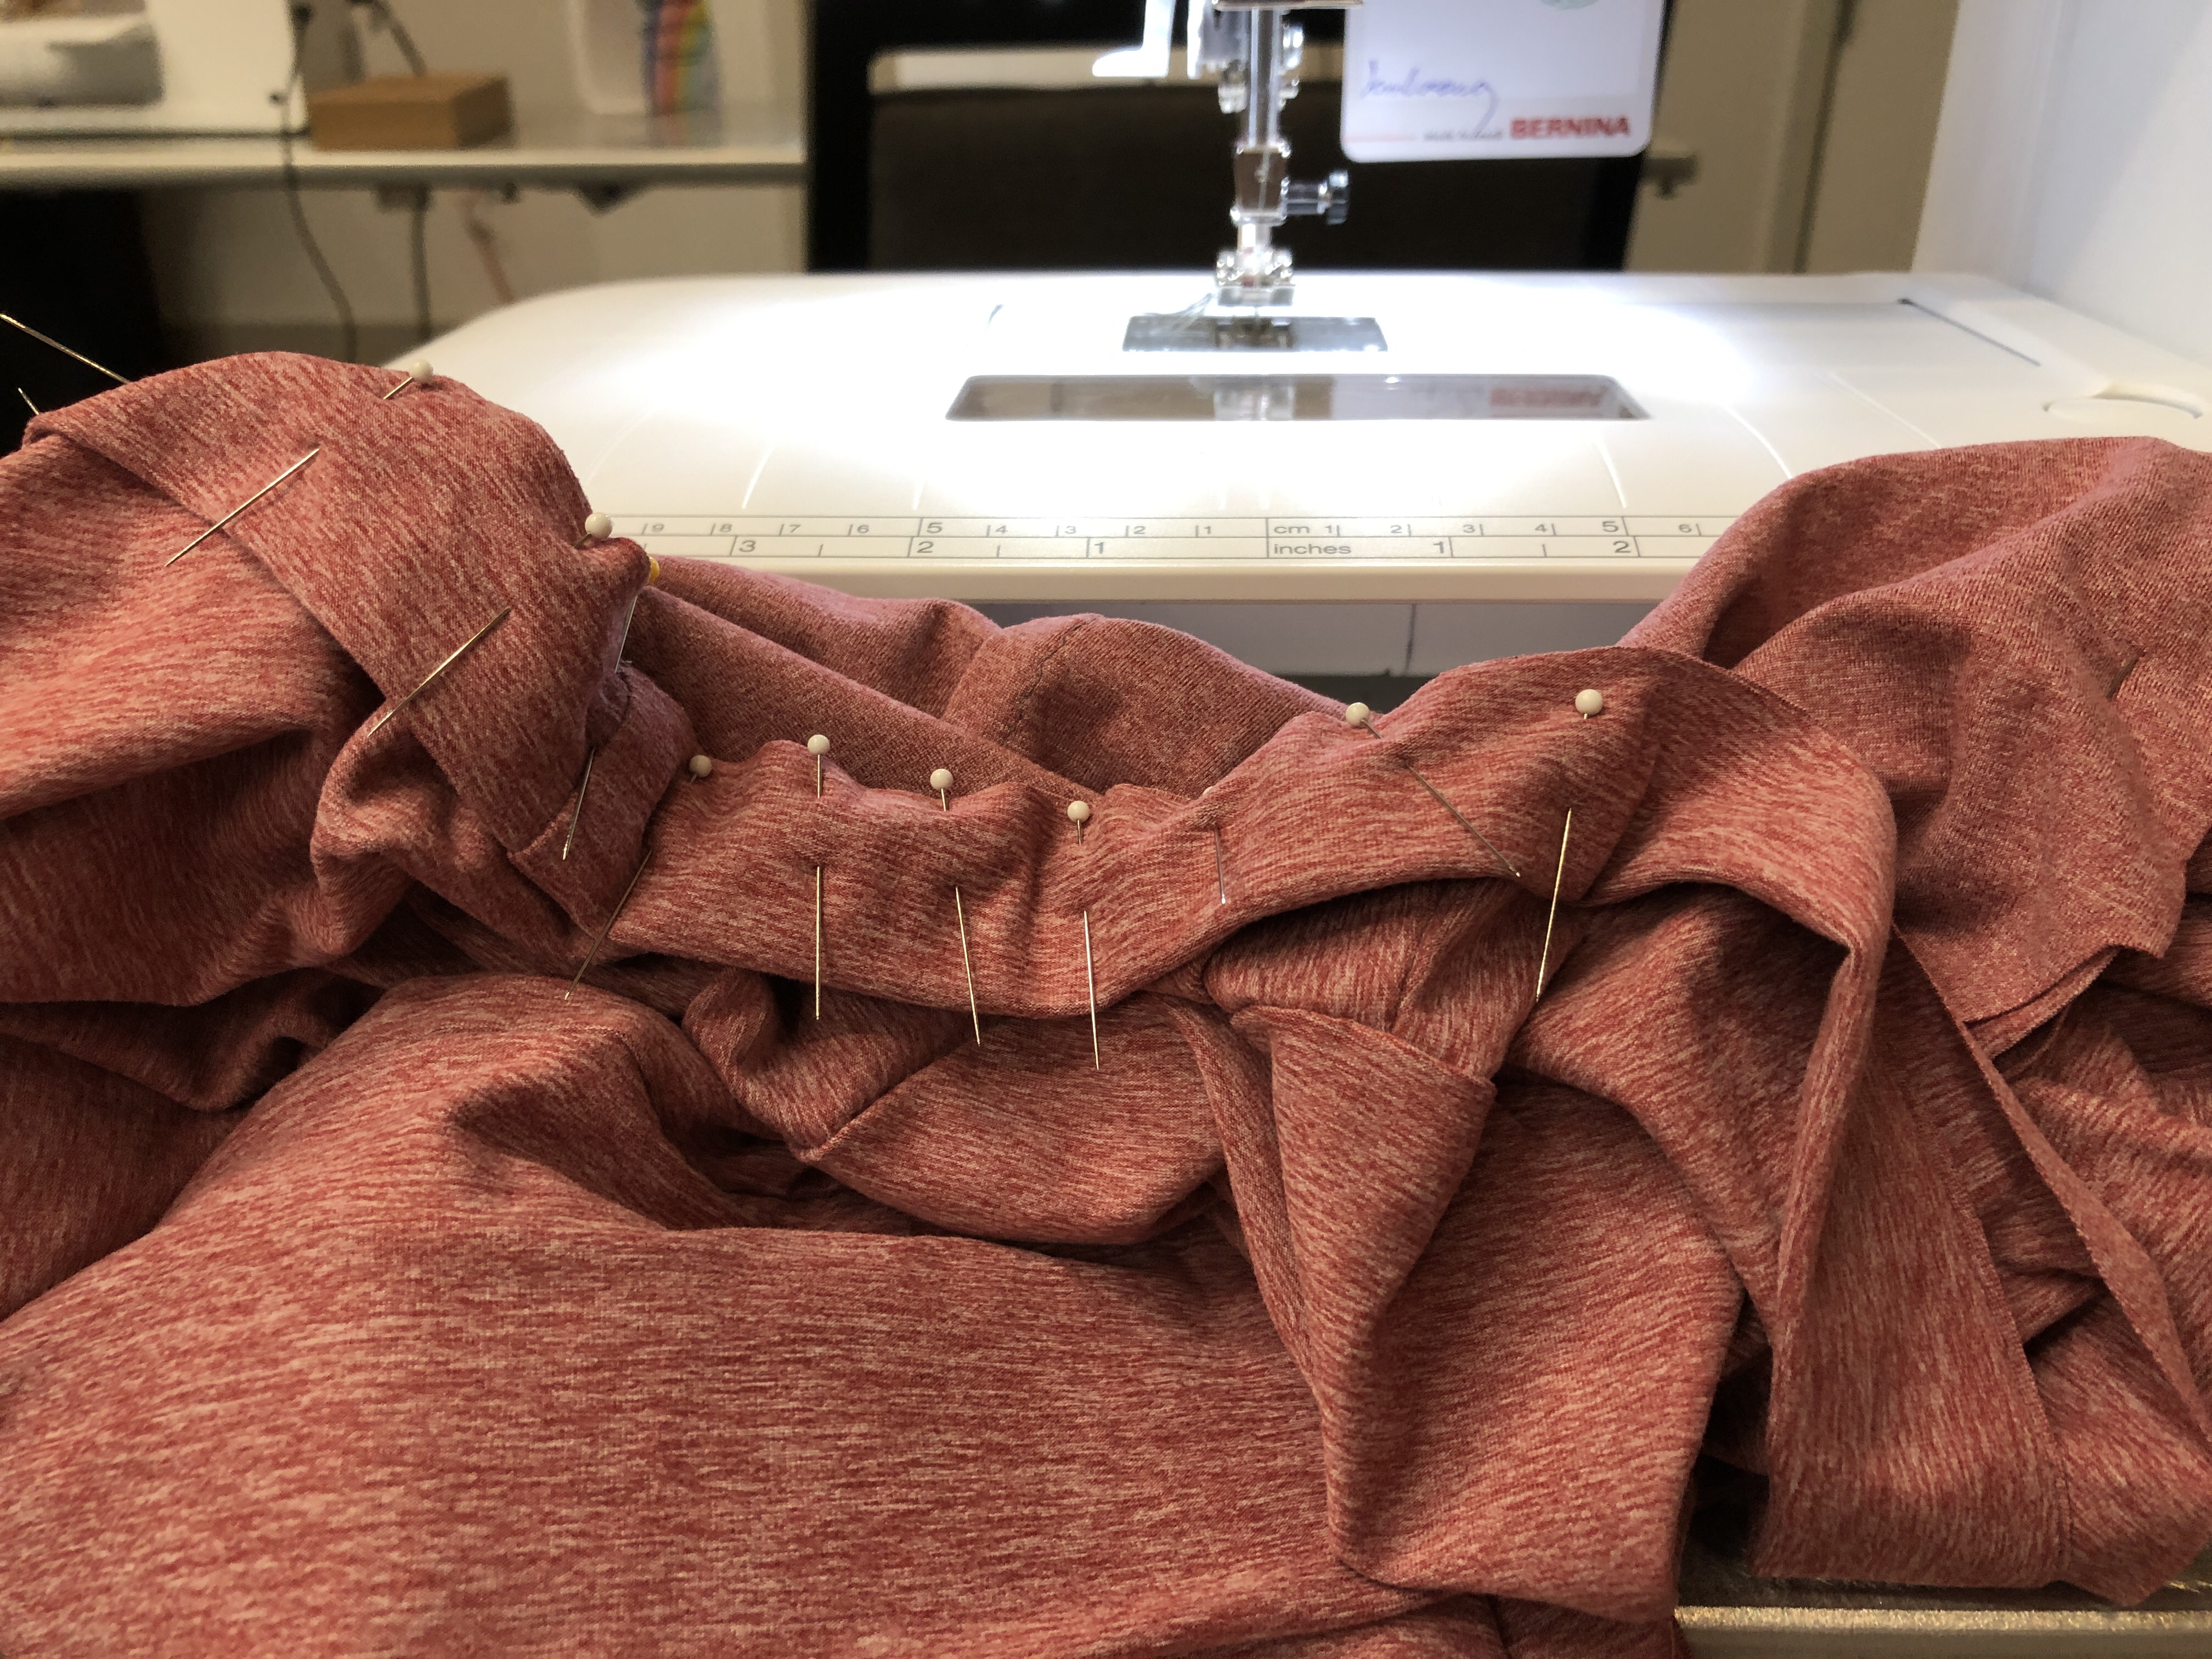
sew yeah.
To commemorate Fashion Revolution Week (April 22-28), I’m excited to share two more sewing projects from Craftcation. In addition to espadrilles, I made a cardigan and a bias dress. I had a whole outfit; it didn’t match though. 😉 My cardigan class was taught by Kimberly Payne of Straight Stitch…
-

all the crafts!
There were so many classes to choose from at Craftcation – over 50 for each day! Most required pre-registration, but there were others that were drop-in and you could also get waitlisted for classes, too. Here are a few I got to take on a whim! Each day there were…