I tried my hand at making beeswax food covers. I’ve been wanting to learn how to create my own for some time, and now I know I’d rather just buy them premade. Ha! It’s a messy craft!

Jenny Lemons teamed up with Cara of Cara Corey Designs for their monthly craft night to bring an evening of creating these reusable, sustainable, and super cute beeswax food wrappers. Cara reviewed materials and shared all of her wrapper making secrets. What’s great is you can use scrap fabric – so if you’ve got a fabric stash, this is a fun way to use up material, or a good reason to buy more cute fabrics!

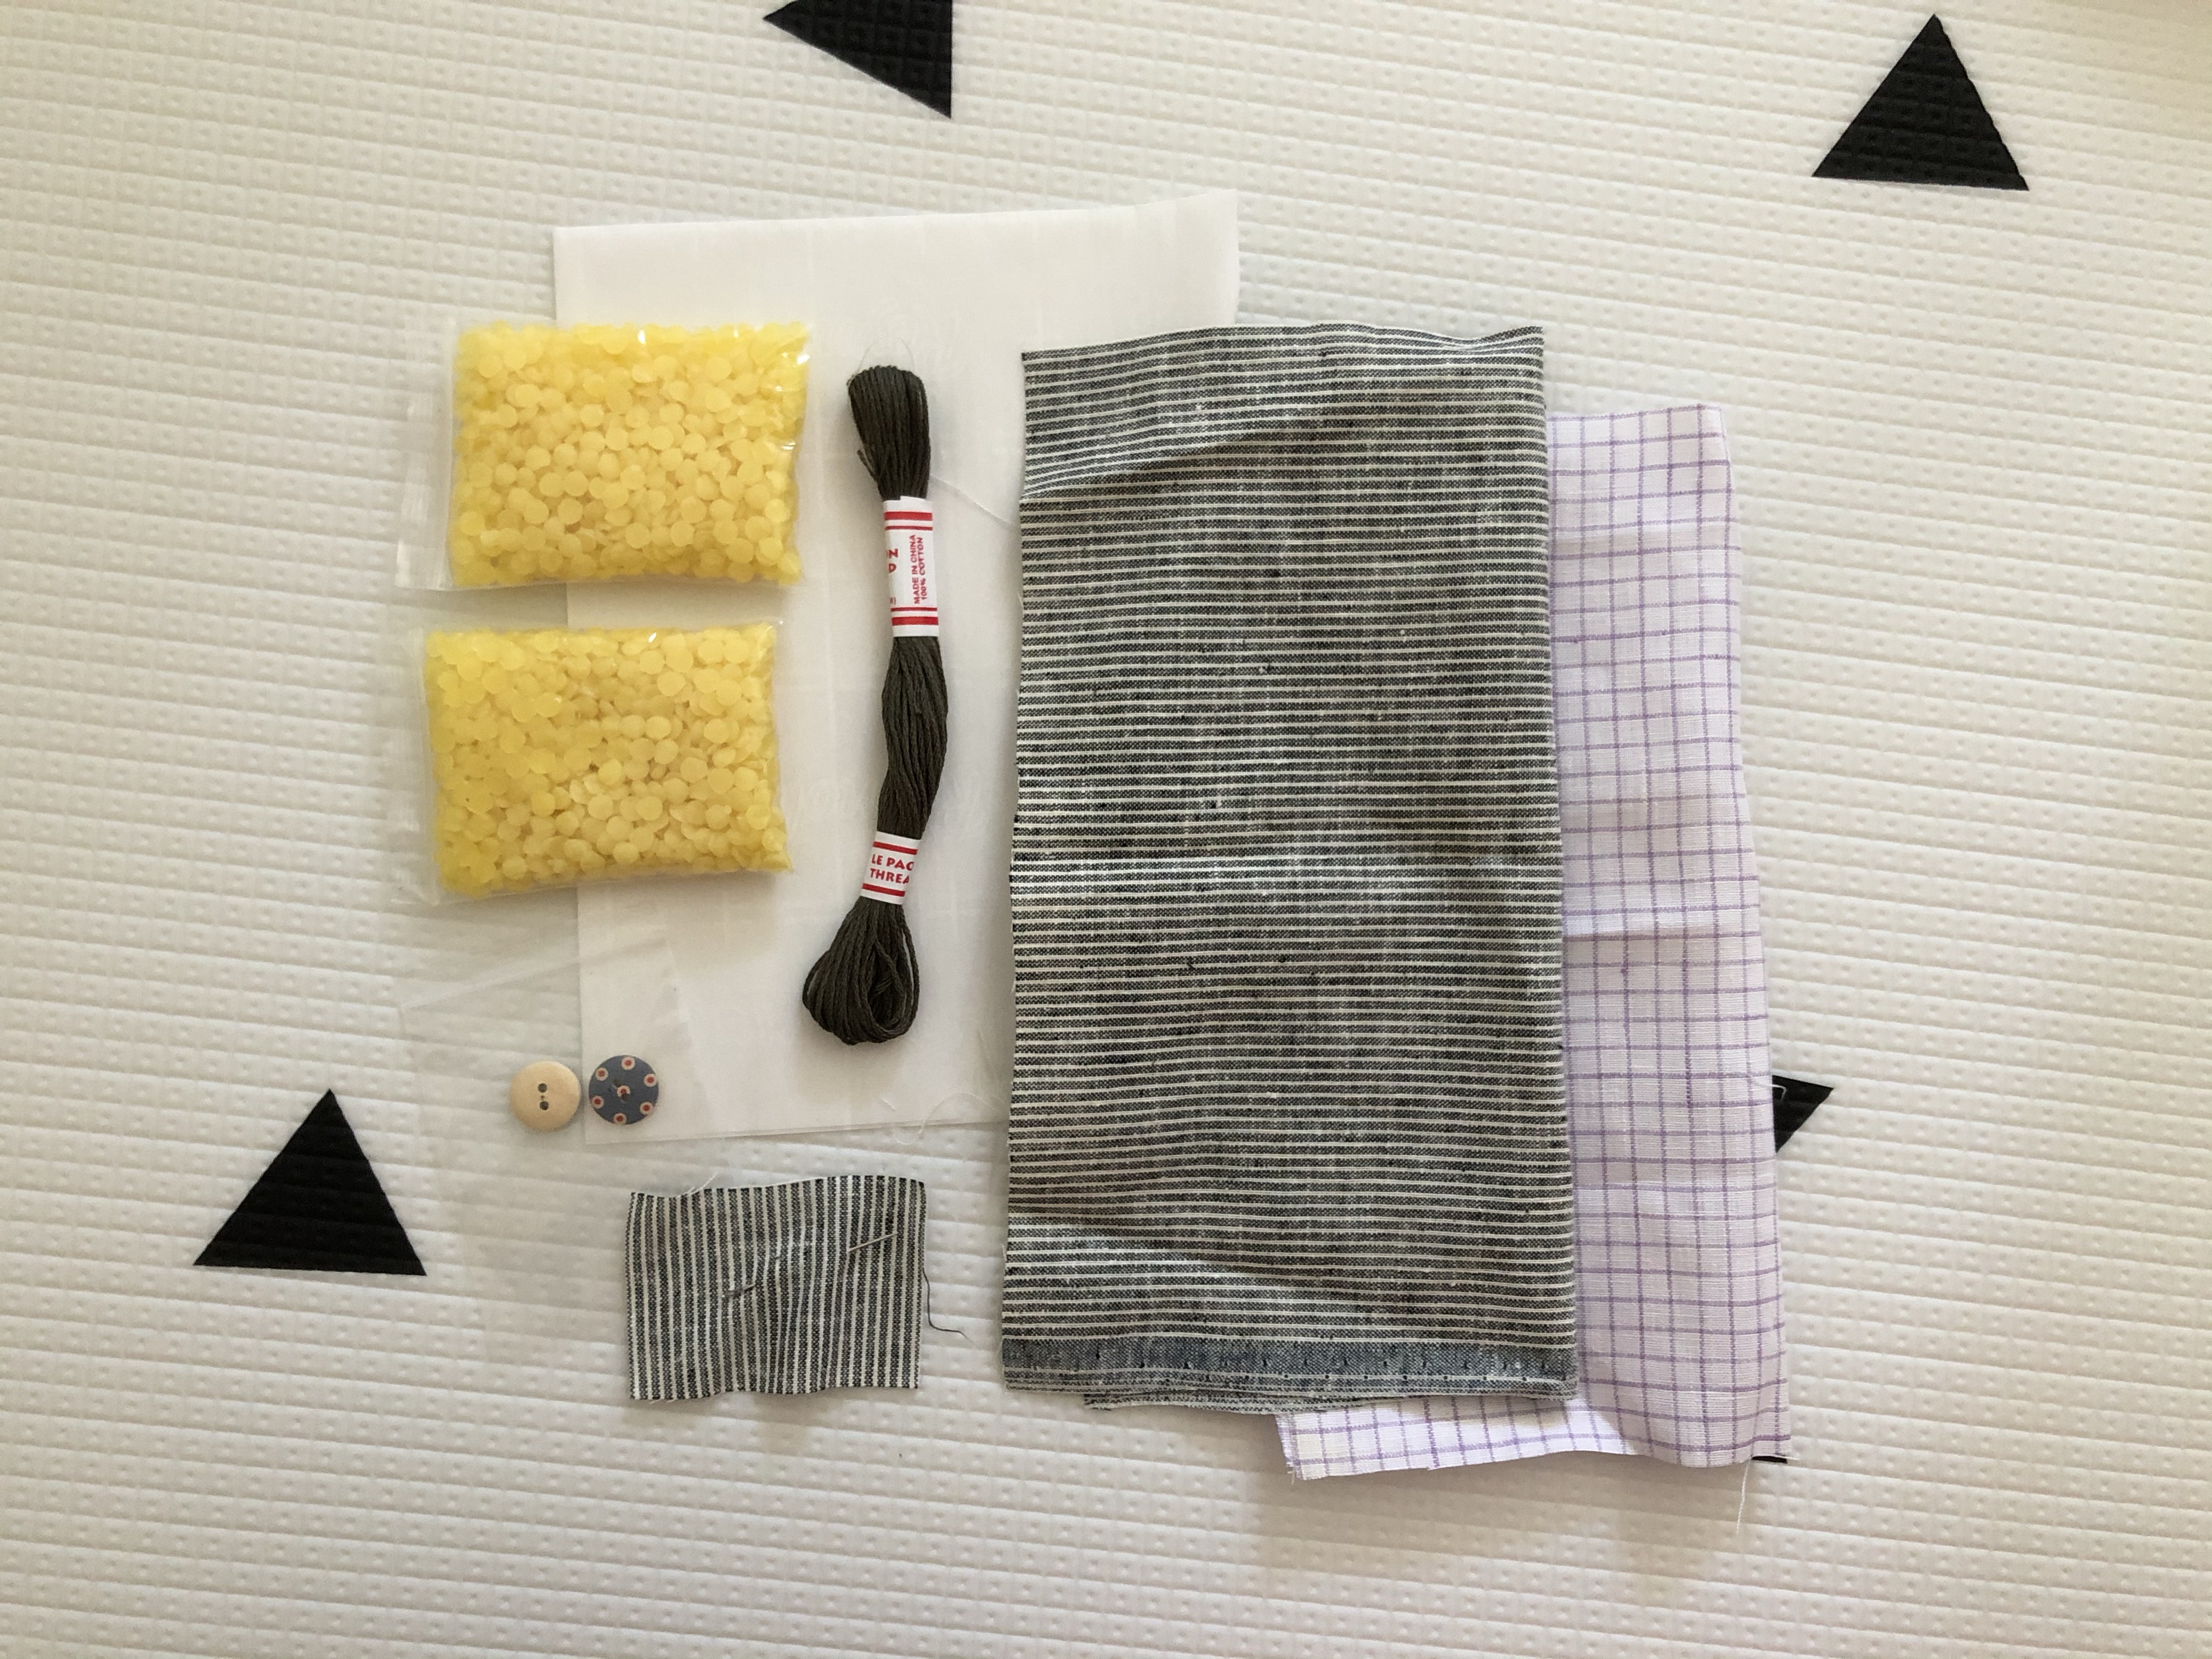
Per usual, Jenny Lemons prepared craft kits. When I learn a new craft I love having a kit with all the supplies ready to go (even though I totally have a stash of fabric, beeswax, buttons, and embroidery floss!). The kit from Jenny Lemons included:
- Jenny Lemons fabric squares
- Beeswax pellets mixed with jojoba oil (portioned for each piece of fabric)
- Buttons
- Embroidery floss
- Needle
- Parchment paper
We also needed:
- Foil
- Iron
- Ironing board or similar
- Scissors
- Cup/bowl
- Spoon (I used a chopstick)

First, we wrapped our irons in foil to serve as a barrier between the iron and the wax, and covered our work area with parchment.

The kit beeswax was packaged with jojoba oil (can also use liquid coconut oil); we mixed it up in a cup to make sure the oil was distributed among the beeswax pellets. Basically, you want each pellet to have an oil shine.


Before adding the beeswax, Cara recommends cutting your fabric to your desired size and shape, though this can be done after adding the beeswax, too. I cut a scalloped edge onto my fabric.


We sprinkled and spread the beeswax on our fabric. Then laid the hot iron onto the fabric, keeping it in one spot until the wax had melted. This is the part that can get super messy, especially if you have too much wax on your fabric. We removed excess wax off of the fabric by moving the melted wax off to the side with the iron. We flipped the fabric and ironed the other side, and repeated this process, until we we had a thin, even layer of beeswax on both sides of the fabric.


It would have been good to add a little beeswax at a time and experiment with how much I actually needed for my piece of fabric. A little goes a long way! You’ll know you’re done when there are no longer any beeswax clumps, the entire fabric surface is covered with wax (both sides!), and fabric is pliable and “see through.”


At this point, the beeswax wrapper is ready to be used, but you can add embellishments. I added a button closure. Daaa, cute!


This is a fairly simple craft (See the full how to on the Jenny Lemons blog.), but oh my, it can get so messy! If you try it I suggest covering a large area for your work station. I only used enough parchment to serve as a “placemat” for my fabric, but the melted beeswax wanted to roam a bit further than my allotted area. Also, I have an iron designated for crafts now because I didn’t cover enough of the iron with foil. Seriously, cover the whole thing and then cover another spot on your work station with parchment just for the iron to rest on.

TL; DR: Not for me, but cool to know how to do. Do you make your own food wraps? Share below!
Leave a Reply