You thought I was done posting about Craftcation classes? MUHAHAHA, nevarrr! Seriously though, I learned so many things! Screen printing was one of the craft workshops Hubby picked out for me. He thought it would be a useful skill for business gear or for making tennis team shirts!

The screen printing workshop was taught by Jenny Kraten. She taught us how to DIY a screen and gave us some insider tips on how to create a more sturdy set up later on. I’m really into it, but I’ll need an expanded craft budget. I would go crazy picking out paint colors alone!


We made small screens in class using simple materials: cardboard, precision knife, ruler, pencil, mesh, and spray adhesive. The screen has a 1″ border and the mesh was pulled taut across the frame in all directions, making sure there were no wavy bits.


For a stencil, I created a triangle pattern (easy to cut!). We used paper that was waxy on one side and dull on the other, cutting out patterns on the dull side. The waxy side goes face up / touches the ink.


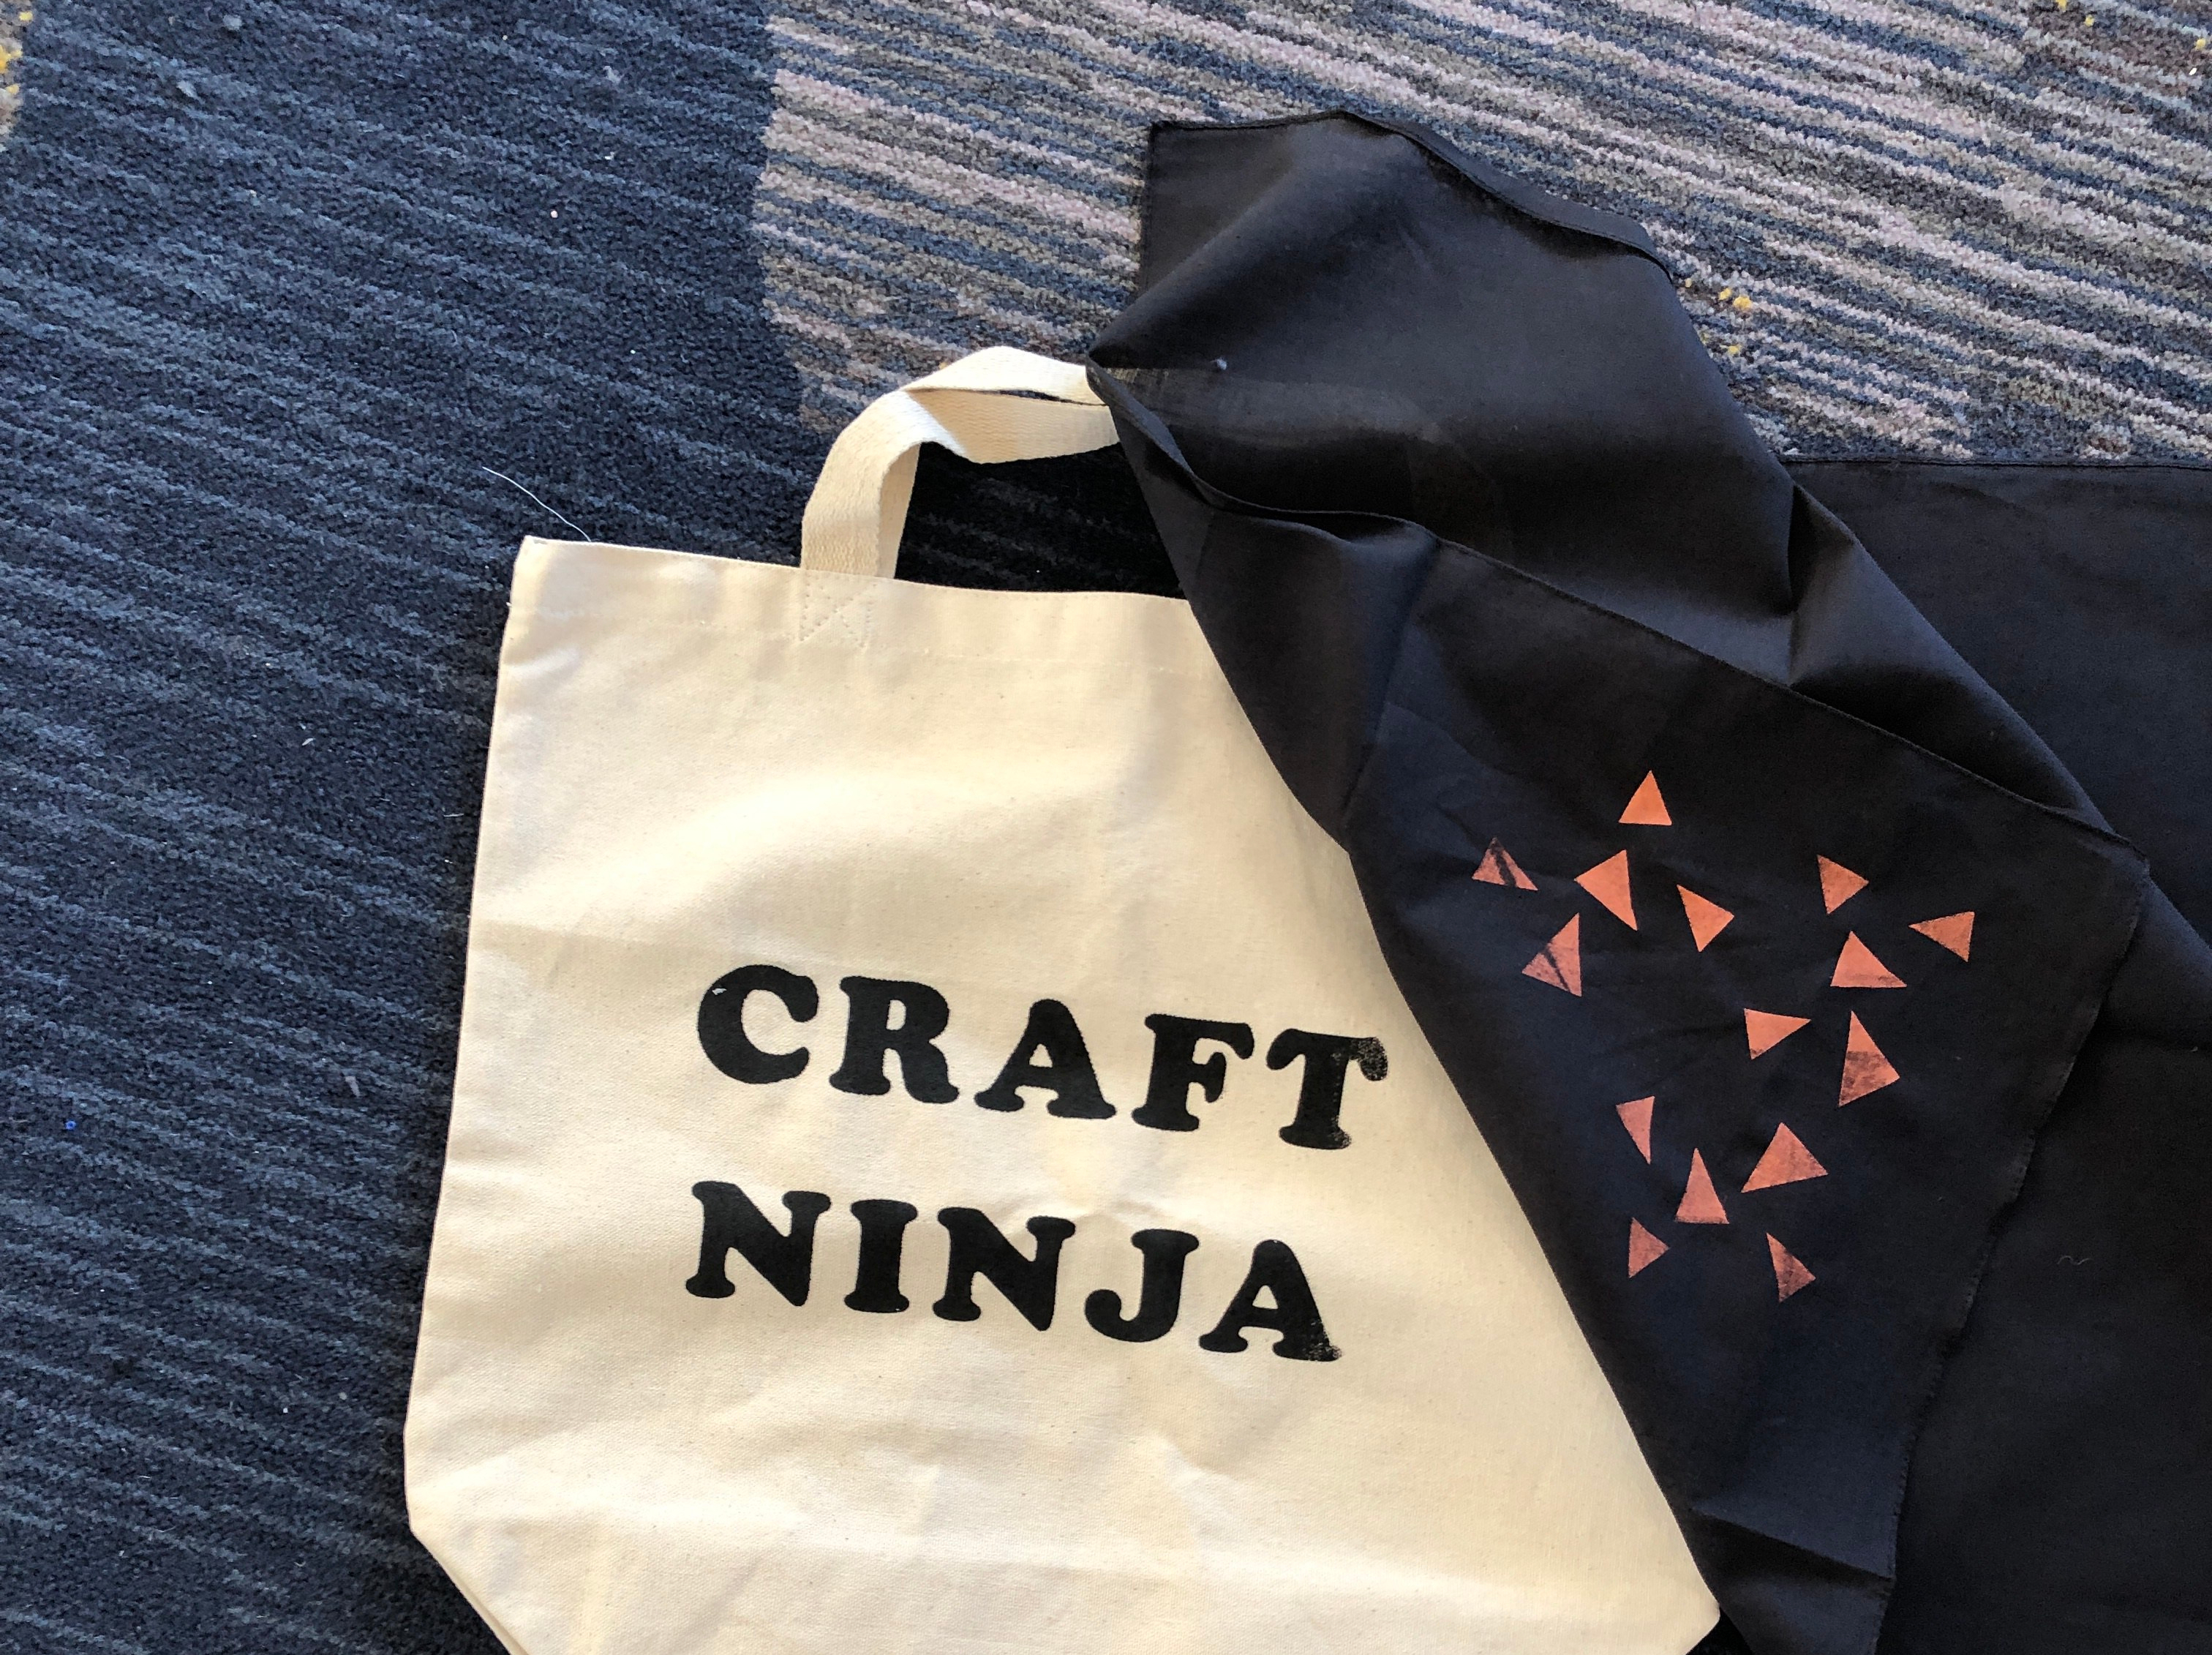
We used plastic paint spatulas to pull the ink from the top of the stencil to the bottom. Pressure and angle (45 degrees) is key to getting a clean print. One pull is pro; two pulls may be needed if the design is bigger than the spatula. I printed first on paper for practice and then on a bandana for keeps. My neighbor tried my stencil, too, and printed a scarf.


Bonus activity: We got to use Jenny’s screen and stencil to print Craft Ninja on tote bags. I was all over this! After printing, we used hair dryers to set the ink.


I am definitely winning on all levels. I can see myself using the DIY method for smaller projects, like for gift making, and perhaps one day getting a bigger screen made for larger, special projects. Thank you to Jenny for sharing all her screen printing know-how and for making it fun and easy to recreate the process at home.


Have you tried screen printing? Tell me all your secrets!
Leave a Reply