It’s the easiest Halloween treat bag ever! If you’re pressed for time or need something foolproof for Halloween crafting, look no further.

All you need to create these treat bags are
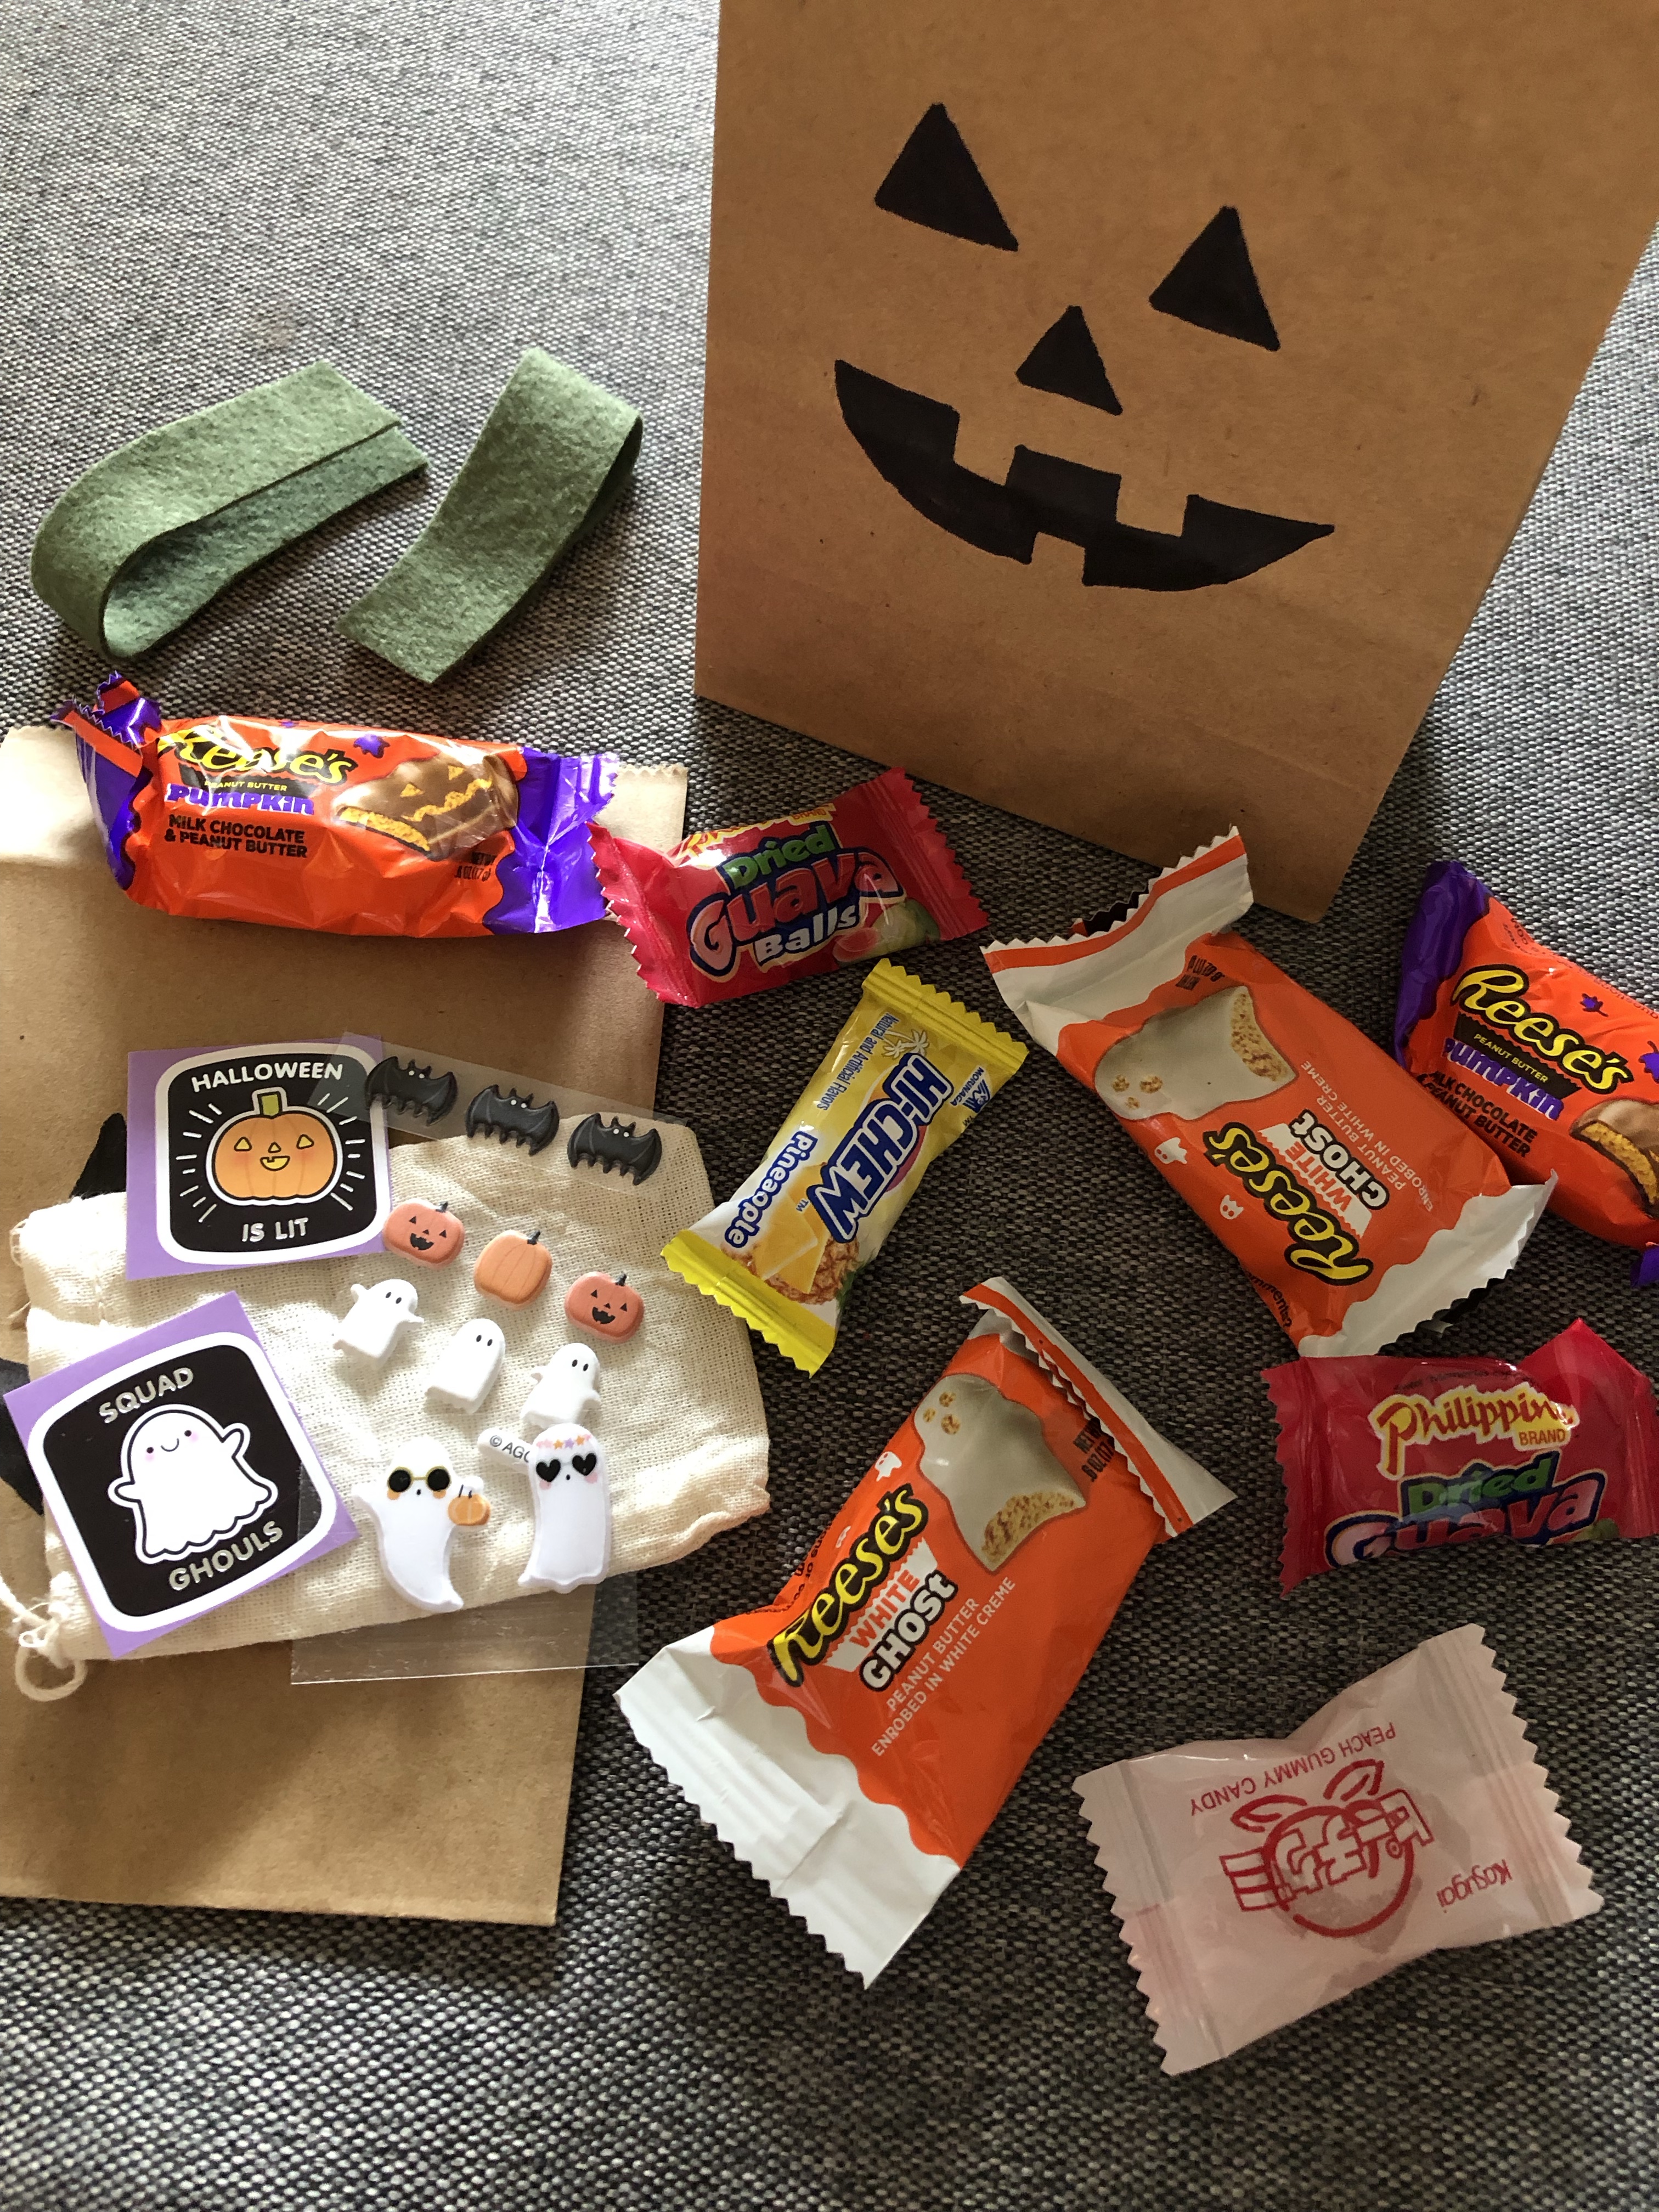
- Paper bags – Size will depend on what you plan to use for filling. I found these smaller bags at Daiso.
- A black marker
- Treats – I picked a few types of candy and stickers.

Optional materials:
- Brown or green felt for the stem (You can also use paper.)
- Fabric scissors (or paper scissors if using paper)
- A stapler


Work on a flat surface. Fold ~1 inch of the top of the paper bag to the backside. This helps with centering your jack-o-lantern drawing.


Next, draw a jack-o-lantern face with marker. If you’re using a permanent marker (or thin paper bag), consider using a piece of paper or cardboard inside the paper bag to prevent the marker from bleeding through.


You can write a note on the backside of the paper bag, too. Then fill with treats.


If you’re adding a stem, cut out a long rectangular strip of felt. Fold the strip in half so the short edges meet. The folded edge will be the top of the stem. Cut out a stem shape (I cut out a stem with a slight curve), leaving the top edge in tact. The open edge will ‘hug’ the top of the paper bag. Staple close.

Tahdah! An easy and quick DIY for any size celebration. What would you fill your treat bags with?
Leave a Reply