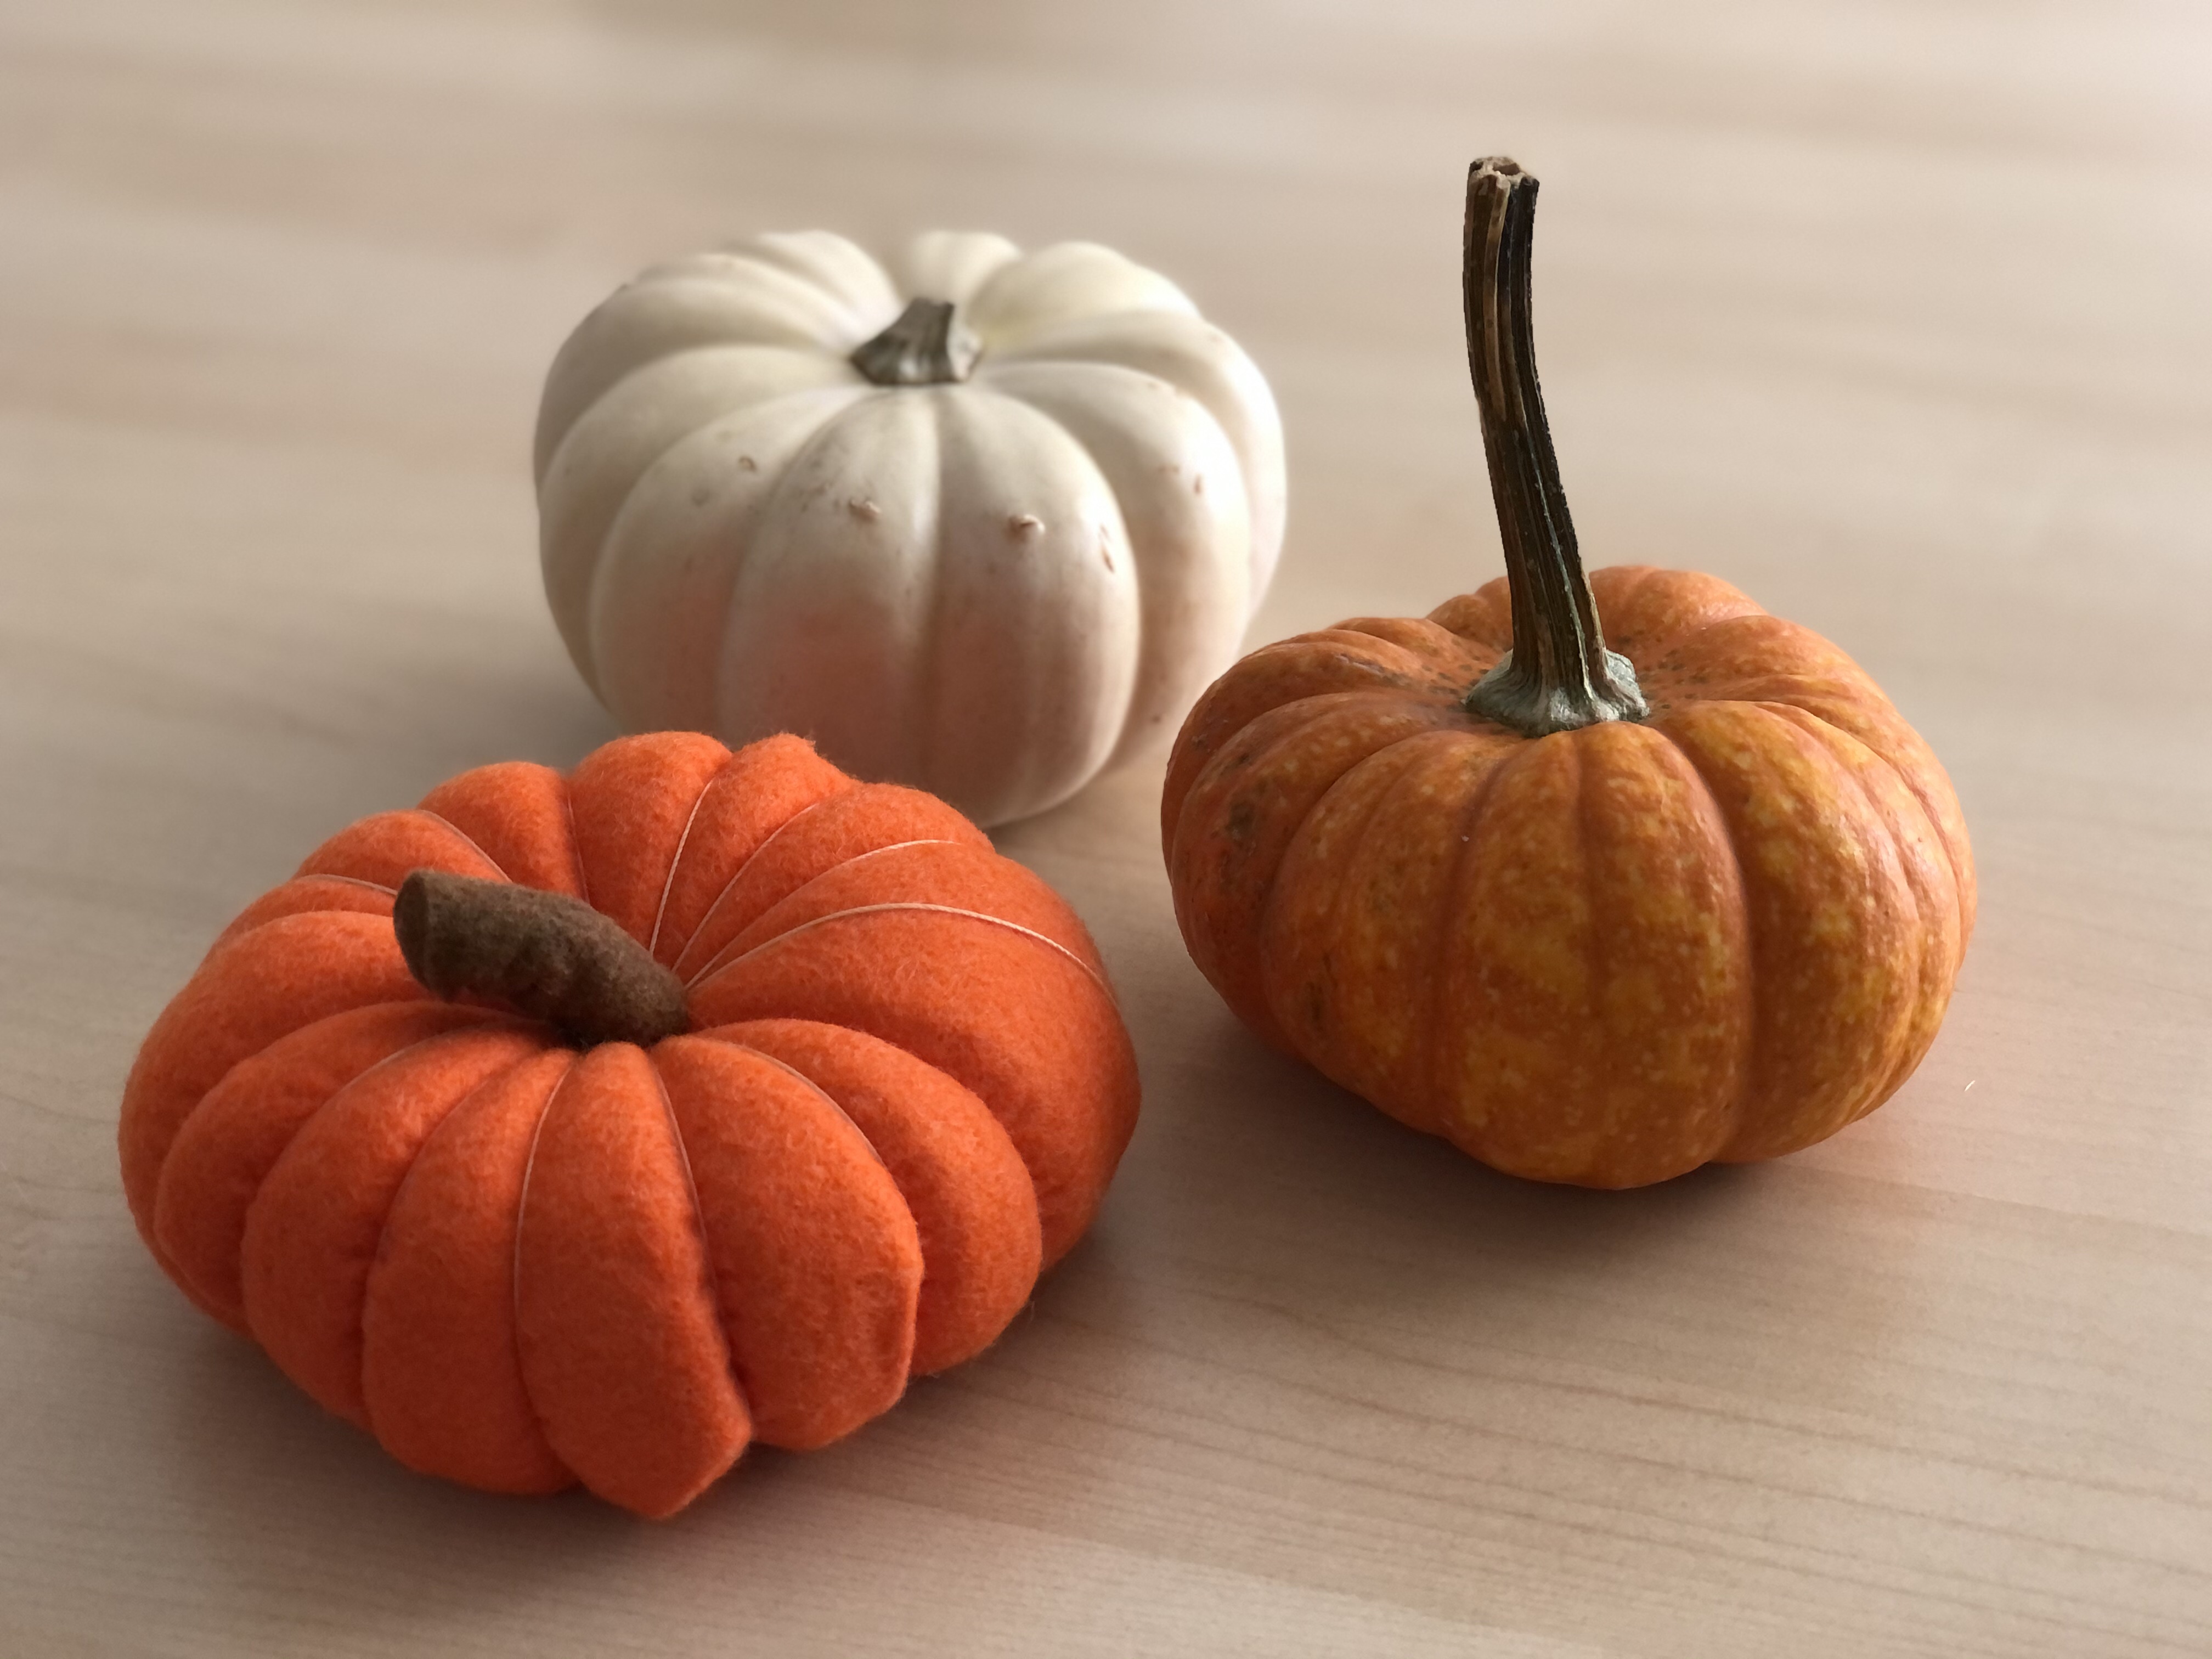
Fall is the perfect season for felt (IMHO all seasons are the perfect season for felt, but Fall especially!). And you can never go wrong with a pumpkin craft. Let’s make fluffy felt pumpkins!

For this craft your will need:
- Felt in your favorite pumpkin color (10” square for a pumpkin 5” in diameter, plus an additional piece for a 3” circle)
- Felt for pumpkin stem (any size, I used a piece of felt 2” x 3”)
- Nylon cord or upholstery thread
- Sewing needle
- Polyfil / fluff
- Fabric scissors
This will make a pumpkin approximately 5″ in diameter and 2 1/4″ tall.

Cut felt circle 10” in diameter. It doesn’t have to be a perfect circle.


Loosely measure out cord. You want at least the circumference of your pumpkin felt + 10ish times the diameter of your pumpkin felt + a little more.


Thread your needle with cord; knot one end of your cord. Sew a running stitch along the perimeter of your felt circle 1/4″ from the border.


Begin to fill with fluff. Tighten the running stitch so that the pumpkin begins to close on itself. Continue to fill with fluff until your desired firmness and tighten as your fill. Tie with double knot to secure. There will be a hole at the bottom – we’ll cover that up later.


Now we’ll create the pumpkin ‘wedge lines’. The side with the opening will be the bottom of your pumpkin. Sew up through the middle top and pull tightly. Bring the thread along the side of the pumpkin and sew through the bottom up to thru the top once more. Continue pulling the cord along the side of the pumpkin and sewing from the bottom to the top to create more wedges.Once you have the desired number of wedges, knot your cord at the bottom of your pumpkin. There should be a loose cord at the bottom so you can tie a double knot. Trim cord.


Cut another circle ~3” in diameter, big enough to cover the bottom of the pumpkin. Cut a piece of nylon cord, knot one end, and begin sewing the circle onto the pumpkin. End with a double knot and trim excess cord.


For the pumpkin stem, roll a piece of brown felt and sew it shut. Leave a tail and sew a running stitch from the bottom of the stem to the top. Sew the needle through the center of the stem back to the bottom of the stem. Adjust loose ends so you can tie a knot.


Sew one strand under 2-3 of the wedge lines, then double knot the stem onto the top of the pumpkin. The tighter you pull, the more curve your stem will have. Trim excess cord. Add optional pumpkin leaves and/or jack-o-lantern features.


All together now!


Are you into all things pumpkin this season (craft-wise, food-wise, or other-wise)? Share below!
Leave a Reply