In my last post I shared my little’s maneki neko in space party. This week I’m sharing a companion post with two DIYs to complete your own space-themed celebrations! Let’s make moon sand and paper mache space helmets!


Moon Sand
It really can’t get any easier to create a sensory play bin! For moon sand you need flour, baby oil, and a bin. You can go as simple or as fancy with all the fixins. Here’s how I made space-themed kitty litter.


Ingredient List
- Flour: For moon sand the recommended ratio is 8 cups flour to 1 cup baby oil. I used ~15 lbs of flour.
- Baby oil: For 15 lbs of flour I ended up using 56 oz of baby oil. The linked 4-pack was the perfect amount.
- Bin: My favorite bin (with lid) to use is the linked 32 qt Sterilite container. A lid is really helpful for storing (this will keep for a few weeks if you keep it tidy) and travels well to a party site or playdate.
- Gloves: Optional for mixing flour and baby oil.
- Scoops: You can use utensils or other tools from the kitchen or garden. I had been eyeing some colorful scoops so this was my ‘splurge’ for this project. Plus they gave off planet vibes.
- Fixins: I added planet bouncy balls and glow-in-the-dark stars. You can also bring in toys from your space collection, cat figurines, confetti, whatever you can imagine. It’s fun to hide and find treasures in the moon sand.
Prep, assembly, and clean up
- Optional step: To kill off the germs in the flour (what I’m calling ‘play safe’), place flour layer onto a cookie sheet and bake for 5 minutes at 350 degrees. You’ll have to do a few batches for 15 pounds of flour.
- Place the flour in the bin. If using baked flour, allow the flour to cool completely, turning the flour as needed to avoid moisture accumulation, before adding baby oil and closing the lid.
- Pour in baby oil and hand mix. I used gloves to mix because I didn’t want to get too much stuck under my nails, but otherwise this is fine to mix by hand without gloves. My toddler enjoyed pouring in the baby oil and mixing it up!
- Add all the play things!
Space Helmets
Creating space helmets was a more time-consuming DIY but the process for me was meditative, and the impact among the kids was big! Here’s how I made paper mache space helmets plus some ideas and tips on how to make yours better.


Ingredient List
- Newspaper, torn into 1″ strips. Test out tearing the newspaper – there will be a direction that tears more easily in straight-ish lines. You’ll need A LOT of newspaper for this project so start keeping whatever comes in the mail.
- Flour: For a no-cook paper mache paste I followed a 1 cup flour to 2 cups water ratio.
- Water: As above, you’ll need 2 cups for every 1 cup of flour.
- 18″ Balloons: Go big with the balloons but try to keep a round shape. The balloon should fit your little’s head plus some wiggle room.
- Boxes: Any spare cardboard boxes would do the trick to hold the balloons/your project upright. If your boxes are bigger than the balloon, you can use painter’s tape to create a grid to hold the balloon in place.
- Tarp: This is a messy project; I recommend a tarp or other water-resistant material like a shower curtain liner.
- Spray paint (or acrylic paint and brush): I was short on time so I used spray paint to prime the helmets for coloring; I’d likely to try acrylic paint next time.
- Scissors
- Pencil
- Duct tape: I used duct tape to line the rigid/sharp edges on the helmet.
- Materials for decorating: markers, star stickers, etc.
Prep, assembly, and clean up
Inflate a balloon to the size of the helmet you wish to make. I measured my kid’s head diameter and distance from top to neck. Place balloon on a box or bowl to keep it elevated; add tape to secure as needed.

Mix flour and water into a paste (1 cup flour to 2 cups water ratio worked well for my project). Dip one strip of newspaper at a time and wipe off excess paste before adding to the balloon. Repeat until the balloon surface is covered in a thin layer of newspaper. Allow to try overnight (longer is better). Store leftover paste covered in the refrigerator. Apply a 2nd layer of newspaper, allow to dry, and repeat a 3rd time. For a more long-lasting helmet consider even a 4th layer of newspaper.

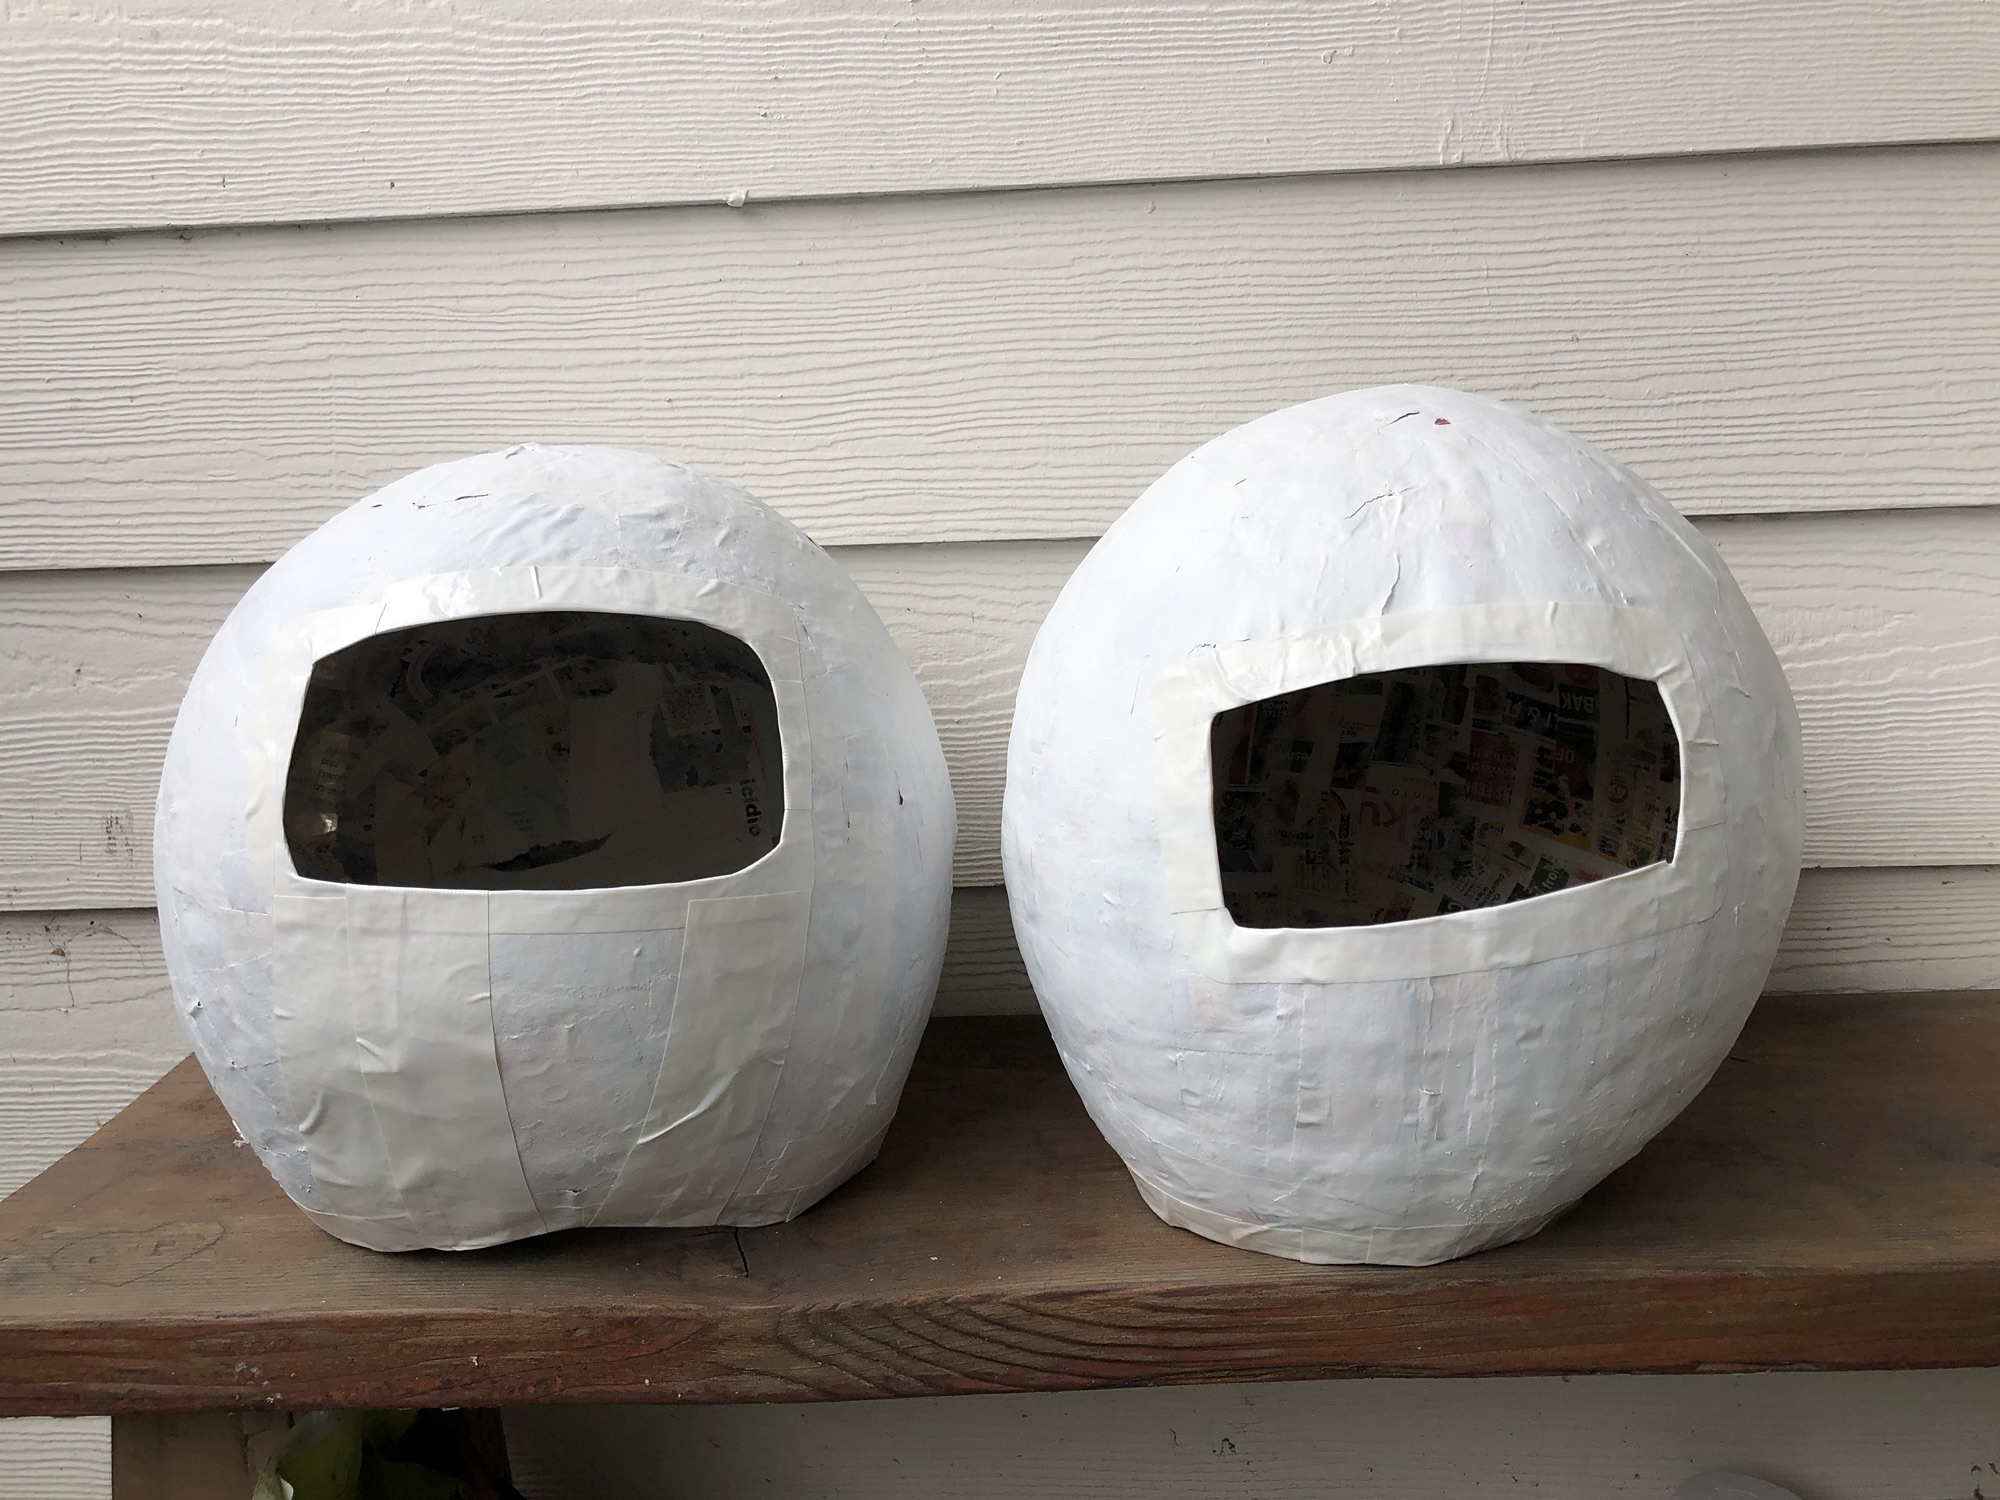
Pop the balloon and remove from the hardened helmet. Cut a rectangular hole for your eyes/nose, and trim around the bottom of the helmet as needed to smooth out the edges.


Spray paint (or paint with acrylic or even use duct tape to cover the helmet). I ended up lining the eye opening and the bottom rim with duct tape, too, to cover the sharp edges.

For the activity I set out markers and star stickers to decorate the helmets, and the kids ran around playing astronaut.


Which one is your fave?
This post includes affiliate links to my Amazon storefront. As an Amazon Affiliate I earn from qualifying purchases made via linked items at no additional cost to you.
Leave a Reply