Something I haven’t done in a few years because I pack my November/December with craft events and I wait until it’s too late to make it happen: creating and sending Christmas cards! I used to do it every year. These cards are four years in the making. I will now be sending Christmas cards every leap year…maybe.

This year’s Christmas card timeline:
- Year 1: Buy the paper
- Year 2: Cut the paper
- Year 3: Assemble the paper
- Year 4: Write messages on the paper, address envelopes, and mail!

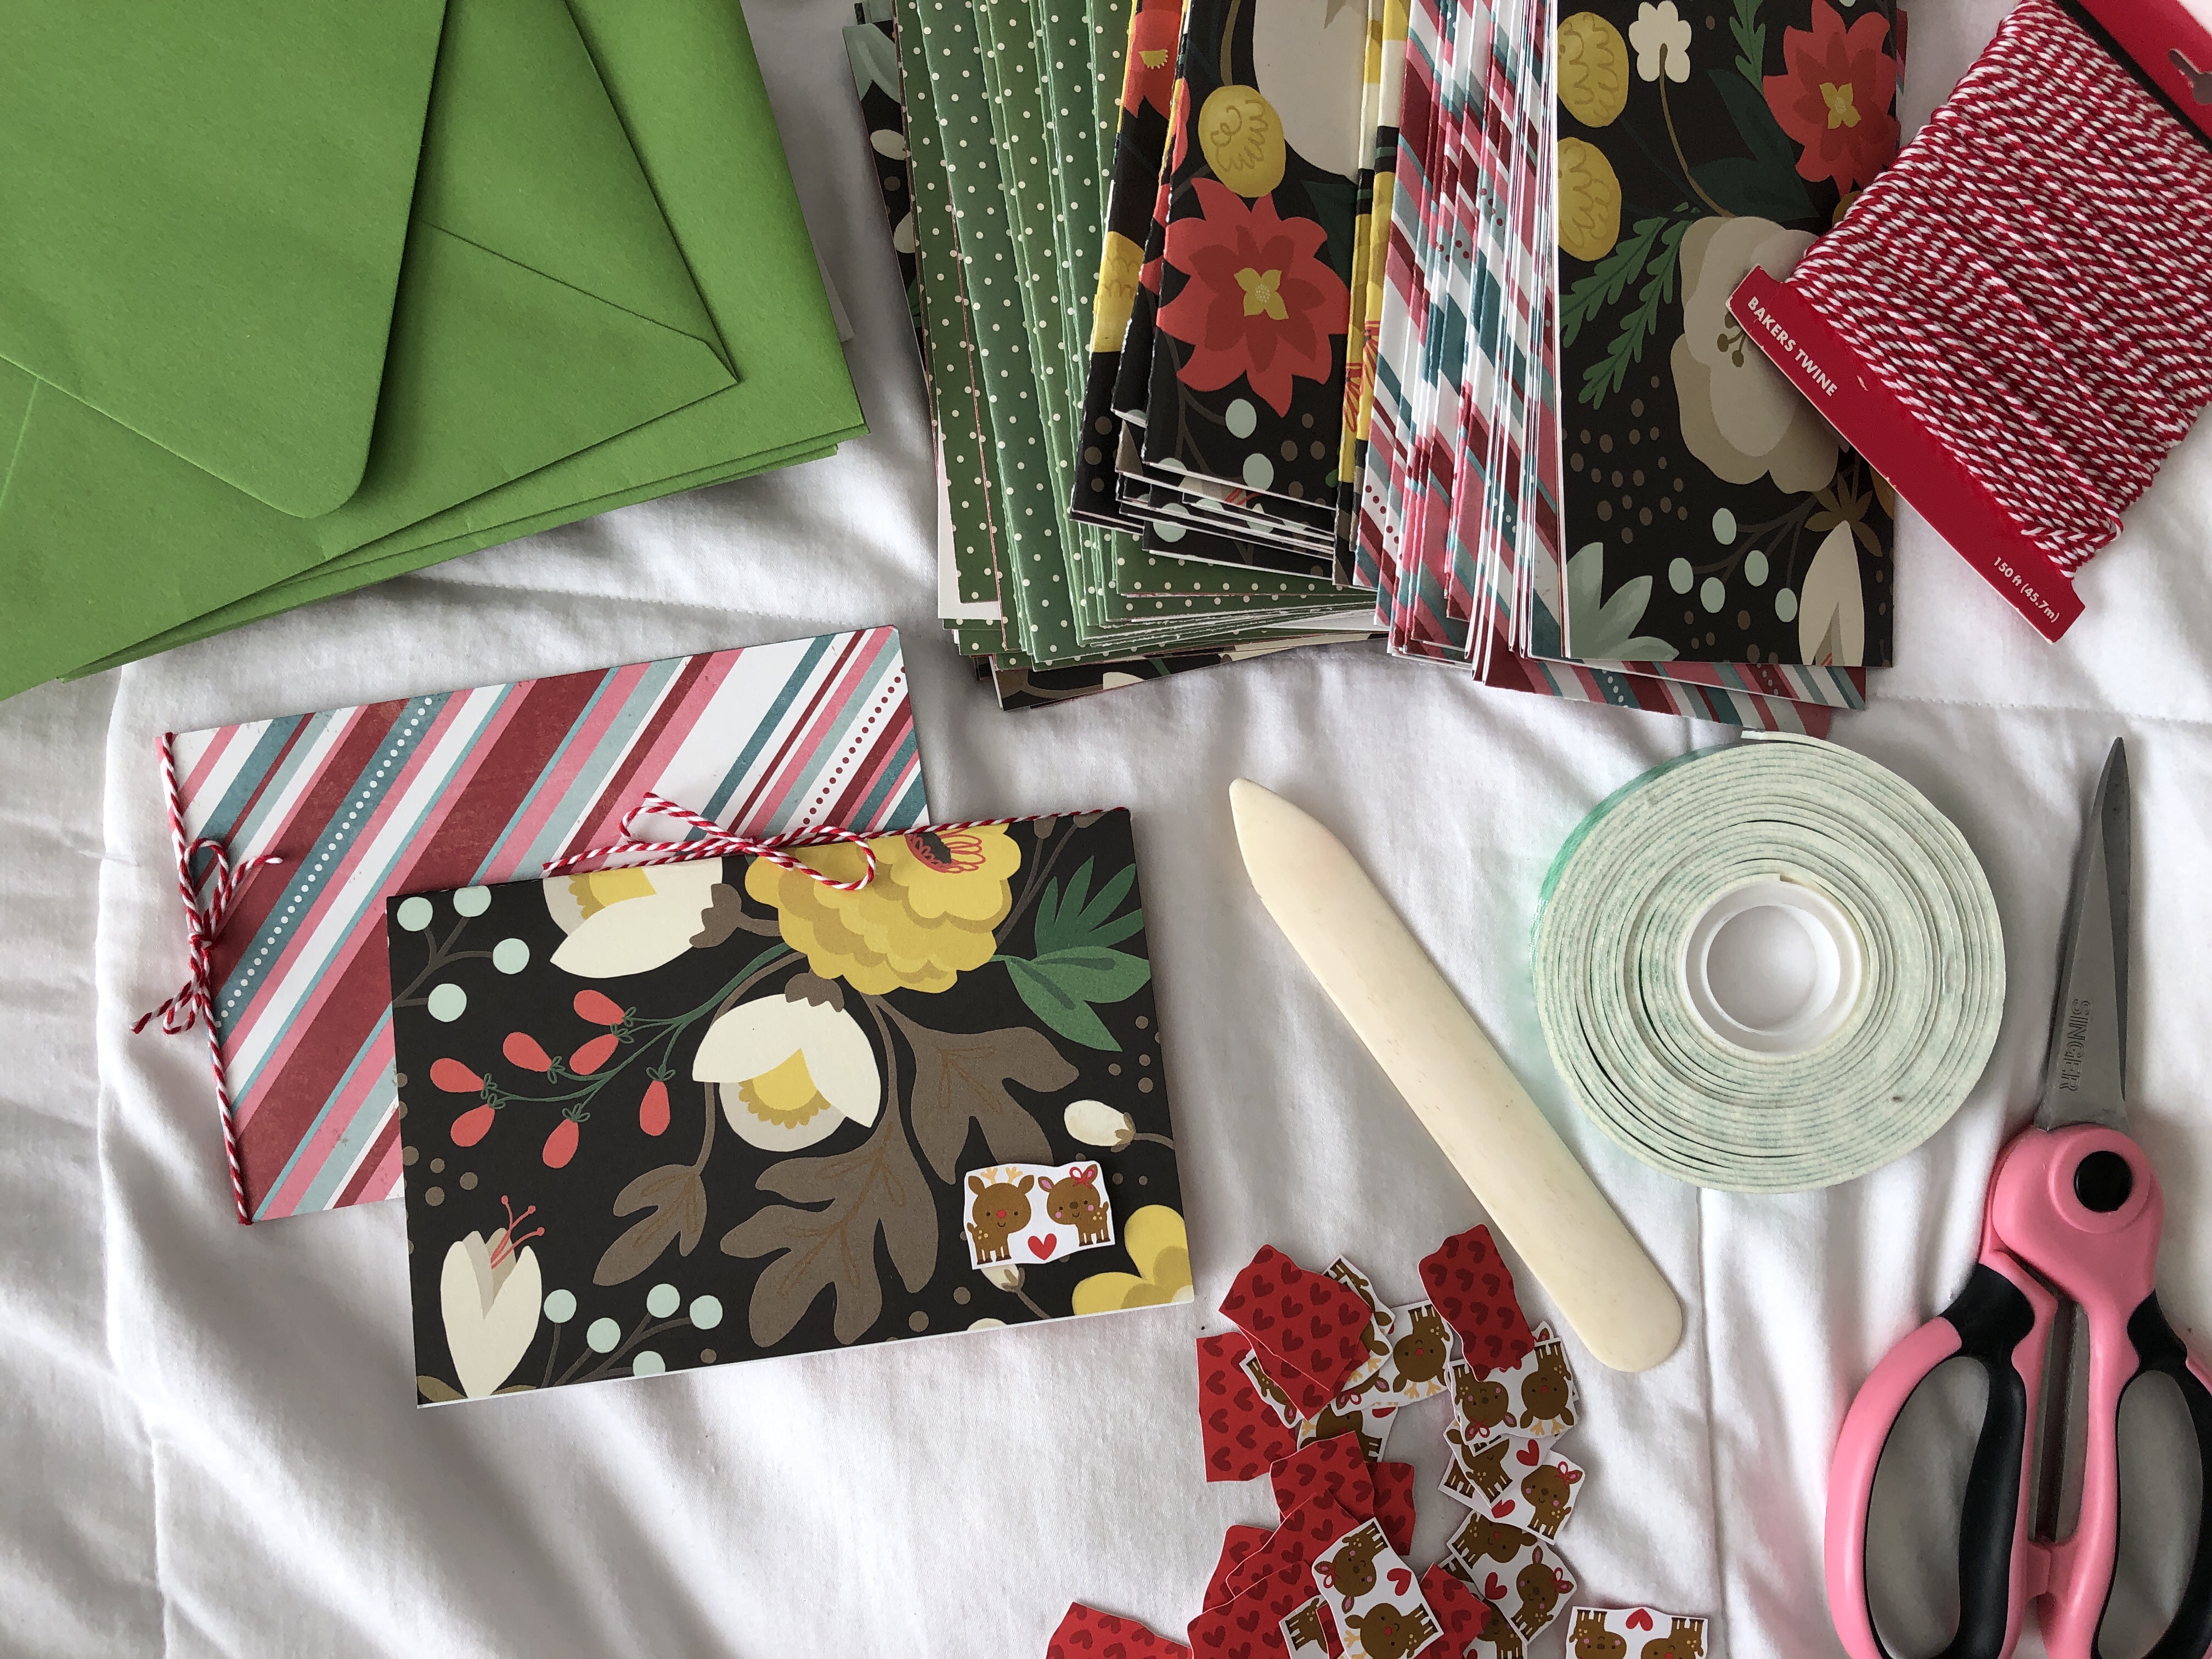
Here’s what I used to make my cards:
- 12″ x 12″ double sided card stock
- 12″ x 12″ white card stock
- Twine
- Embellishments (I cut out reindeer images)
- Envelopes
- Paper cutter
- Scissors (for fabric and for paper)
- Bone folder
- Double sided foam adhesive


Someone once described my cards as little booklets. I like to use 12″ x 12″ double sided cardstock (get the good heavyweight stuff!) for all of my handmade cards. They divide up into three 4″ x 6″ cards (cut two 8″ x 6″ pieces and one 4″ x 12″ piece with a paper cutter). I add a second layer of white cardstock for writing. I cut these slightly smaller than 4″ x 6″ so they fit snuggly after folding each piece in half (cut two <8″ x 6″ pieces and one 4″ x <12″ piece). Fold in half to create 4″ x 6″ cards. Use a bone folder to get that good crease.


I attach the two paper layers by creating a knot or bow with ribbon or twine, or by stapling the crease. Since it’s Christmas, I’m going with candy cane twine.


I’m simple with my embellishments. I found a really cute reindeer print cardstock and cut out all of the reindeer pairs. I attached the reindeer embellishment with foam adhesive strips to give it some dimension.


Gah! They are so cute!

These are ready for a handwritten note! Then, address envelopes, add a cute stamp, and mail off to spread Christmas cheer!
Merry early Christmas! Do you make your own greeting cards? Comment below.
Leave a Reply