Month: December 2015
-

yay 2015!
As usual, the end of the year is approaching way too quickly, but what a year it’s been! I started this blog almost one whole year ago. Thank you for following my adventures in craft and explorations throughout the year! Since I’m feeling nostalgic, let’s finish off this year’s posts in…
-

garcia garden: winter edition.
Home for Christmas means more time admiring the garden and it’s bounty. Here are some lovelies from the front yard. ‘Twas a sunny 59 degrees. This sago palm has been growing in same spot for 30+ years. I have a picture with it the day after it ‘snowed’ in Duarte.…
-

tag, you’re it.
Looking for a fun way to sparkle up your Christmas gifting game this year? Try your hand at heat embossed gift tags. For this DIY you will need: Festive stamps Watermark stamp pad Embossing powder in assorted colors Embossing heat tool (I have Paper Source and Martha Stewart brand heat…
-
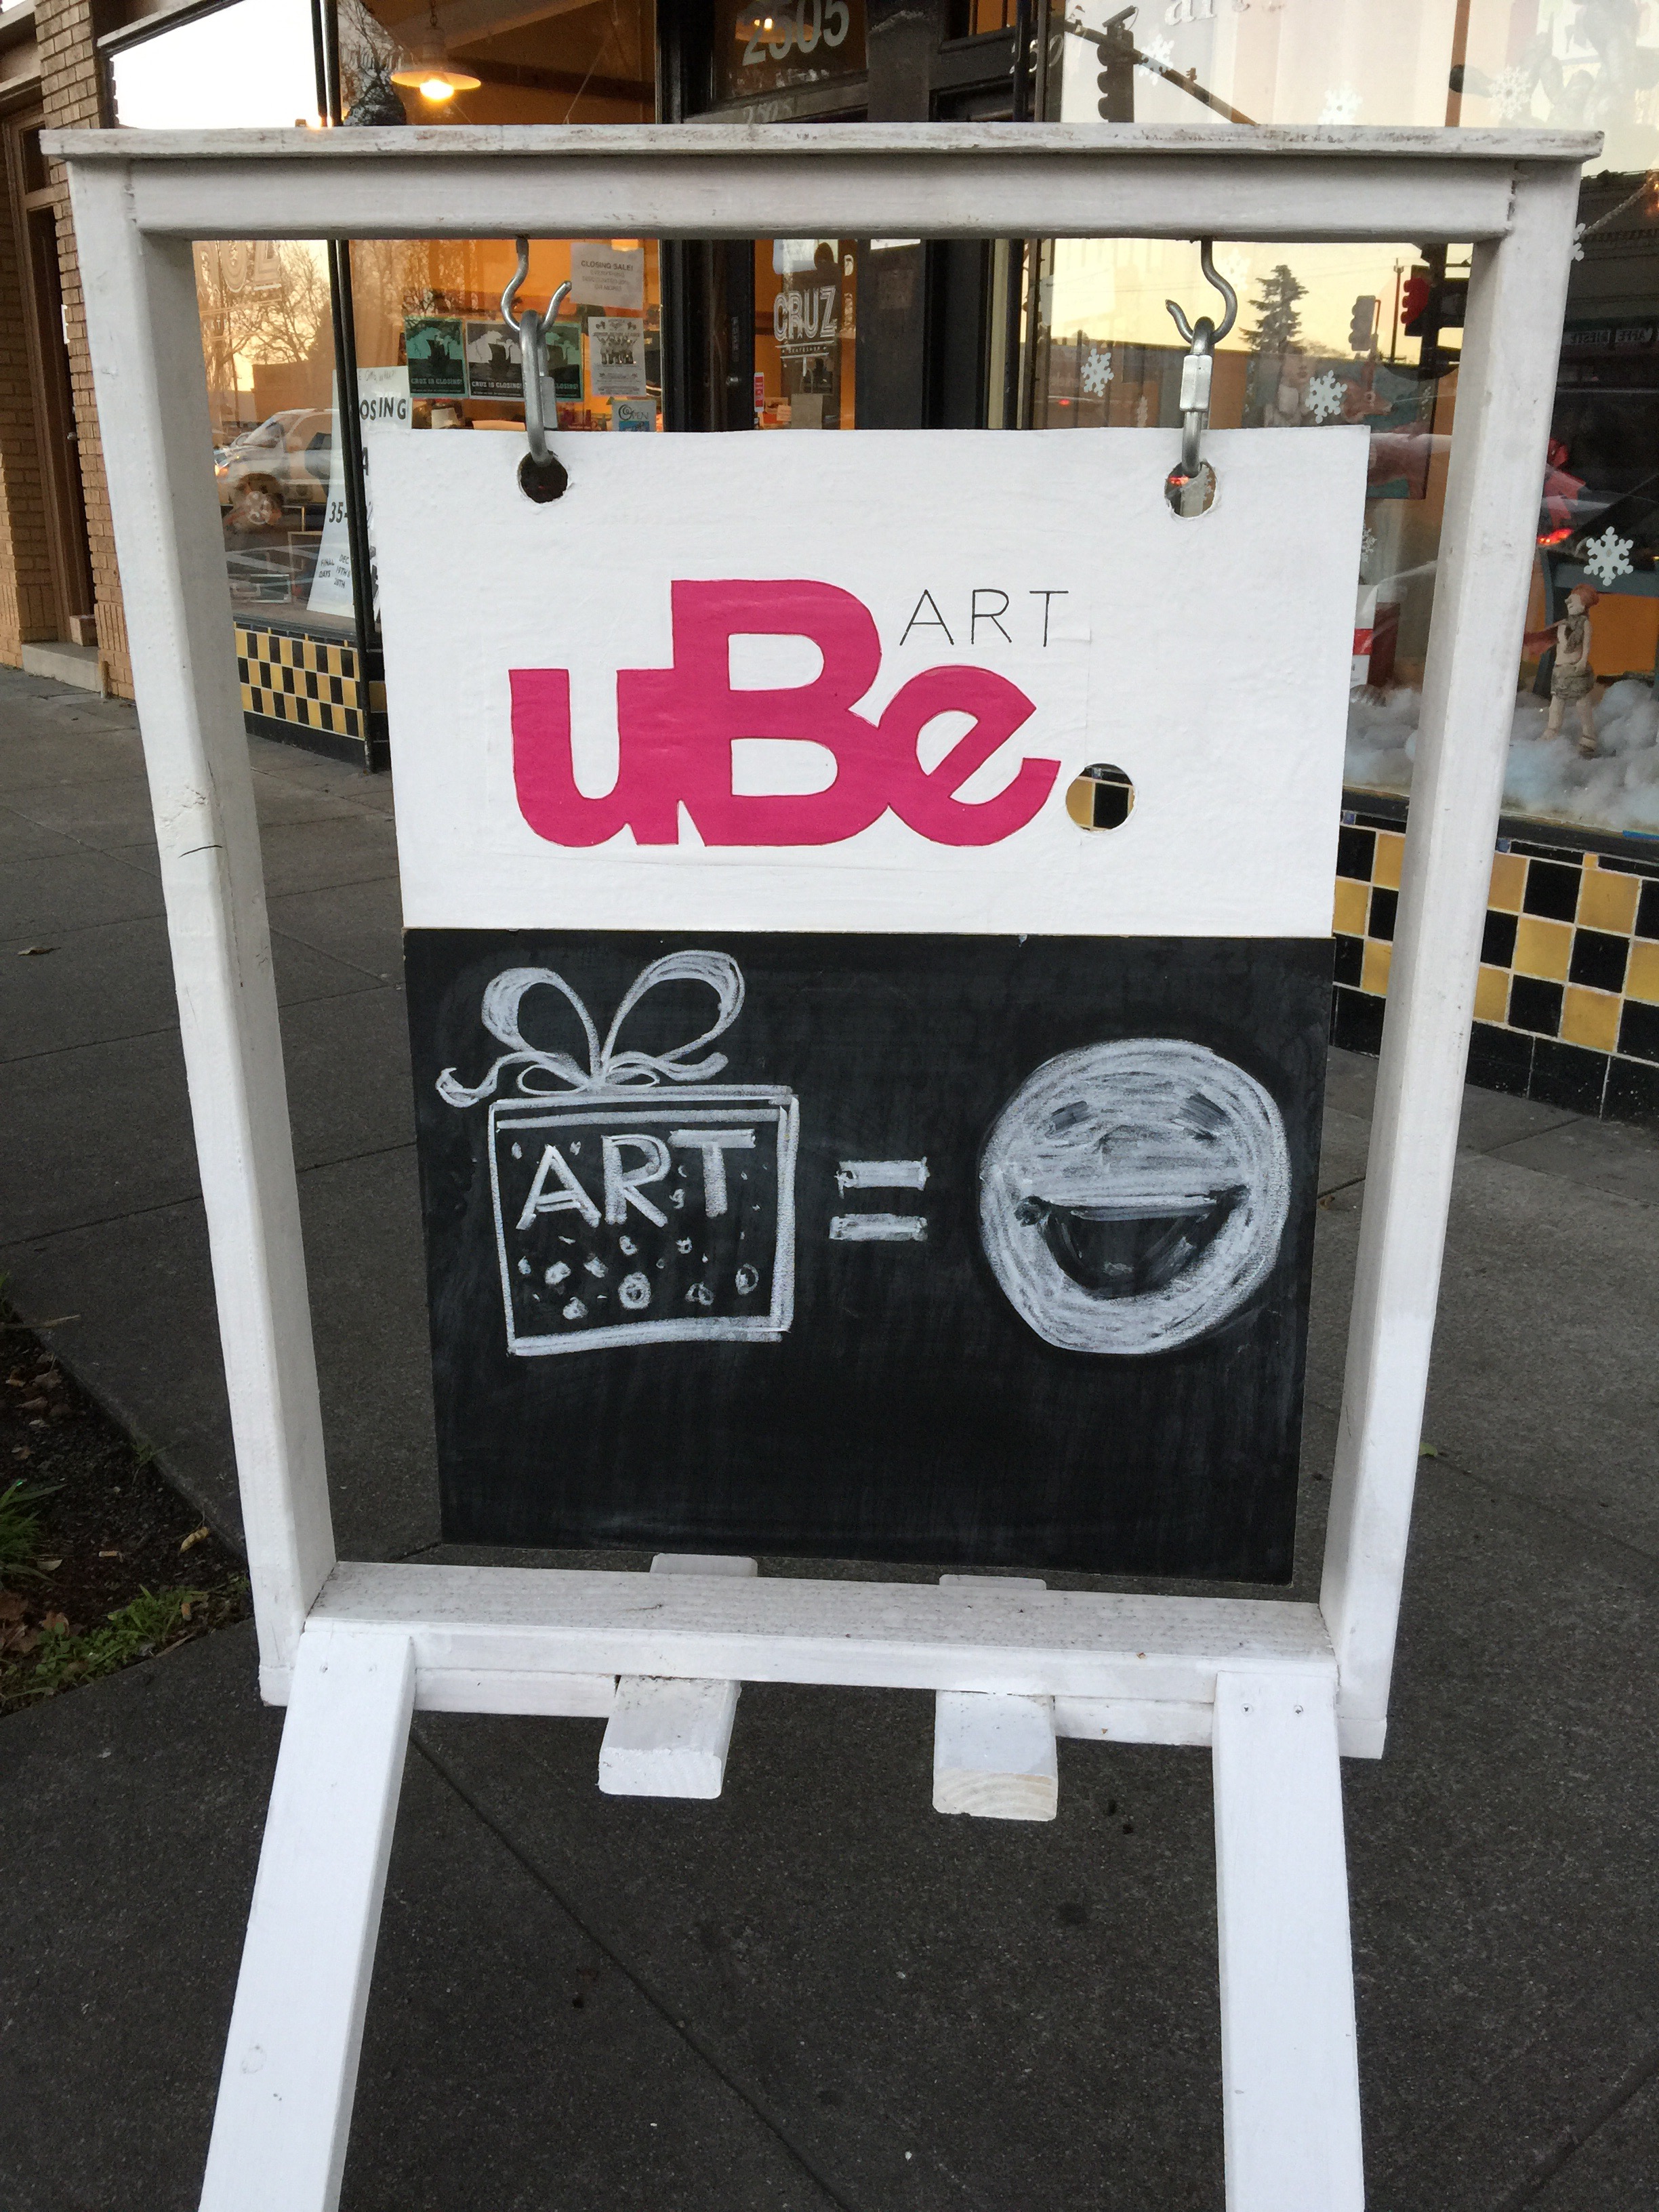
Christmas treasures.
Let’s be honest, I will travel for all things crafty. Now, Berkeley isn’t much of a trek, but I convinced my friends that we should visit uBe Art on San Pablo and Dwight for their holiday party and ornament decorating station. What a lovely art space! The gallery is filled…
-
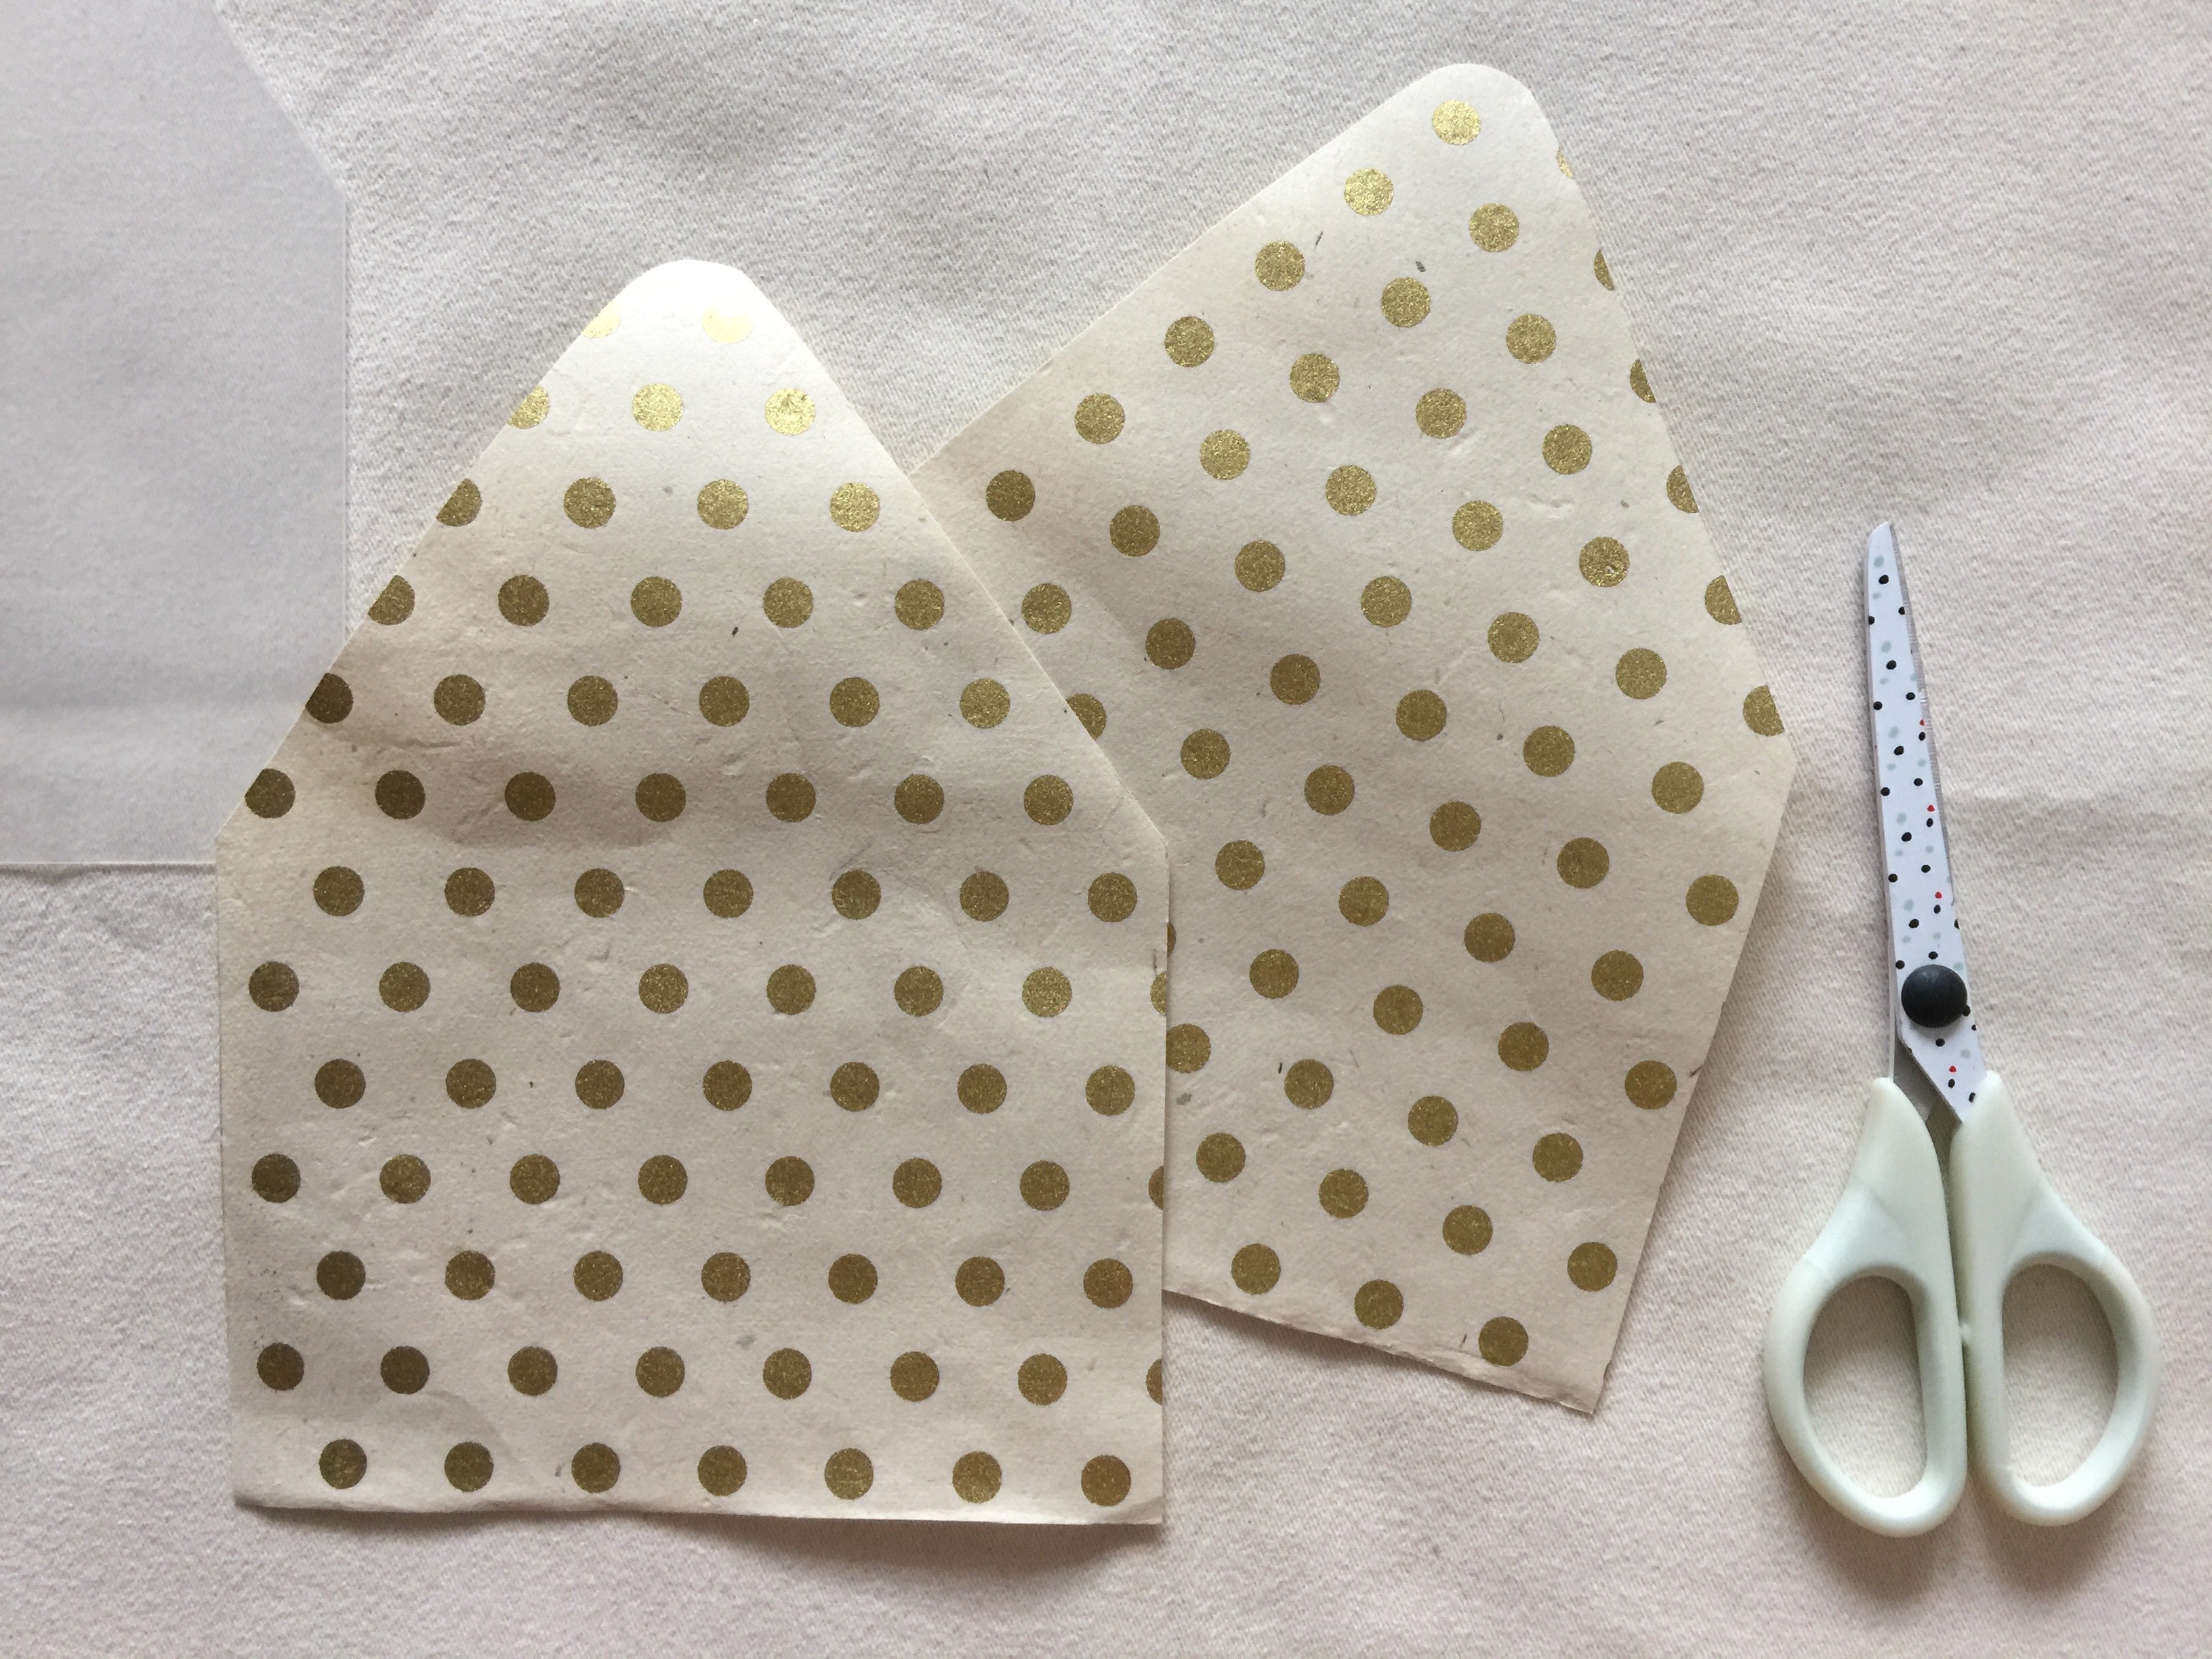
lined and noted.
Snail mail is the best. Here’s a fun way to add a little fancy to your Christmas greetings this year…or any greeting any time of year! All you need are: envelopes decorative paper (I really like washi paper) templates (you can make your own or get these nifty ones from…
-

wrap it up.
Oh boy! It’s that time of year- time to wrap up pretty little gifts with the most adorable packaging! Darby Smart teamed up with Gap to create a gift wrapping set, and as a Darby designer I got a sneak peek to get the party started. (Yasss!) It’s full of all the…