I love simple Thanksgivings at home with the family. We still cook tons of food, plan tablescapes and decor, and host family friendly activities, but it’s totally simple! 😉
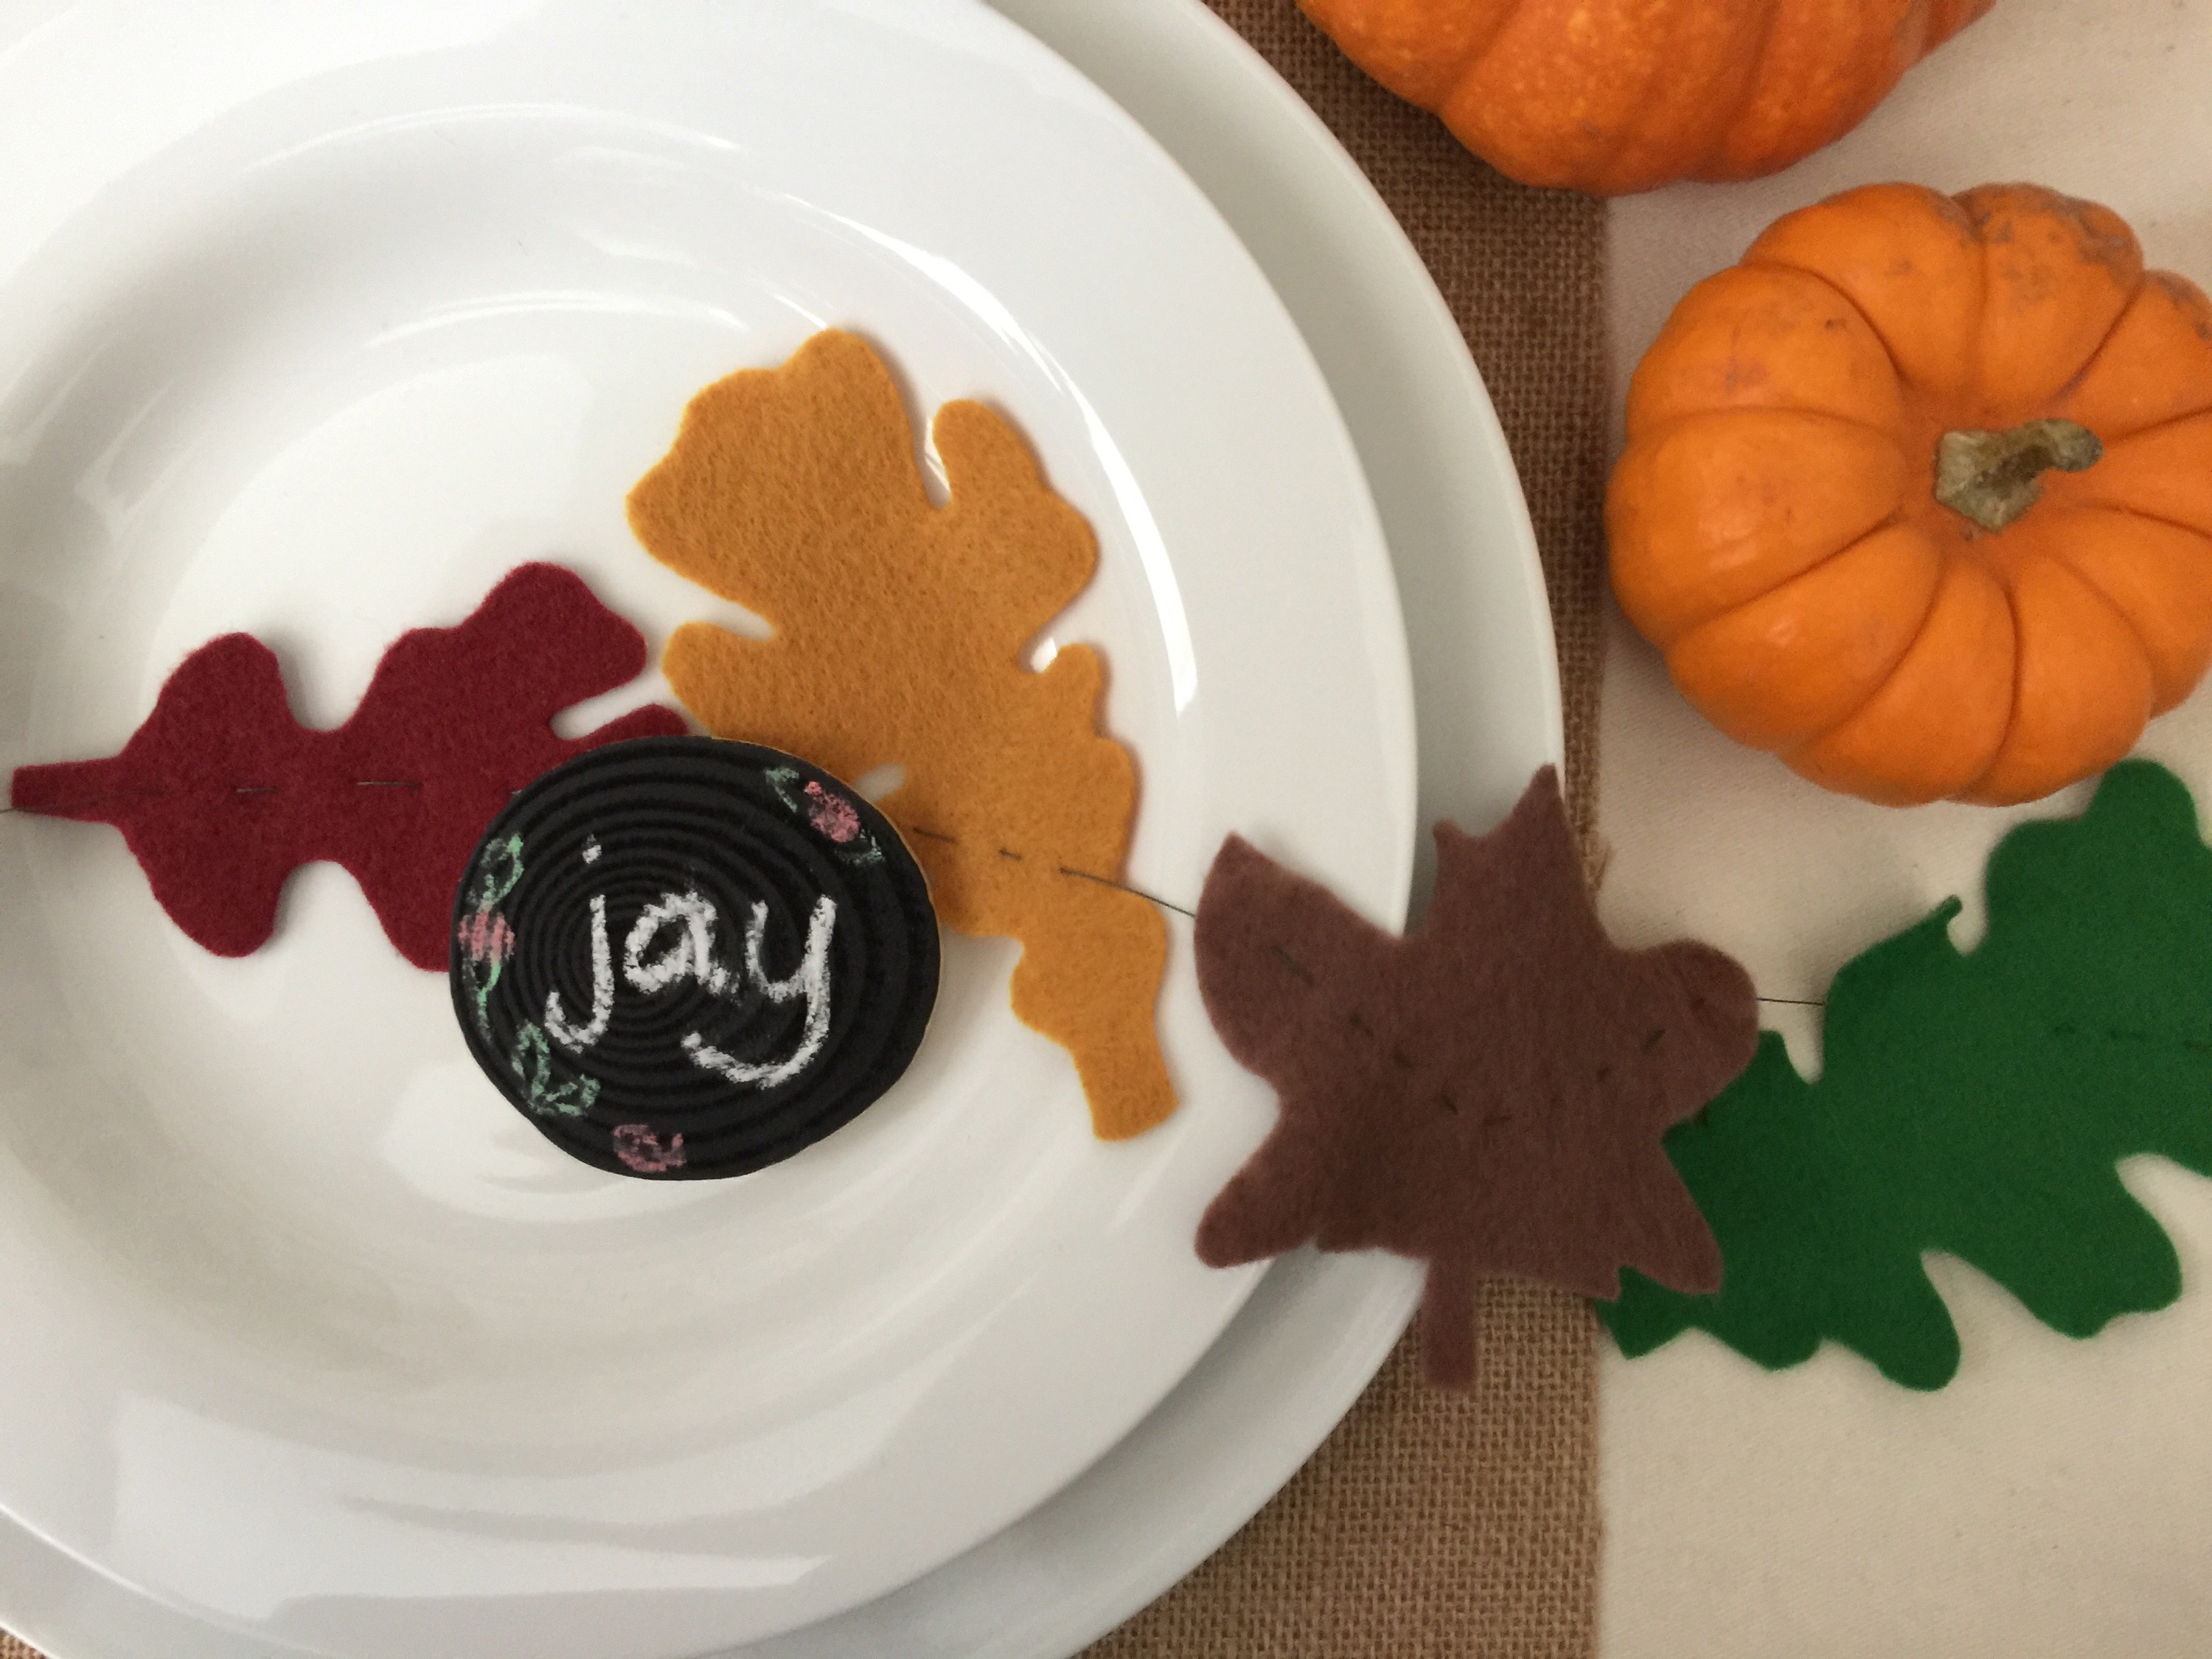
This year I’m making chalkboard name plates, mostly because I saw these wood slices in the craft store and exclaimed “I must have them!” These are easy to make and you only need a few materials and patience (for drying).

Gather wood slices, chalkboard paint, a foam brush, and chalk. Apply the chalkboard paint as directed on the bottle. Allow to dry.

If you want your chalkboards to last / be reusable, make sure you condition your mini chalkboards by rubbing on chalk, then wiping it off with a cloth or paper towel. Otherwise, I find that you can just write directly on them. Pro tip: sand your wood chips for a smoother finish and writing surface.

For writing, try regular chalk for a rough look or chalk marker for a more crisp look. Get fancier and paint the perimeter with autumn colors or add sparkle, add sprigs of pine or rosemary, ….

Share what you create below.
Leave a Reply