Your cart is currently empty!
Tag: yarn crafts
-

fluffy door thing.
I made a fluffy thing! Ever since my Pom Pom Along last month, I’ve been busy creating lots of poms for a fluffy wall art piece. For this craft I gathered: Tassel and pom pom tool. I use the Loome XL Model tool for most of my tassel and pom…
-

friendship.
I’ve been teaching crafty workshops all summer, and I finally participated in one as a student! I attended The Neon Tea Party‘s heart pattern friendship bracelet virtual workshop and it was the most fun! Marisa, owner and creative everything of The Neon Tea Party, taught us two friendship bracelet knots,…
-

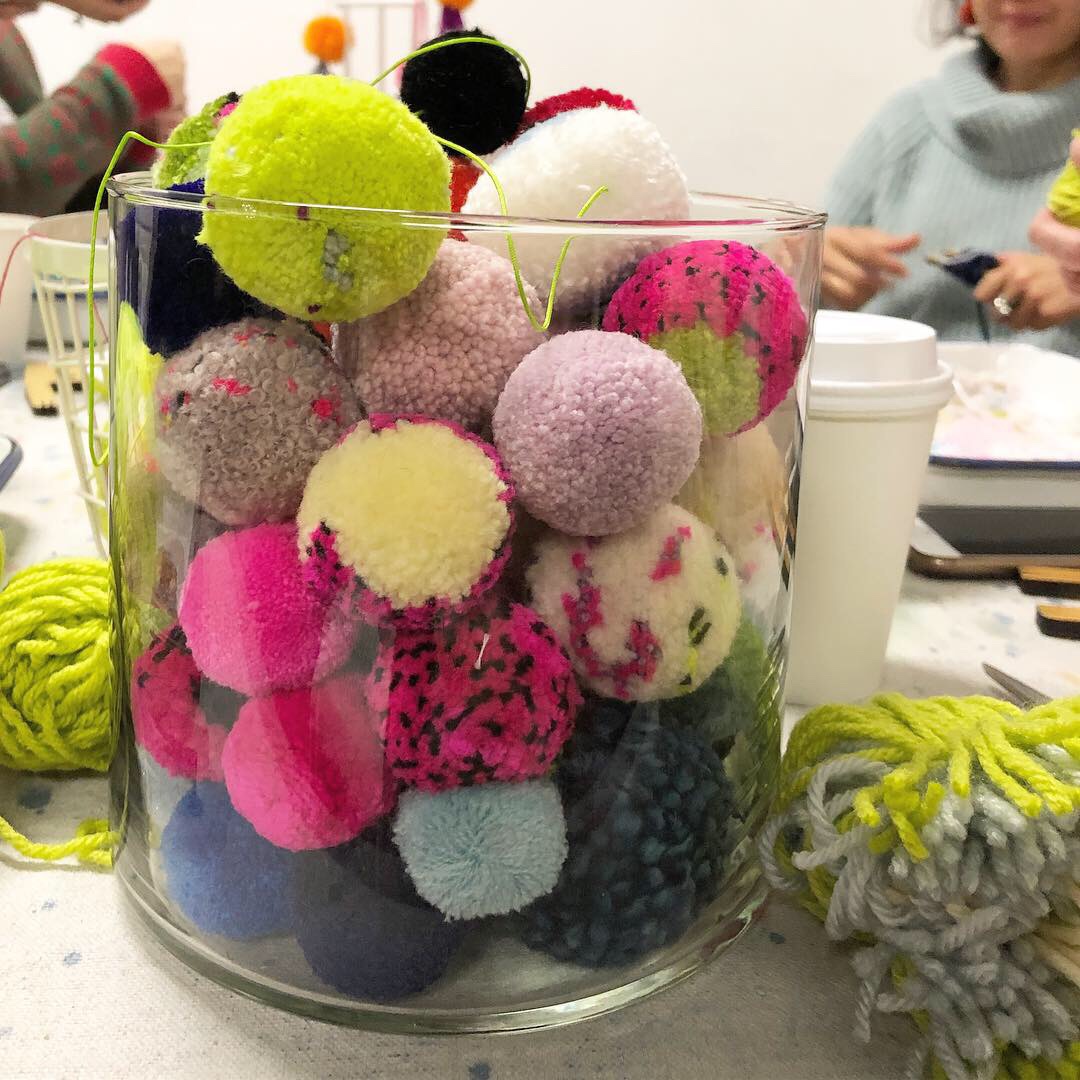
all the poms.
So, I made a ton of pompoms and tassels with my yarn stash. (Gotta use the yarn to buy more yarn, am I right?) I was thinking of creating some colorful decor for my office cubicle. I started winding pompom donuts in December of last year and every now and…
-

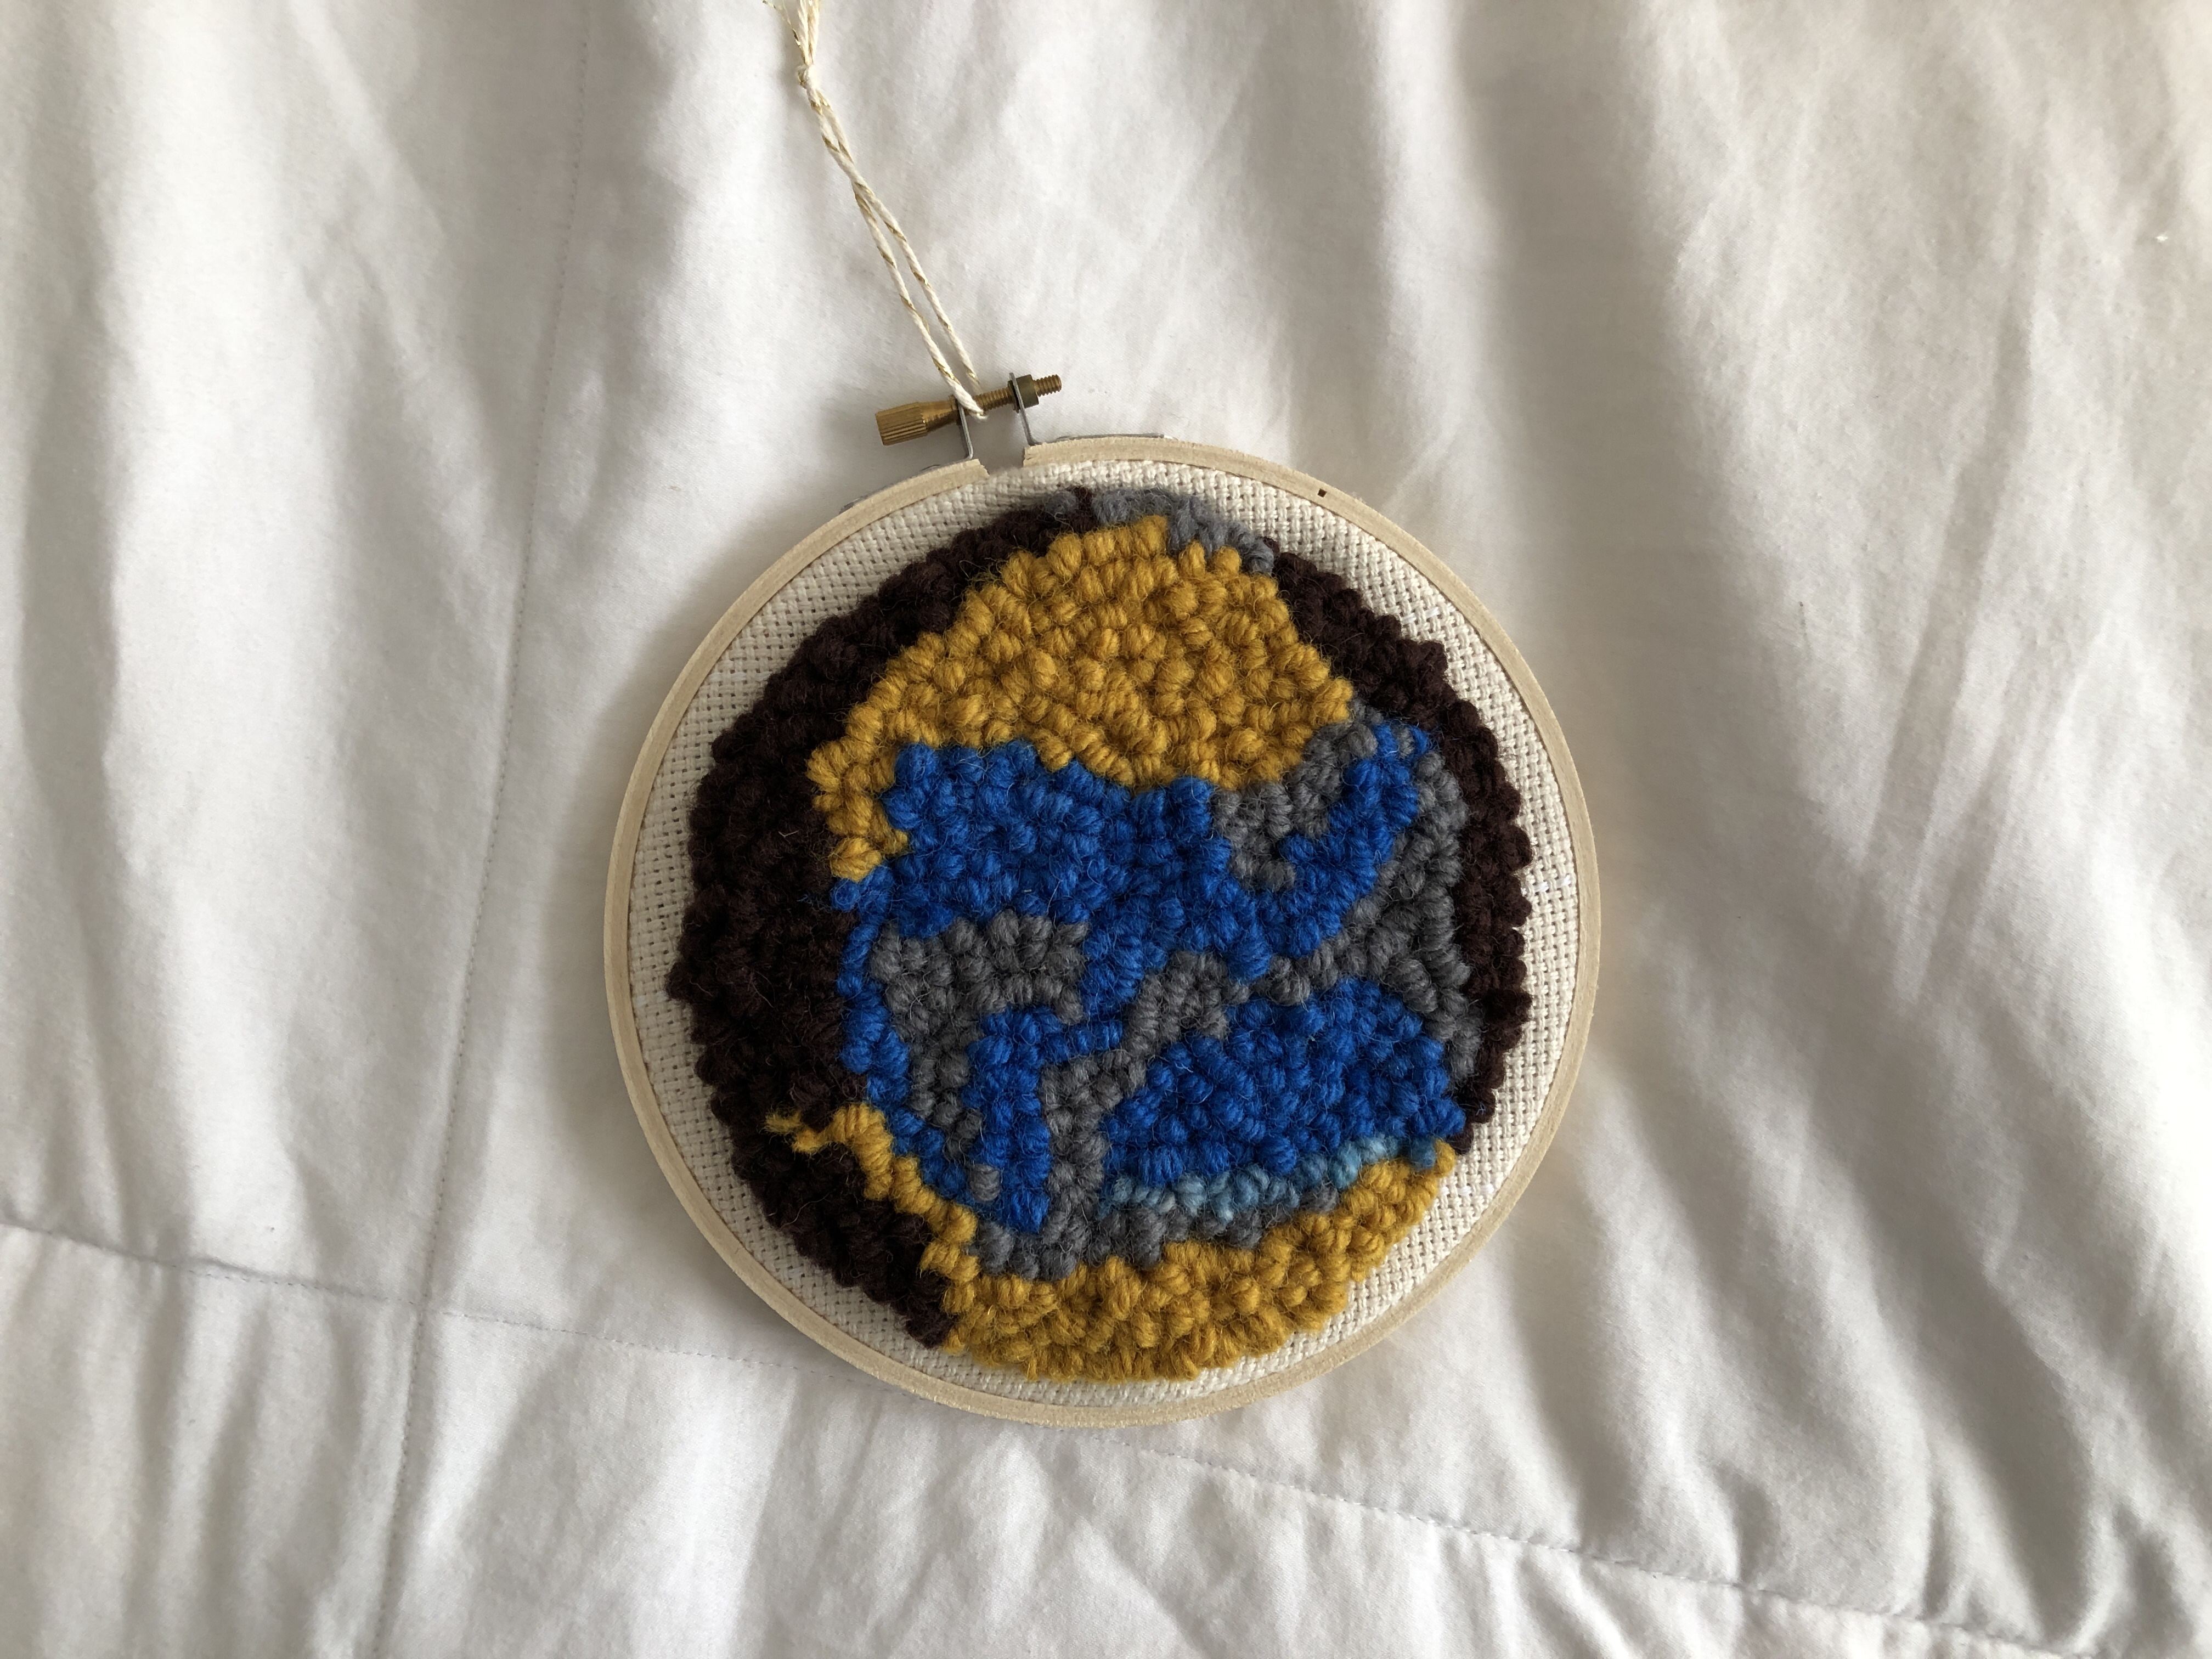
a weaving rainbow.
My friend Vilasinee of the Loome came out with a few new maker tools, including a rainbow loom! Ka-yoot. I was very excited to try it out. For this craft you will need: Rainbow Loome tool Non stretchy cord Assorted yarn Felt Fabric or hot glue Fabric scissors Crafting needle…
-

weave.
Hooray, huzzah! I’m so excited that my weaving workshop has been picking up. The Fall/Winter is the perfect time for this cozy craft! I absolutely love teaching this workshop. Also, I really, really love creating yarn rainbow displays! Here are a few snaps from my last two classes – @…
-

craft beer and craft crafts.
This quarter’s Crafty Lady Night was at a brewery! We enjoyed craft beers and craft crafts! This time we made yarn wrapped plant hangers and keychains. This is a great project for on the go, and you don’t need that many materials. Plus, it’s a fun gift idea. Try it…
-

pom pom crown.
Happy New Year! To celebrate I made a pom pom crown in Pantone’s color of the year: living coral. Ooh la la! You can make one, too! Materials & Tools: Yarn, lots! Pom Pom tool Pom Pom trim guide, optional Scissors Container for scraps Embroidery floss, 3 feet per pom…
-
pom pom and tasselry.
For my last crafty event of the year I teamed up with my crafty friends of the Loome and Mischief to host a pom pom and tassel craft night compete with holiday cocktails. There was yarn everywhere and it was fantastic! Vilasinee of the Loome shared all her pom pom…
-

crafty hour.
My crafty lady friends and I met up for a crafty lady crafty hour. We met up at Casa Latina, one of my preferred nacho places because they get the chip to topping ratio right all the time. 😉 First we ate foods; then we did the crafts. My friend…