Your cart is currently empty!
We got married! (Oh yeaaaa!!!) So now I get to share all the wedding crafts!! (Hell yeaaaa!!!) Today I’m sharing our wedding invitations. Though there are amazing professionally made invitation designs out there, this was the one wedding detail I had to DIY. We made simple invites + RSVP cards in blush, ivory, and sparkle. (In my world, “sparkle” is a color.) The most time consuming part was designing the invites as getting the spacing right and printing is generally a challenge. We designed our invitations in Comic Life (this is as fancy as we get) and used both black and brown ink. The brown ink almost looked like a rose gold on the blush paper. ::drool::

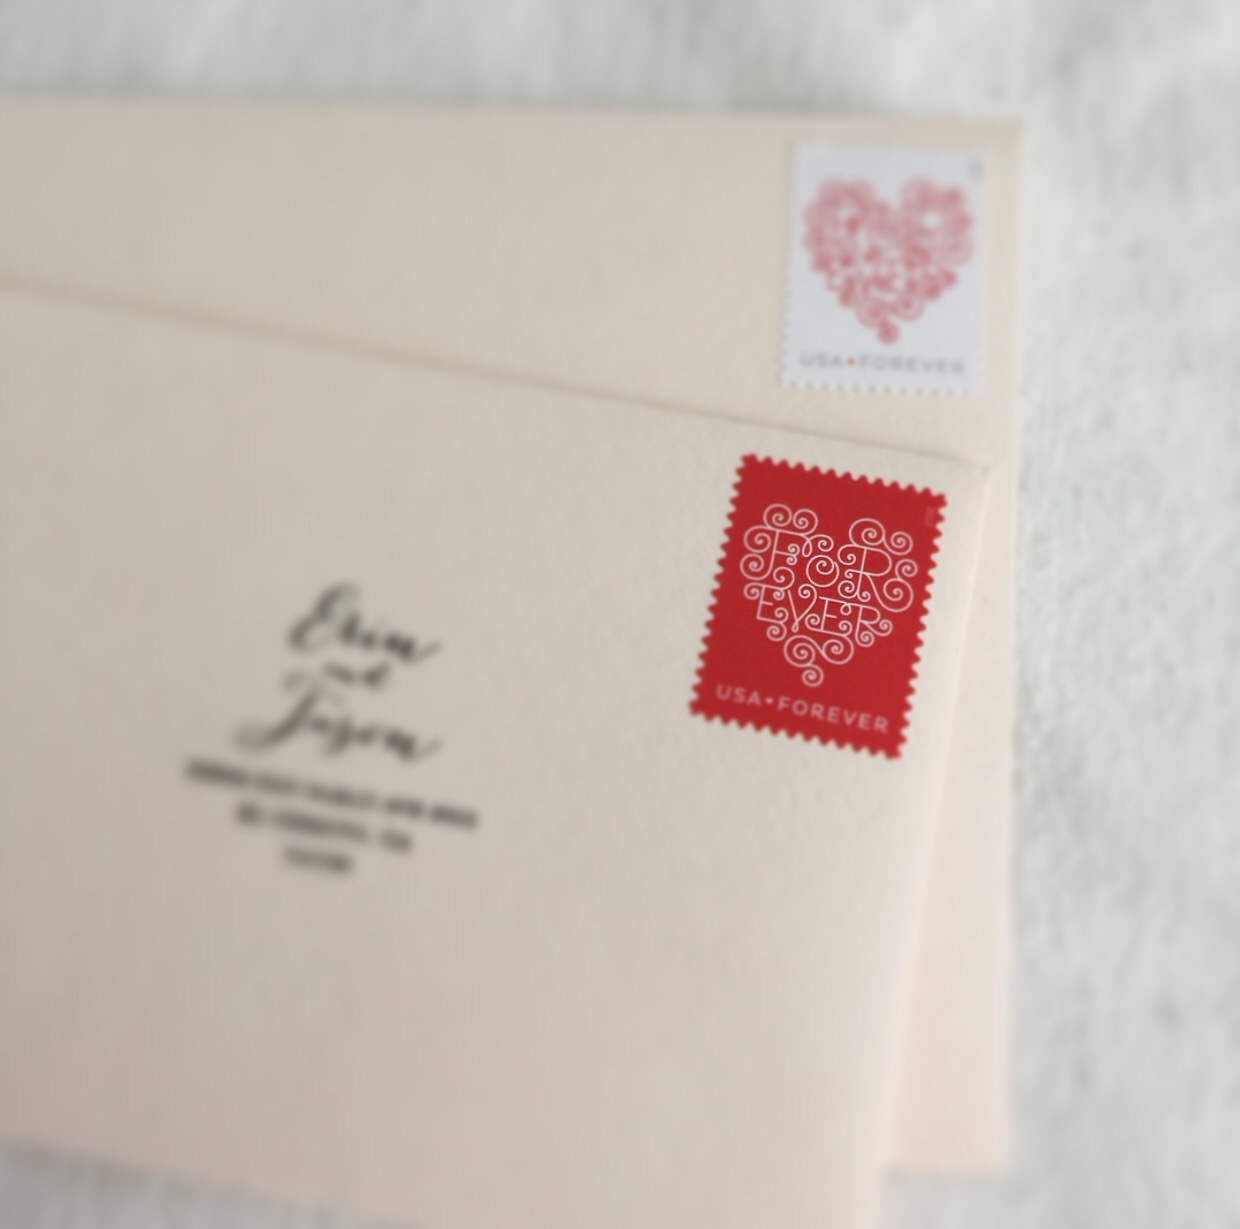
The front of the invitation received a love stamp and was heat embossed with a mix of copper and gold powder. We also added a hand drawn heart. ❤ I love this detail because it gave the invitation some texture. It was also really fun to mix the embossing powders. The back of the invitation had all the wedding festivity details and each guest received a personalized RSVP card.

It wouldn’t be a legit invitation without some lined envelopes – am I right? We lined the larger envelopes with Rifle Paper Co.’s Bloom Lace gift wrap and the RSVP card envelopes with champagne sparkle paper. Shout out to the Hubs for cutting out all of the liners!

We tied it all together with an ivory ribbon, hand wrote addresses, added a heart postage stamp, and sent them in the mail. Fun fact: a ribbon bump in your envelope will cost you an extra postage stamp. Make sure to have your post office weigh and double check your mail for the right postage.

My favorite part was heat embossing the invites. Ok, and maybe tying the tiny ribbons on. Or maybe adding the postage stamps because stickers. Ha! Crafts!!!
Are you gearing up for a fancy party? Snail mail invites or electronic invites? Share below!
And for reference…Materials* + tools:
- paper in blush
- envelopes in blush
- ribbon in off white
- love stamp
- embossing ink
- embossing powder in copper & gold
- heat embosser
- decorative paper
- envelope liner templates
- custom mailing address stamp
- brush markers
- forever postage stamps
- design software
- inkjet printer
- scissors
- paper trimmer
- pencil
*All materials + envelope liner templates + mailing address stamp were from Paper Source. Brush markers can be purchased from art stores; I got mine from a local Japanese gift shop and Flax Art.
2 responses to “répondez s’il vous plaît.”
-
Anne and I loved the invitations! Always such a treat receiving snail mail. Each little detail added such a wonderful personalized touch of of Erin! Twas an honor to be invited to share in your special day 😊
-
Yay! You’re too sweet! I’m so happy you were both there to celebrate with us!! Xoxoxo
-
Leave a Reply to Erin G.Cancel reply