Your cart is currently empty!
Staff meetings at Sticky Art Lab are far from ordinary. This last meeting was no exception. Sure we talk business, but then thanks to boss lady and owner Rachel we get to play and learn a new crafty skill. On the agenda today: batik!

Maitland, batik hobbyist and overall cool fella, walked us through the process. Batik is a dyeing technique in which you use wax (in our case paraffin) to make designs on cloth (we used a cotton muslin) and block the dye from coloring those areas. Sounds simple, but getting color to go where you want is a little tricky.
First we bathed our cloth in an ash solution. The ash is suppose to help the colors stick to the cloth and prevent bleeding. Ideally, cloth should soak for thirty minutes or more and then dry completely before the next step.

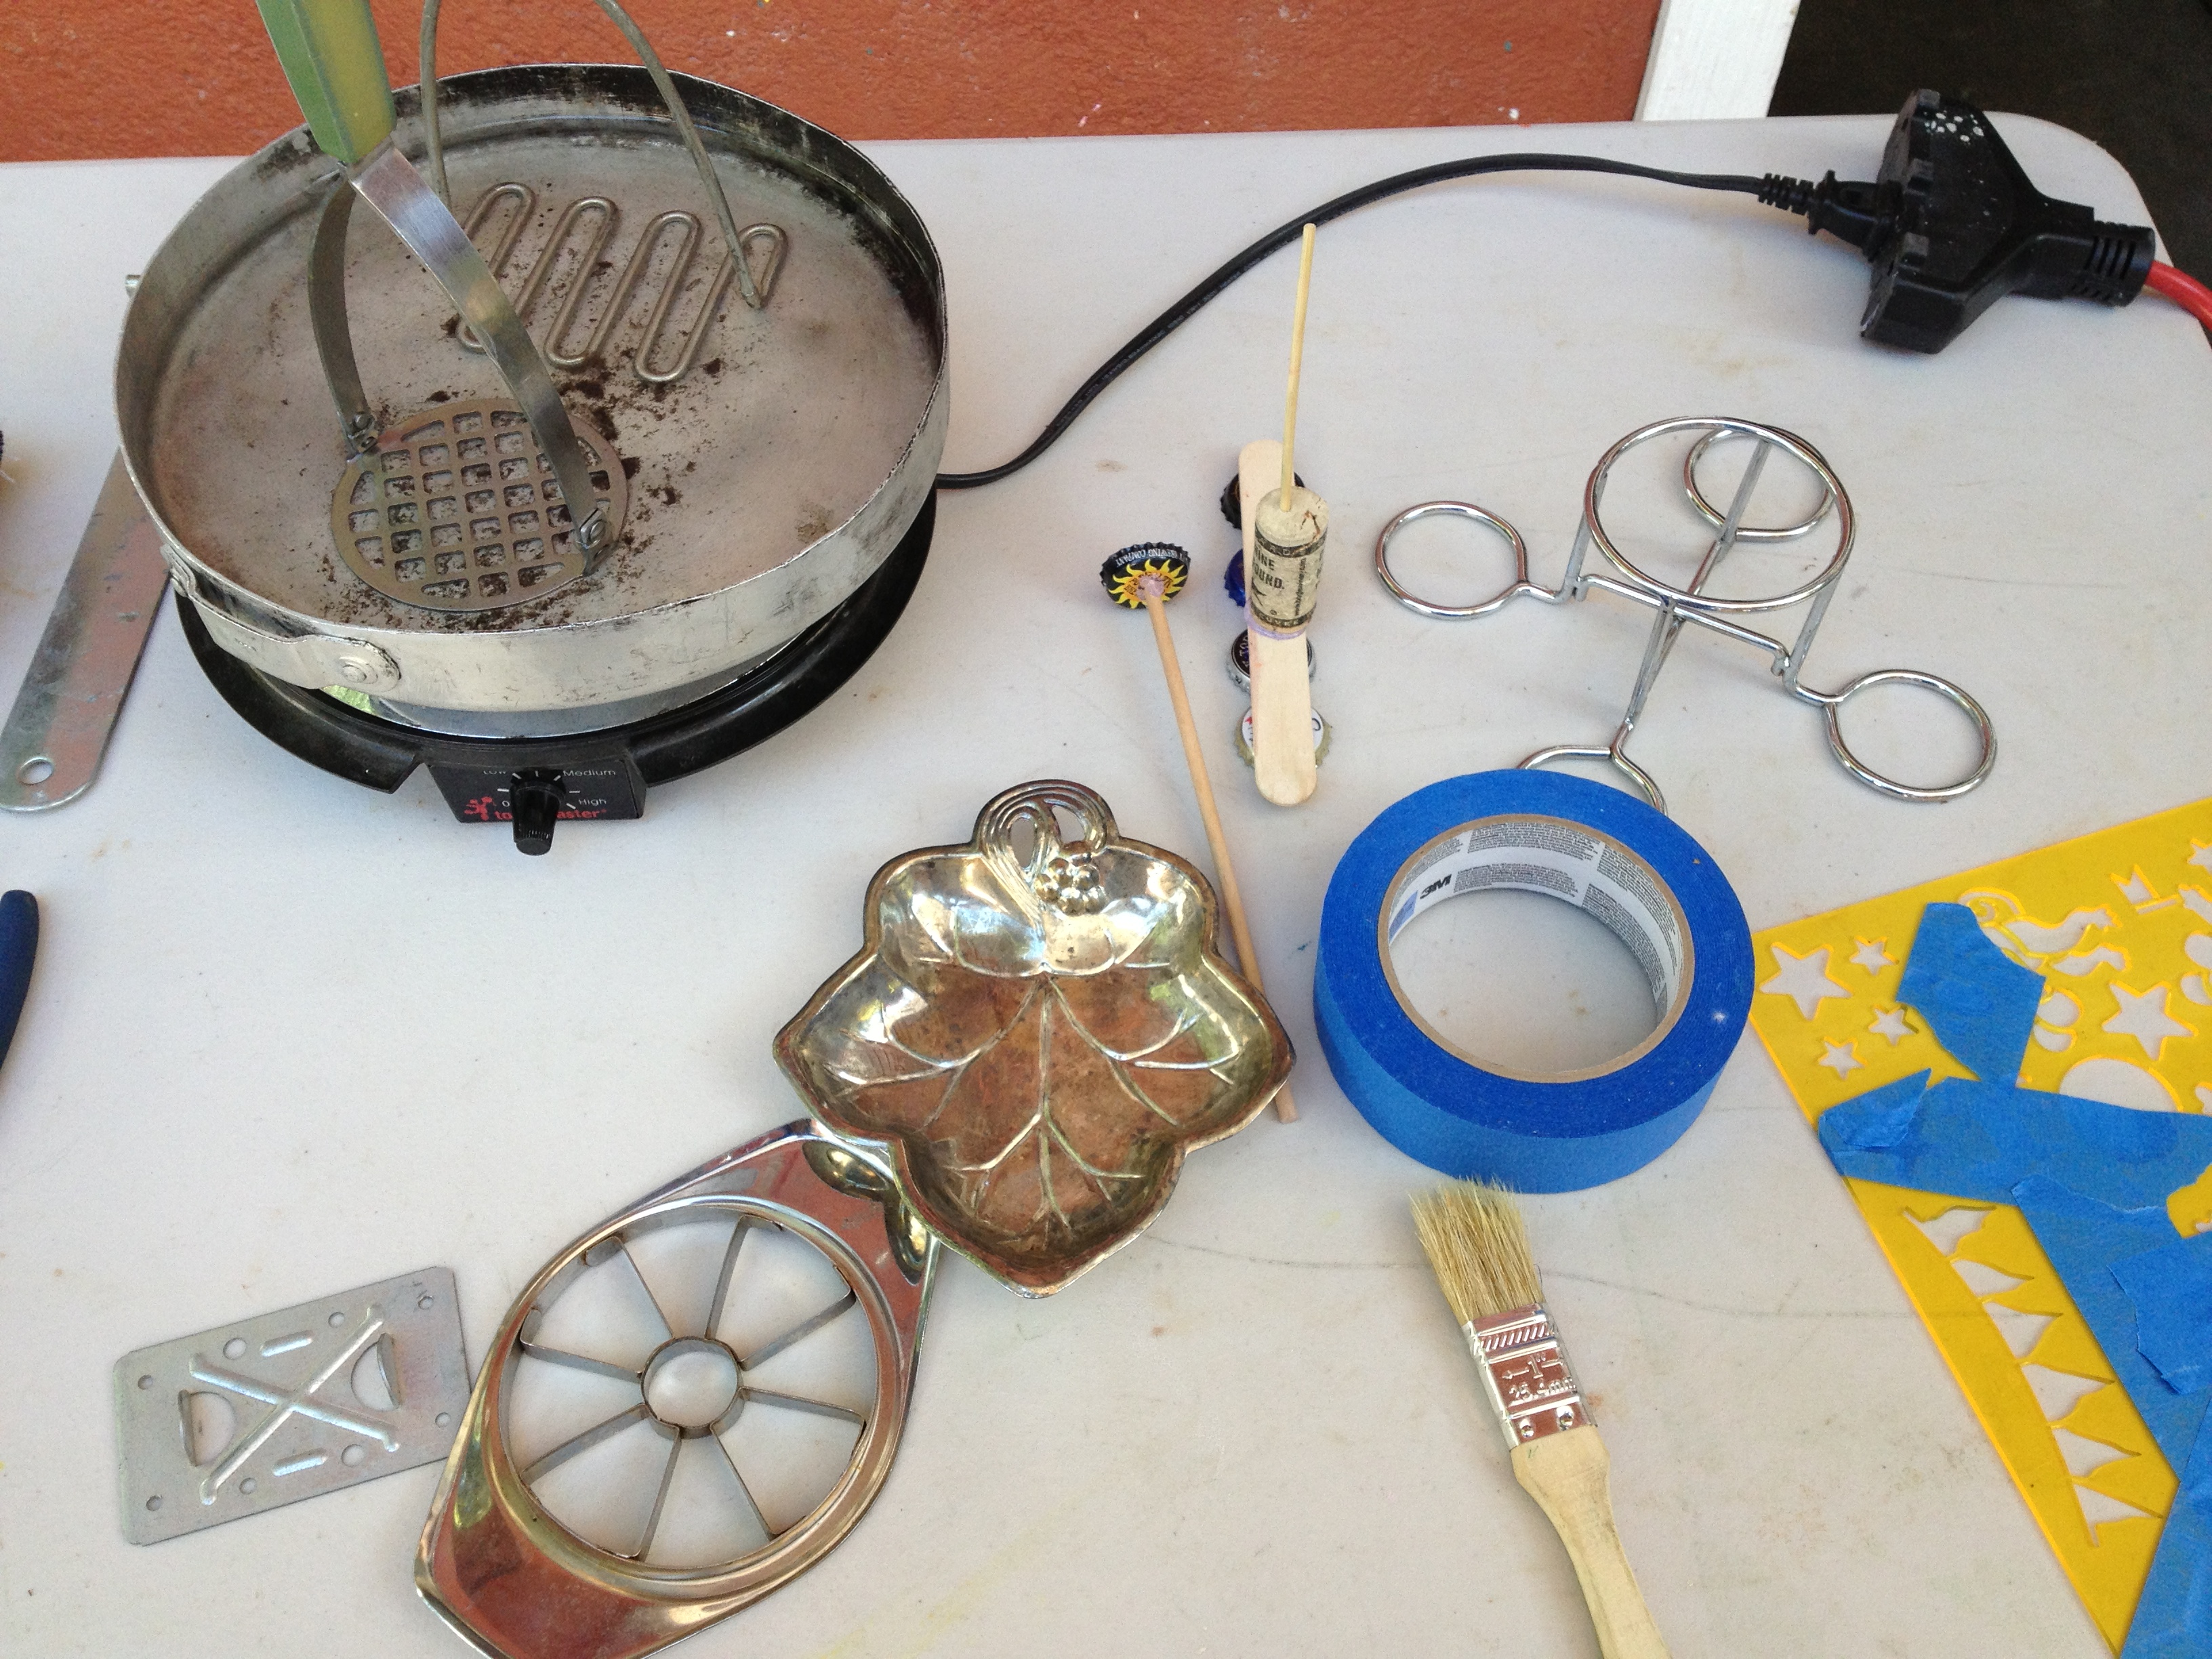
Next, we applied melted paraffin to the cloth either using stamps or brushes. Maitland brought some kitchen tools and we had wire and other metal items to play with. My favorite “stamps” were the potato mashers.

Once your wax is set you can go to town with colors, or soak in a dye bath for an even coat. I went to town. We used fabric dye in squirt bottles to apply and mix colors. My pieces turned out tie-dye-esque, minus the tying part.

My first go around was not super successful. My wax did not go through the cloth so technically only one side had wax, meaning the color could still bleed through and once I take the wax off, the pattern will no longer show up. This could have been the case for multiple reasons – my wax was not at the right temperature, I did not press the stamp down long enough… Alternatively, if you stamp the other side of the cloth with the same pattern or if you brush a layer of wax on the entire back side, it will ‘seal’ the cloth and your patterns should show up after dyeing. Maybe I’ll just leave the wax on to keep my design. 🙂

We did the quick and easy way for time purposes, but traditionally color is applied, wax removed, and you may repeat the process multiple times, drying in between dyes. It may take several hours and sometimes months depending on the design intricacies and coloring techniques. I think our pieces turned out great. Look at all the color! Also, the round potato masher looks like a disco ball.

Today’s batik lesson was a big craft experiment. If you go in without expectations and perhaps even without a set plan, at least the first time, then you will no doubt be happy with the process and your end product. Although batik is definitely something you need to experiment with in order to really understand the process and grow your technique, making crafty “mistakes” is just as rewarding.

Batik. Have you ever tried it? Share tips and woes below.
Leave a Reply